
Applying peel-and-stick wallpaper can be a simple and rewarding DIY project, but bubbles can ruin the aesthetic and impact the durability of your walls. If done incorrectly, you may find yourself frustrated with unsightly air pockets and uneven surfaces. Tackling this problem promptly is crucial to achieving a flawless finish.
In this guide, you will learn how to apply peel-and-stick wallpaper with ease, ensuring a smooth, bubble-free application. By following our step-by-step process, you will not only beautify your space but also gain confidence in your DIY skills. Expect to walk away with the techniques needed to tackle this project without a hitch.
This guide is designed for beginners and will take approximately 2-3 hours to complete. You’ll learn essential tips and tricks, making the process enjoyable and straightforward. Let’s get started on transforming your walls!
TL;DR Summary
- Gather your materials and tools before starting.
- Ensure walls are clean and prepped for application.
- Apply wallpaper in sections, smoothing out air bubbles with a smoothing tool.
- Trim excess wallpaper carefully for a clean finish.
Recommended Products

【Set of basic tools】: Package includes craft art knife with 5 replaceable blades, red smoother, blue smoother with soft felt, measuring tape
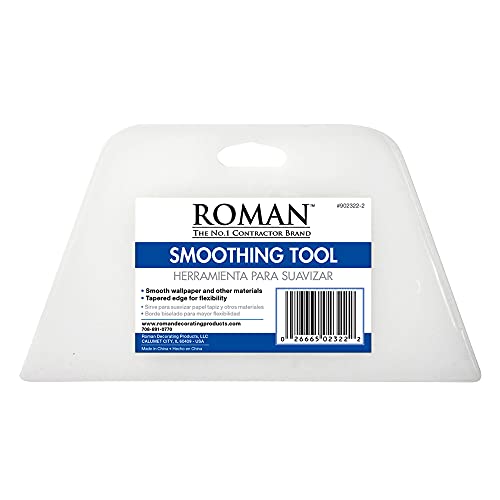
PROFESSIONAL SMOOTH - The tool’s flexible tapered edges will create a professional smooth finish, eliminating stubborn bubbles on the wall and in hard-to-reach corners.

Make wallpaper installation a breeze with our wallpaper tool kit! This comprehensive kit includes must-have tools you need for a smooth and easy wallpapering experience.
Prerequisites/Materials Needed
- Wallpaper: 1-2 rolls of peel-and-stick wallpaper (size varies)
- Tools: Smoothing tool, utility knife, measuring tape, level, pencil
- Cleaning supplies: Mild detergent, cloth, sponge
- Optional: Wallpaper primer (if needed for difficult surfaces)
Recommended Products

Wallpapering can sometimes be a more complex task than you might imagine.Having the right wallpaper kit will make it far simple and hang your peel and stick wallpaper with ease.You will find this is a wonderful wallpaper tools for peel and stick appliction.

WALLPAPER TOOLS: 1 x sponge seam roller, 1 x purple wallpaper smoother, 1 x felt squeegee for vinyl, 1 x precision cutter with 5 spare blades

FAST ACTING – Formulated to penetrate wallpaper and break down stubborn paste quickly, leaving the walls clean and ready for new wallpaper or paint
Prerequisites/Materials Needed
Editor’s Choice

qt Zinsser 2104 Clear Shieldz Water-Based Acrylic Wallpaper Primer

Art3d Smoothing Tool Kit for Applying Peel and Stick Wallpaper, Vinyl Ba…
Skill Level & Time Estimate
Skill Level: beginner
Total time estimate: 2-3 hours
Breakdown of time by major steps:
- Preparation: 30 minutes
- Application: 1-2 hours
- Finishing touches: 30 minutes
Recommended Products

EASY ADJUSTMENT - E-Z Hang provides ‘slip’ allowing you to float your wallpaper into position without having to peel and re-stick, simplifying pattern matching.

VESATILE WALLPAPER APPLICATION TOOL KIT: A basic tool kit help you on all types of wallpaper application, trimming ceiling, woodwork or baseboard projects, vinyl wrap, window tint or glass film installation, makes the installation process much easier for you.
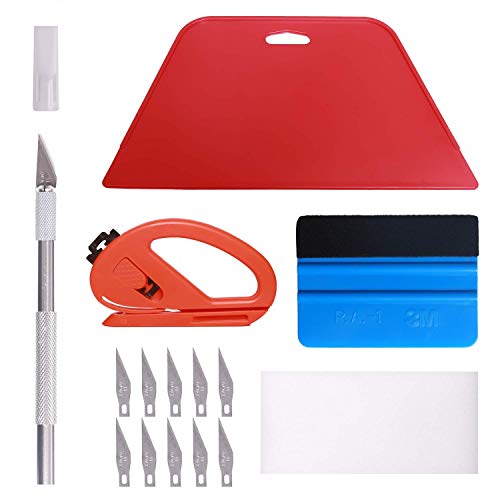
【Versatile Wallpaper Smoothing Tool Kit】This multi-function tool kit is including craft art knife with 10 replaceable blades, red and blue squeegee, vinyl cutter and sponge, which is perfect for wallpaper application, wallpaper trimming ceiling, self adhesive wallpaper, contact paper, countertop paint, ship-lap wallpaper, etc.
Skill Level & Time Estimate
Editor’s Choice

JETMORE 16 Pcs Exacto Knife Set, 3 Craft Knife and 13 SK5 Steel Blades, …
Step 1: Prepare the Surface
Start by preparing the wall surface to ensure the wallpaper adheres properly. Follow these sub-steps:
- Remove any old wallpaper or peeling paint.
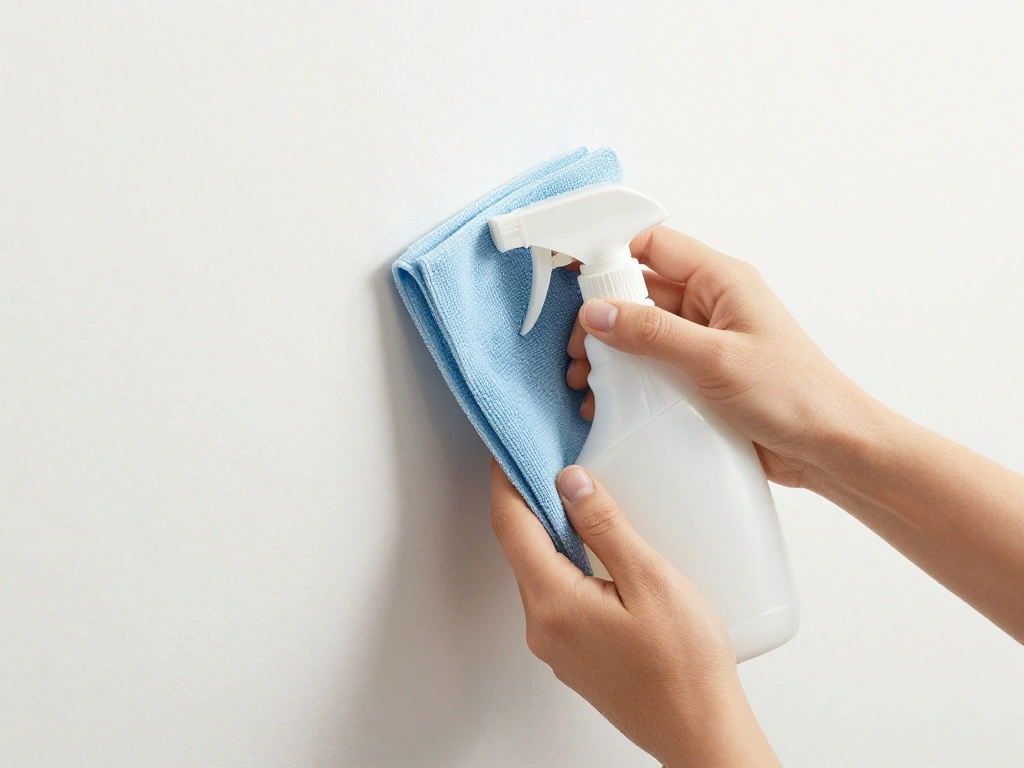
- Clean the wall with a mild detergent solution and a cloth to eliminate dust and grease.
- Allow the wall to dry completely.
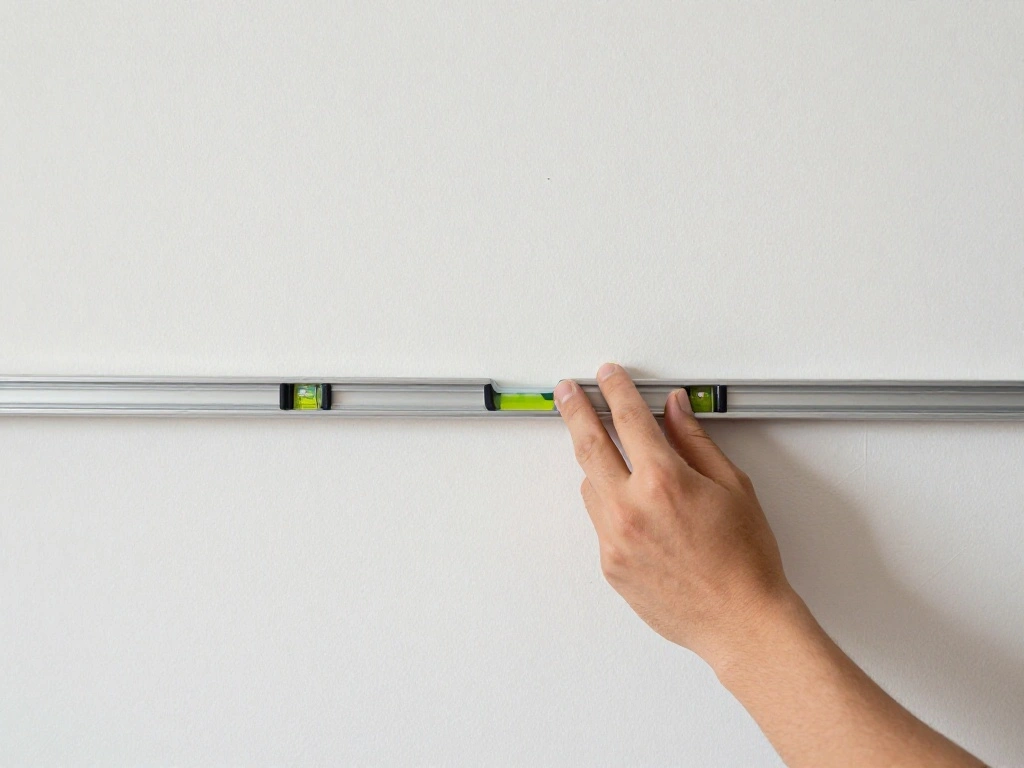
Pro Tip: Use a level to check for any uneven areas that may need smoothing out before applying the wallpaper.
Why this matters: A clean, smooth surface is essential for a bubble-free application, as dirt or bumps can prevent the wallpaper from adhering properly. This step should take about 30 minutes.
Recommended Products
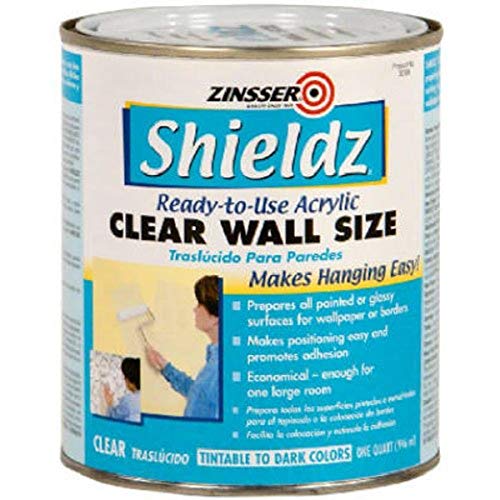
Prepares all painted or glossy surfaces for wallpaper or borders
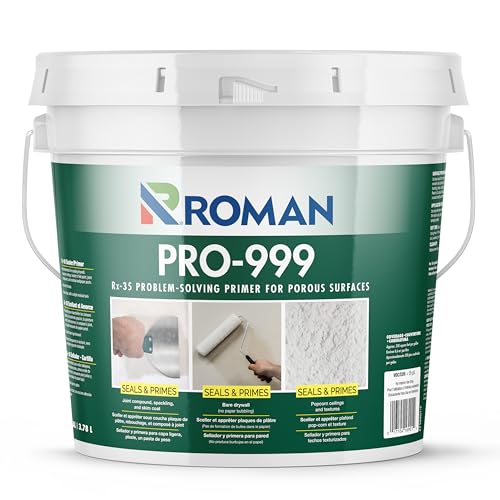
IDEAL DRYWALL PRIMER - ROMAN Clear Primer is excellent for priming over torn or bare drywall and most other porous surfaces. Ready to hang wallcoverings after approximately 3 hours dry time.

Authentic Distressed Look Design : The realistic appearance and gray-white tone of white wooden wallpaper,showcases a wood texture with natural imperfections,that captures the timeless beauty weathered wooden planks
Step 1: Prepare the Surface
Editor’s Choice

Art3d Smoothing Tool Kit for Applying Peel and Stick Wallpaper, Vinyl Ba…

CHOMP! Painted Wall Cleaner Spray: Healthier Home 5-Minute CleanWalls 4-…
Step 2: Measure and Cut the Wallpaper

Accurate measurements and cutting are key to a successful wallpaper application. Follow these steps:
- Measure the height of your wall from floor to ceiling.
- Cut the wallpaper to the appropriate height, adding an extra inch for adjustments.
- For multiple strips, repeat this process for each section.
Warning: Double-check your measurements before cutting to avoid wasting material.
Why this matters: Properly sized strips reduce the risk of misalignment and minimize waste. This step will take about 20 minutes.
Recommended Products

A basic but versatile tool wallpaper peel and stick tool kit help you on wallpaper application,trimming ceiling,woodwork or baseboard projects,vinyl wrap,window tint or glass film

【SIZE&MATERIAL】17.3In X118.In=14.16sq.ft.Floral wallpaper,upgrading and thickening. Adopt vinyl and the latest removable glue,wallpaper sticks to any smooth, flat ,clean surface,No residue after removal.

Designed for Peel and Stick Wallpaper Application: This wallpaper smoothing tool is built specifically for applying peel and stick wallpaper, helping press material evenly and reduce bubbles or wrinkles during installation
Step 2: Measure and Cut the Wallpaper
Editor’s Choice

FOSHIO Wallpaper Smoothing Tool Kit, Red Hard Squeegee, 11.5 Inch Wallpa…
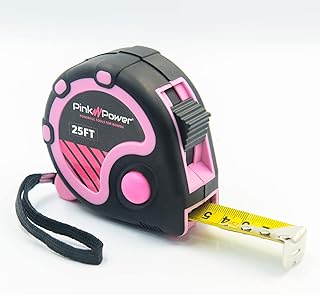
Pink Power 25ft Pink Tape Measure – Measuring Tape for Women’s Tool Kit …
Step 3: Position the Wallpaper
Now it’s time to position the wallpaper on the wall. Here’s how to do it effectively:
- Start at the top of the wall, aligning the edge of the wallpaper with the corner.
- Peel back a small section of the adhesive backing to avoid tangling.
- Press the wallpaper onto the wall, smoothing it down as you go.
Pro Tip: Use a level to ensure the wallpaper is straight during application.
Why this matters: Proper alignment is crucial to avoid crooked lines and mismatched patterns. This step should take around 15 minutes.
Step 3: Position the Wallpaper
Editor’s Choice
Art3d Smoothing Tool Kit for Applying Peel and Stick Wallpaper, Vinyl Ba…

FOSHIO Aluminum Edge Trimming Guide Cutting Template Tool for Right Angl…
Step 4: Smooth Out Air Bubbles

To achieve a flawless finish, you must smooth out any air bubbles. Follow these steps:
- Use a smoothing tool to gently press the wallpaper from the center outward.
- Apply even pressure to remove any air pockets.
- For stubborn bubbles, peel back the wallpaper slightly and reapply while smoothing.
Warning: Avoid using sharp objects that could puncture the wallpaper while smoothing.
Why this matters: Eliminating air bubbles ensures a professional appearance and prevents peeling. This step typically takes about 15-20 minutes.
Step 4: Smooth Out Air Bubbles
Editor’s Choice
Art3d Smoothing Tool Kit for Applying Peel and Stick Wallpaper, Vinyl Ba…
Step 5: Trim Excess Wallpaper
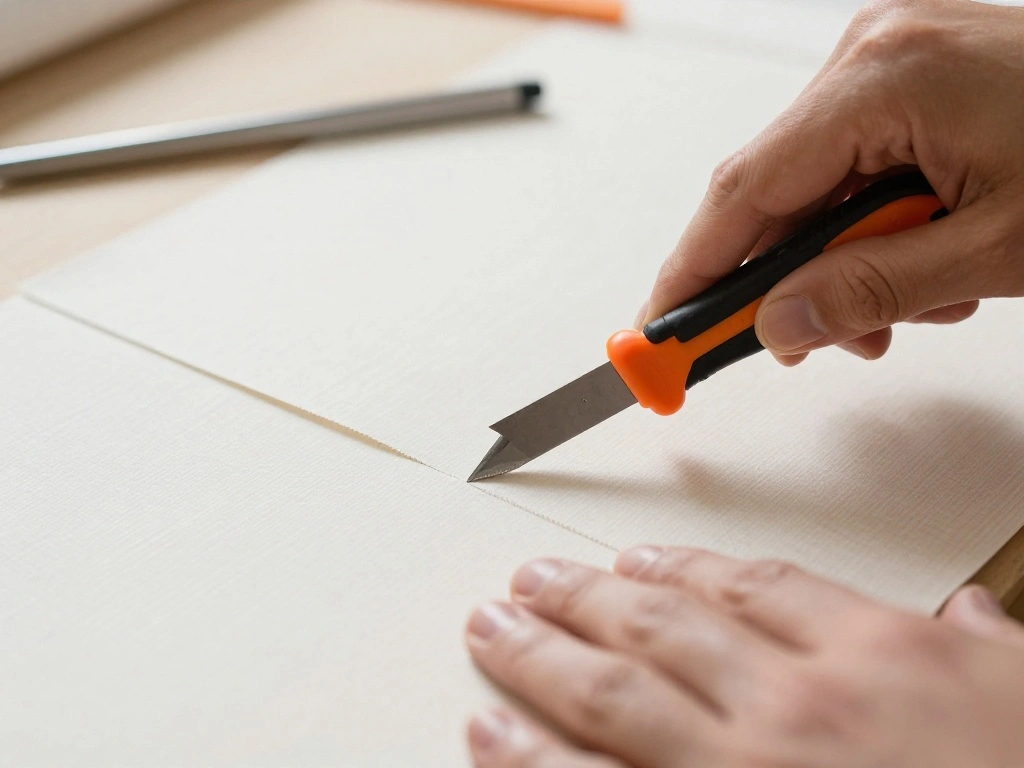
Trimming the wallpaper is essential for a clean finish. Here’s how:
- Use a utility knife to carefully trim excess wallpaper at the bottom and edges.
- Follow the baseboard and ceiling line for a precise cut.
- Make sure to cut in a straight line for a professional look.
Pro Tip: Use a straight edge as a guide for cleaner cuts.
Why this matters: Properly trimmed edges create a polished and sophisticated look. Expect this step to take about 20 minutes.
Recommended Products

Effortless DIY Installation: Peel and Stick Wallpaper, No Fuss, No Mess! Skip the paste, extra tools, or pro help. This antique bookshelf wallpaper installs in minutes! Waterproof, self-adhesive, and removable, this vintage wallpaper is perfect for quick home makeovers, dorm upgrades, or rental refreshes.

Carefully Curated wall paper kit :this wallpaper tools comprises all the necessary professional tools for wallpaper peel and stick installation.each tool is crucial for expert installation. This wallpaper tool kit can meet your various needs for cutting,smoothing,cleaning,applying.
Step 5: Trim Excess Wallpaper
Editor’s Choice

Mr. Pen- Metal Straight Edge Ruler, 4 pcs, 6″, 8″, 12″, 14″, Stainless S…
Step 6: Inspect and Touch Up

After applying the wallpaper, it’s important to inspect your work and make any necessary touch-ups. Follow these steps:
- Examine the wallpaper for any remaining bubbles or misalignments.
- Use the smoothing tool to fix any issues found.
- Check the edges to ensure they are secure and properly adhered.
Warning: Don’t rush this step; a careful inspection can save you from future problems.
Why this matters: Addressing minor imperfections now can help maintain the quality and longevity of your wallpaper. This step should take around 15 minutes.
Recommended Products

Size: 15.7" x 120", There is a grid on the back which makes measuring and cutting it very easy.Warm tips: Please stick the wallpaper on a smooth and flat surface, avoid water or dust and other impurities on the surface of the item before pasting.

Stone Wallpaper--[SIZE&DESIGN]--17.7In X 118.1 In=14.5 sq.ft. Stone wallpaper is made of vinyl. It has been upgraded twice and the backside has been brushed with a new removable adhesive that greatly improves removability with moderate adhesion. Brick contact paper restores the real brick wallpaper texture for you, clear and natural pattern, faux stone brick design, elegant and generous.

EASY TO APPLY: Squeeze tube makes application simple
Step 6: Inspect and Touch Up
Editor’s Choice

Laatse Dark Wallpapr Peel and Stick Boho Wallpaper 17.5in x 393in Black …

ROMAN’s Wallpaper Smoothing Tool for Home Improvement, Wallpaper Smoot…

NEWISHTOOL Wallpaper Smoothing Tool Kit, Wallpaper Tools for Applying Pe…
Step 7: Enjoy Your New Space

Congratulations! You’ve successfully applied peel-and-stick wallpaper without bubbles. Now, take a moment to appreciate your hard work. Follow these final steps:
- Step back and admire your newly decorated space.
- Consider adding complementary decor to enhance the look.
- Share your accomplishment with friends or on social media!
Pro Tip: Keep any leftover wallpaper for future touch-ups.
Why this matters: Enjoying your space boosts satisfaction and gives you a sense of accomplishment. This step takes as long as you need!
Step 7: Enjoy Your New Space
Editor’s Choice

Framed Black Woman Canvas Wall Art, African American Wall Decor, Fashion…

vomiceak Face Planter Pots Head, Planters for Indoor Plants – Double Cut…

4Pcs Pink Pillow Covers, Fashion Woman Watercolor Perfume High Heels Lip…
Pro Tips
- Temperature Matters: Apply wallpaper in a room temperature environment (between 65-75°F) for best adhesion.
- Use a Primer: If your walls are textured, a primer can help the wallpaper stick better and reduce bubbles.
- Overlap Edges: When applying multiple strips, overlap edges slightly to prevent gaps.
- Work with a Partner: Having someone help can make positioning and smoothing easier.
- Practice Makes Perfect: If you’re a beginner, practice on a smaller area first to build confidence.
Common Mistakes to Avoid
Warning: Applying wallpaper on dirty walls can lead to peeling and bubbles. Always ensure the surface is clean.
Warning: Cutting wallpaper too short can leave unsightly gaps. Measure twice, cut once.
Warning: Rushing the smoothing process can trap air bubbles. Take your time to press out bubbles thoroughly.
Warning: Using excessive force while smoothing can tear the wallpaper. Use gentle pressure.
Warning: Not using a straight edge while trimming may result in uneven cuts. Always use a guide.
Common Mistakes to Avoid
Editor’s Choice
ROMAN’s Wallpaper Smoothing Tool for Home Improvement, Wallpaper Smoot…

CRAFTSMAN 25-Ft Tape Measure with Fraction Markings, Retractable, Self-L…

Zep ZUFWC18 Foaming Wall Cleaner, 18 oz, Clear
Troubleshooting Section
Problem: Bubbles appear after application.
Solution: Use a smoothing tool to gently push the bubbles out toward the edges. If stubborn, peel back the wallpaper slightly and reapply while smoothing.
Problem: Wallpaper doesn’t stick.
Solution: Check if the wall is clean and dry. If not, clean and allow to dry before reapplying.
Problem: Wallpaper is misaligned.
Solution: Carefully peel back the wallpaper and reposition it while smoothing out any bubbles as you go.
Problem: Edges are lifting.
Solution: Apply a little heat with a hairdryer to soften the adhesive, then press down firmly.
Problem: Wallpaper rips during application.
Solution: Use a patch of leftover wallpaper to cover small tears, or carefully cut a new strip to replace it.
Troubleshooting Section
Editor’s Choice

Zep ZUFWC18 Foaming Wall Cleaner, 18 oz, Clear
Variations/Alternative Methods
1. Traditional Wallpaper: Use standard wallpaper with paste for a more permanent solution, ideal for long-term projects.
2. Removable Wallpaper: Great for renters; easy to remove and reposition without damage.
3. Paintable Wallpaper: Allows for customization with paint, giving you unique designs. Pros: personalize your space; cons: more labor-intensive.
Variations/Alternative Methods
Editor’s Choice
Art3d Smoothing Tool Kit for Applying Peel and Stick Wallpaper, Vinyl Ba…

Roman’s E-Z Hang Peel & Stick Wallpaper Helper, Clear, Non-Staining, 3…
Art3d Smoothing Tool Kit for Applying Peel and Stick Wallpaper, Vinyl Ba…
FAQs
What if I don’t have a smoothing tool? You can use a credit card or any flat, smooth object to press out bubbles.
How long should I wait to wash the walls after applying wallpaper? Wait at least 24 hours to allow the adhesive to set properly before cleaning.
Is it safe to apply wallpaper in a bathroom? Yes, but ensure it’s a moisture-resistant type to prevent peeling.
What if I need to remove the wallpaper? Gently peel it away from the wall; if it resists, use a hairdryer to soften the adhesive.
Can I reuse peel-and-stick wallpaper? It can be reused if removed carefully; however, the adhesive may weaken.
FAQs
Editor’s Choice

White Caulk Tape Self Adhesive Waterproof, Bathroom Peel & Stick Caulkin…

Easyoulife Genuine Leather Credit Card Holder Zipper Wallet With 26 Card…
Art3d Smoothing Tool Kit for Applying Peel and Stick Wallpaper, Vinyl Ba…
Conclusion

Congratulations on successfully applying peel-and-stick wallpaper without bubbles! You’ve transformed your space and honed your DIY skills. Now that your walls look stunning, consider how to complement your new decor with furniture and accessories.
To maintain your wallpaper, avoid excessive moisture and clean it gently. If you loved this project, explore other DIY home improvement tasks to continue enhancing your living space. Enjoy your beautiful new walls!