
Living in an apartment with no foyer can be a challenge, especially when it comes to organizing your space. An entryway serves as the first impression of your home, and without one, it can feel cluttered and unwelcoming. If you’re tired of stepping directly into your living area without a designated space for shoes, coats, and bags, you’re not alone. Many apartment dwellers face the same issue, making it essential to create an entryway that maximizes functionality and style.
In this guide, you will learn how to transform a small corner of your apartment into a functional entryway, complete with storage solutions and decorative elements. By the end, you will not only have a welcoming space for guests but also a practical area to store your belongings, enhancing your apartment’s organization.
This guide is designed for beginners and can be completed in approximately 2-3 hours. You’ll discover specific steps to create your entryway, from selecting furniture to adding decorative touches. Let’s get started on making your apartment feel more like home!
TL;DR Summary
- Create a functional entryway in a small apartment space.
- Use furniture and decor to maximize storage and style.
- Follow nine simple steps to achieve your ideal entryway.
TL;DR Summary
Editor’s Choice

Onlyeasy Sturdy Under Bed Shoe Storage Organizer, Set of 2, Fit 12 to 24…

DUMOS 43 Inch Folding Storage Ottoman Bench, Large Hidden Storage Chest …

Dseap Coat Rack Wall Mounted – 5 Tri Hooks, Heavy Duty, Stainless Steel,…
Prerequisites/Materials Needed
- Furniture:
- Small console table or bench
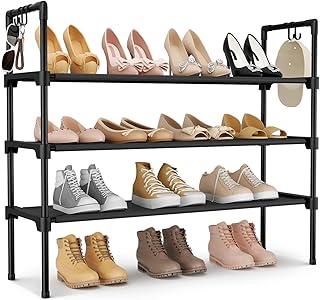
- Shoe rack or storage bins
- Decor:
- Wall mirror
- Wall hooks or a coat rack
- Decorative basket
- Tools:
- Drill or screwdriver
- Level
- Tape measure
Prerequisites/Materials Needed
Editor’s Choice

HOOBRO Narrow Console Table, 29.5″ Small Entryway Table, Thin Sofa Side …

Wooden Coat Rack Freestanding with 8 Hooks & 3 Adjustable Sizes for Clot…

Goodpick Cube Storage Bins – Towel, Book, Cloth, Shoes, Closet Shelf Wov…
Skill Level & Time Estimate
Skill Level: beginner
Total time estimate: 2-3 hours. Major steps breakdown:
- Planning and measuring: 30 minutes
- Shopping for materials: 1-1.5 hours
- Setup and installation: 1 hour
Skill Level & Time Estimate
Editor’s Choice

WANGMUXIA Coat Rack, Freestanding Coat Rack with 8 Hooks and 3 Adjustabl…

HOOBRO Shoe Rack for Entryway, 5-Tier Shoe Organizer with Adjustable Mes…

HOKYHOKY Reclaimed Solid Wood Bench-43.3″ Farmhouse Entryway Bench with …
Step 1: Measure Your Space

Start by measuring the area where you plan to create your entryway. This step is crucial for ensuring that your chosen furniture fits well without overcrowding the space. Follow these sub-steps:
- Take a tape measure and measure the width and height of the wall where the entryway will go.
- Measure the space between the wall and any nearby furniture to ensure easy movement.
- Write down your measurements for reference while shopping.
Pro Tip: Consider the size of your door when measuring; you need enough space to open it fully.
This matters because accurate measurements will help you select furniture that fits and looks good in the space. Allow approximately 30 minutes for this step.
Step 1: Measure Your Space
Editor’s Choice

Homleke 2-Tier Storage Bench, Shoe Bench with Thickened Padded Seat Cush…

NestOrganix 2 Pack Shoe Organizer for Closet, Large Shoe Box Storage Con…

pickpiff Adhesive Wall Hooks for Towels – Sticky Hook Hanging Heavy Duty…
Step 2: Choose Your Furniture
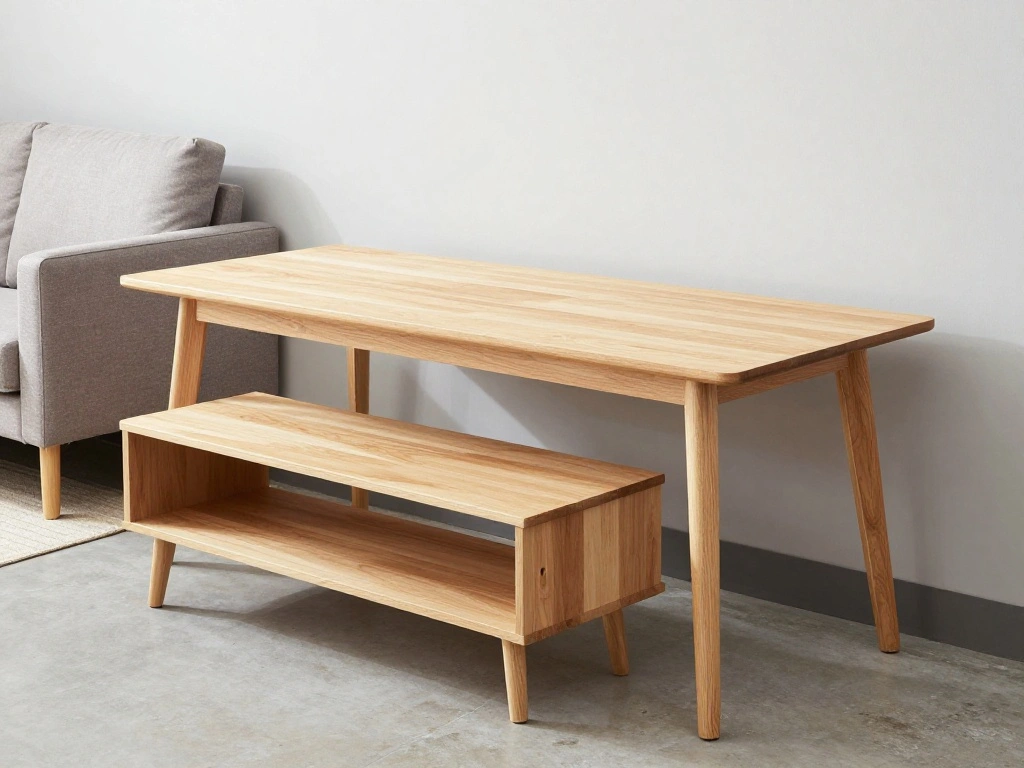
Next, select the furniture that will comprise your entryway. The right pieces will provide both functionality and style. Follow these steps:
- Look for a console table or bench that fits within your measured space.
- Consider a shoe rack or decorative bins for shoe storage.
- Make sure the style of the furniture complements your apartment’s decor.
Warning: Avoid oversized furniture that can make the space feel cramped.
Choosing the right furniture is essential for creating a welcoming entryway that serves its purpose without overwhelming the space. Allow about 1 hour for shopping or browsing online.
Step 2: Choose Your Furniture
Editor’s Choice

Narrow Entryway Console Table & Sofa Side Table – Industrial Hallway Tab…
LANTEFUL 3 Tier Shoe Rack for Closet, Shoe Organizer with 5 Hooks, Long …

StorageWorks Fabric Storage Bins with Lid, Decorative Storage Boxes for …
Step 3: Gather Your Tools
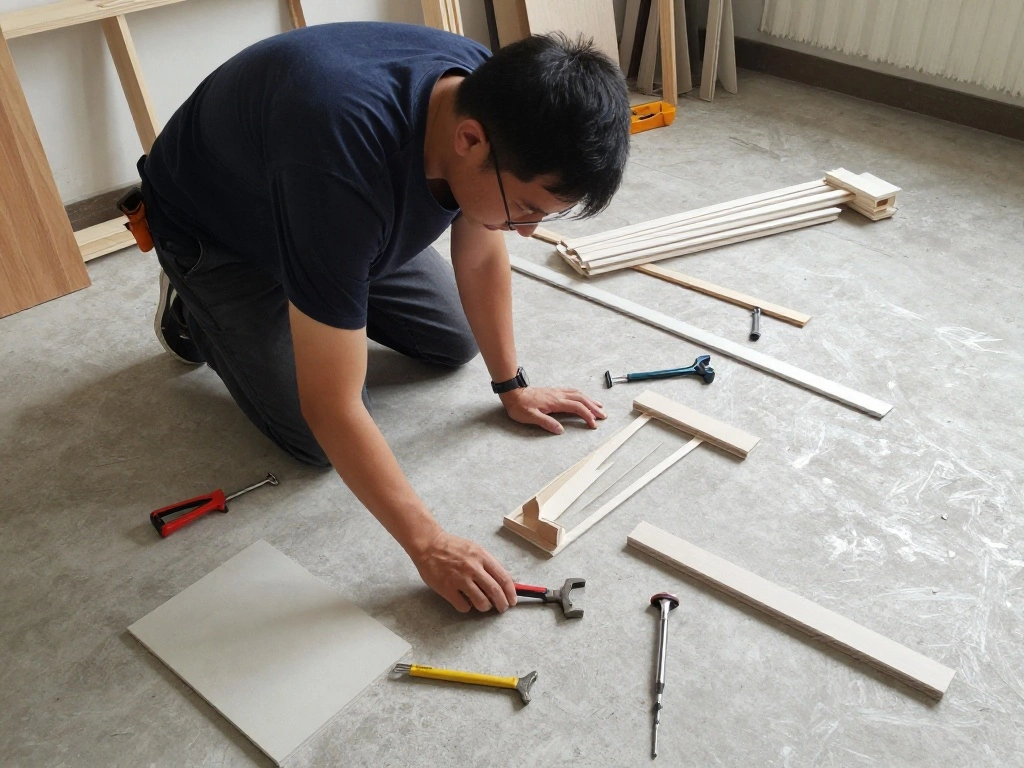
Before setting up your entryway, gather all the necessary tools and materials. This preparation will ensure a smooth installation process. Here’s what to do:
- Collect your chosen furniture items.
- Get your tools ready: drill or screwdriver, level, and tape measure.
- Have a pencil and paper handy for making marks on the wall.
Pro Tip: If you have a friend, ask them to help you with the heavy lifting.
This step is important because having everything ready will save you time and frustration during installation. Allow about 15 minutes for this step.
Step 3: Gather Your Tools
Editor’s Choice

Vertical Shoe Rack – Tall Narrow Shoe Rack Organizer for Small Spaces,5 …
Dseap Coat Rack Wall Mounted – 5 Tri Hooks, Heavy Duty, Stainless Steel,…
Homleke 2-Tier Storage Bench, Shoe Bench with Thickened Padded Seat Cush…
Step 4: Install Wall Hooks or Coat Rack

Installing wall hooks or a coat rack is a great way to maximize vertical space and keep outerwear organized. Here’s how to do it:
- Using your level, mark the desired height for the hooks or rack on the wall.
- Drill holes into the marked spots and secure the hooks or rack with screws.
- Double-check that everything is level before tightening the screws completely.
Warning: Ensure that you are drilling into a wall stud for maximum support.
This step matters because it provides a dedicated space for coats and bags, keeping your entryway tidy. Allow about 30 minutes for this installation.
Step 4: Install Wall Hooks or Coat Rack
Editor’s Choice

5 Large Size Heavy Duty Wall Hooks, Coat Hooks for Hanging Pans, Backpac…

DEWALT 20V Max Cordless Drill Driver Set, 2 Speed, High Performance Moto…
Dseap Coat Rack Wall Mounted – 5 Tri Hooks, Heavy Duty, Stainless Steel,…
Step 5: Position Your Furniture

Once your hooks are installed, it’s time to position your furniture. The layout is crucial for both aesthetics and functionality. Follow these steps:
- Place your console table or bench against the wall, ensuring it’s stable and accessible.
- Arrange your shoe rack or bins nearby for easy access.
- Make sure there’s enough space for people to pass through comfortably.
Pro Tip: Leave enough space for a small rug if you plan to add one later.
This matters because a well-positioned layout enhances usability and makes your entryway inviting. Allow about 20 minutes for this step.
Step 5: Position Your Furniture
Editor’s Choice

Ophanie Small Rug Upgrade Non Slip Throw Bedside Area Rugs, Fluffy Soft …

Kitsure Shoe Rack – Non-Woven Shoe Rack Shelf, Shoe Organizer for Closet…

Besiost 47″ Farmhouse Wood Entryway Table Narrow Console Table with Stor…
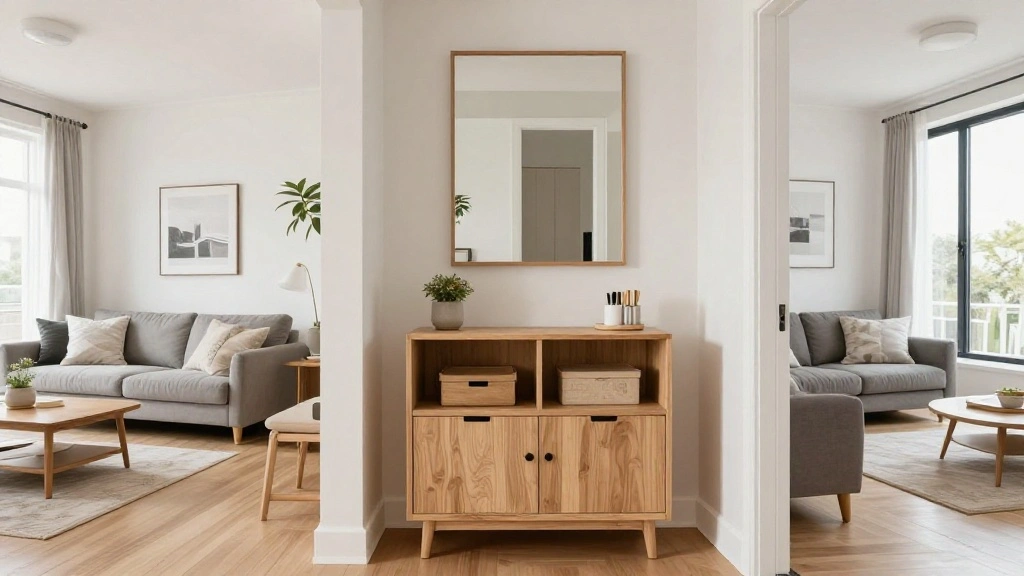
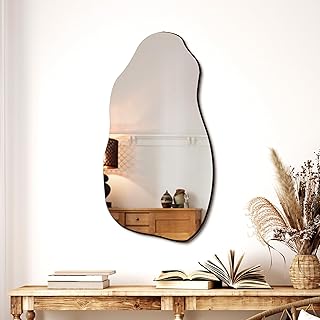
Step 6: Add Decorative Elements
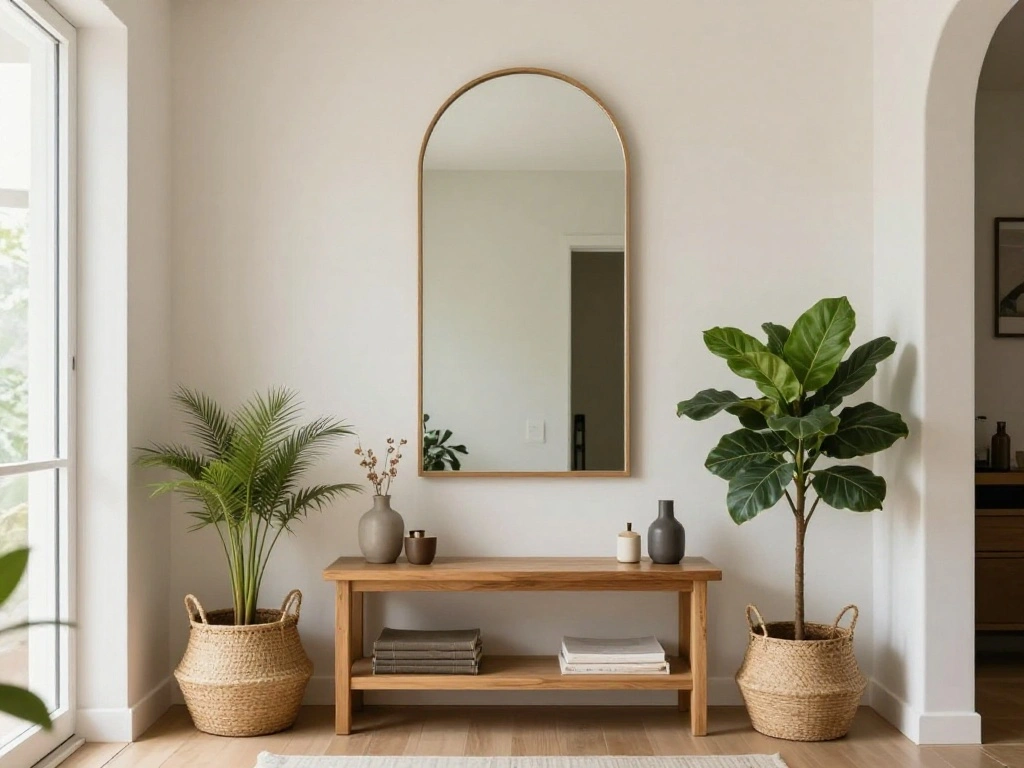
Make your entryway inviting by adding decorative elements. Personal touches will enhance the overall look. Here’s how:
- Hang a mirror above the console table to create the illusion of more space.
- Add a decorative basket for storing smaller items like keys or mail.
- Include a small plant or a piece of art to make the space feel warm and welcoming.
Warning: Avoid cluttering the space with too many items; simplicity is key.
This matters because decorative elements reflect your personality and style, making your entryway more inviting. Allow about 30 minutes for this step.
Step 6: Add Decorative Elements
Editor’s Choice

Small Cute Pink Gift Basket Empty to Fill — Mini Wicker Woven Cotton R…
TRAHOME 32” x 18” Irregular Asymmetrical Wall Mirror for Living Room B…

Planters’ Choice 9 Herb Indoor Window Garden Kit – Birthday Gifts – Hous…
Step 7: Organize Your Storage
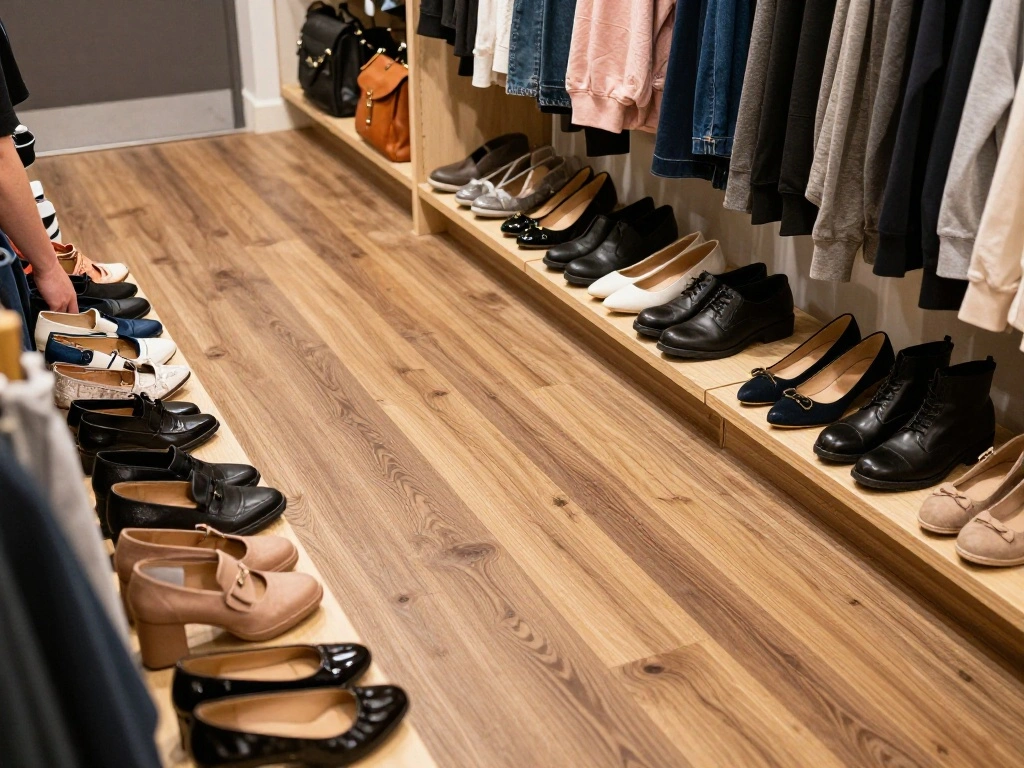
Now that your entryway is set up, it’s time to organize your storage. A well-organized space will enhance functionality. Follow these steps:
- Sort your shoes and place them neatly on the shoe rack or in bins.
- Designate specific hooks for each family member’s coats or bags.
- Regularly check and declutter the space to keep it tidy.
Pro Tip: Consider seasonal storage for items that are not in use.
This matters because an organized entryway reduces stress and creates a welcoming environment. Allow about 20 minutes for this step.
Step 7: Organize Your Storage
Editor’s Choice

Homode Wall Hooks with Shelf, Wood Coat Rack with Shelf Wall-Mounted, En…
Kitsure Shoe Rack – Non-Woven Shoe Rack Shelf, Shoe Organizer for Closet…

CHICVITA Black Storage Bins Shoe Basket for Entryway, Closet Toy Storage…
Step 8: Personalize Your Space

Add personal touches to your entryway to make it truly yours. Personalization can elevate the space and make it feel homey. Here’s how:
- Display family photos or artwork on the console table.
- Incorporate items that reflect your interests, like books or travel souvenirs.
- Switch out decor items seasonally for a fresh look.
Warning: Keep personal items within reason to maintain a neat appearance.
This matters because a personalized space enhances comfort and warmth in your home. Allow about 30 minutes for this step.
Step 8: Personalize Your Space
Editor’s Choice

nuvagiki Interchangeable Seasonal Home Sign with 12 Icons, Farmhouse Woo…
Besiost 47″ Farmhouse Wood Entryway Table Narrow Console Table with Stor…

MHARTK66 Wall Art for Living Room Modern Wall Decor for Bedroom Office D…
Step 9: Final Inspection and Adjustments
Finally, take a step back to inspect your new entryway. This final check ensures everything is in place and looks good. Here’s what to do:
- Review the overall layout for functionality and aesthetics.
- Make any necessary adjustments to furniture placement or decor.
- Ensure all storage items are easily accessible and organized.
Pro Tip: Ask a friend for their opinion to get an outside perspective.
This matters because a final inspection guarantees that your entryway serves its purpose effectively and looks great. Allow about 20 minutes for this step.
Step 9: Final Inspection and Adjustments
Editor’s Choice

GRANNY SAYS Wicker Storage Baskets for Shelves, Wicker Baskets for Organ…
DUMOS 43 Inch Folding Storage Ottoman Bench, Large Hidden Storage Chest …

Optish Coat Rack Wall Mount, 16.5 Inches Wood Coat Hooks, Wall Hooks for…
Pro Tips
- Choose Multi-Functional Furniture: Look for items that serve more than one purpose, like a bench with storage.
- Incorporate Lighting: Add a small lamp or string lights to enhance visibility and ambiance.
- Use Vertical Space: Consider tall shelving or wall-mounted items to save floor space.
- Keep It Simple: Less is more; avoid overcrowding your entryway with too many items.
- Regularly Update Decor: Change decor with the seasons to keep the space fresh and inviting.
Pro Tips
Editor’s Choice
Homleke 2-Tier Storage Bench, Shoe Bench with Thickened Padded Seat Cush…

Buffet Lamps Set of 2, 30″ Tall Black Table Lamps for Console Table, Ent…

BAYKA Floating Shelves for Wall, 15.7in Wall Mounted Rustic Wood Shelves…
Common Mistakes to Avoid
Warning: Do not overcrowd the space. Too much furniture can make the entryway feel cramped. Always measure before purchasing new items.
Warning: Avoid neglecting organization. A disorganized entryway defeats the purpose of creating a functional space. Regularly check for clutter.
Warning: Don’t forget about lighting. A dark entryway can feel unwelcoming. Ensure adequate lighting is part of your design.
Common Mistakes to Avoid
Editor’s Choice
Homode Wall Hooks with Shelf, Wood Coat Rack with Shelf Wall-Mounted, En…

HAITRAL Black Modern Table Lamp – Minimalist Small Bedside Lamp with Hol…
Homleke 2-Tier Storage Bench, Shoe Bench with Thickened Padded Seat Cush…
Troubleshooting Section
Problem: My entryway feels cramped.
Solution: Reassess your furniture choices; consider smaller or multi-functional pieces.
Problem: Items keep falling off hooks.
Solution: Ensure hooks are securely installed and consider choosing hooks with a stronger grip.
Problem: Clutter keeps accumulating.
Solution: Set a weekly schedule to tidy and reorganize your entryway.
Problem: The space feels cold and uninviting.
Solution: Add personal touches and warm lighting to create a cozy atmosphere.
Troubleshooting Section
Editor’s Choice

Command 15 Lb XL Heavyweight Wall Hook, Damage Free Hanging Wall Hook wi…

HOOBRO Hall Tree, Coat Rack with Shoe Rack, Hall Tree with Bench, 5 Tier…
Homleke 2-Tier Storage Bench, Shoe Bench with Thickened Padded Seat Cush…
Variations/Alternative Methods
Consider these variations when creating your entryway:
- Use a Parson’s Table: A simple table can serve as a minimalist entryway option, perfect for smaller spaces.
- Incorporate a Narrow Bookshelf: A bookshelf can provide vertical storage for decor and everyday items.
- Designate a Closet Space: If you have a closet near the entryway, use it for coats and shoes to free up space in the main area.
FAQs
What if I don’t have space for a console table? Consider using a wall-mounted shelf instead; it saves space and provides a place for decor.
How long should I expect this to take? Expect the entire project to take about 2-3 hours, including shopping and setup.
Is it safe to install hooks on drywall? Yes, but ensure you use wall anchors for extra support if the hooks will hold heavy items.
What if my entryway is too dark? Add a small lamp or use mirrors to enhance lighting and create a brighter space.
Conclusion

Congratulations! You’ve successfully created an entryway in your apartment, transforming a previously underutilized space into a welcoming area. This new entryway not only enhances the functionality of your home but also adds a personal touch that reflects your style.
As you enjoy your new setup, consider updating it seasonally or adding new decor items as needed. For more ideas on how to make the most of your apartment space, explore home decor blogs or DIY resources. Your journey to a beautifully organized home doesn’t have to stop here!