
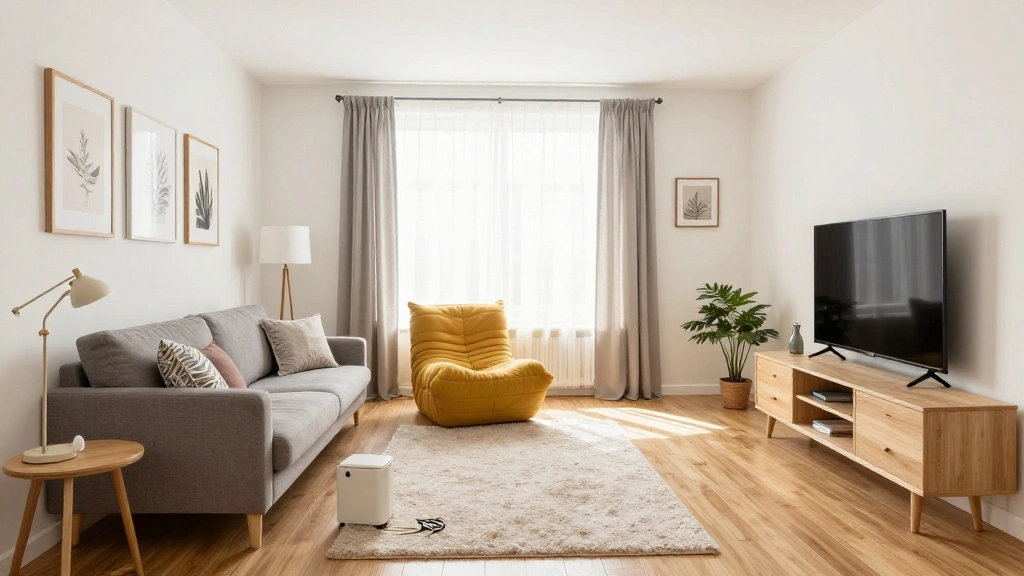
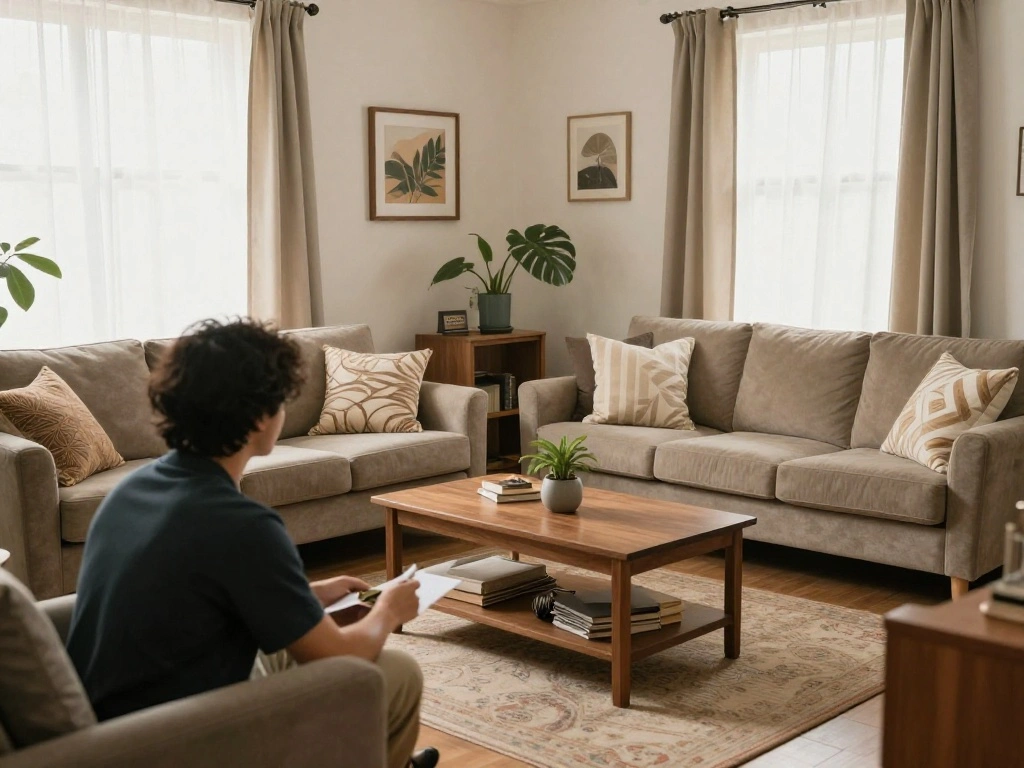
Struggling to make the most of your small living room? You’re not alone! Many people face the challenge of creating a cozy and functional space when they have limited square footage. It can often feel overwhelming, but with the right approach, you can transform your small area into an inviting haven. In this guide, you’ll learn how to arrange furniture in a small living room effectively. By following our step-by-step instructions, you’ll discover the best layout strategies, furniture selections, and space-saving tips that can help you maximize every inch.
Whether you’re working with a studio apartment or just a compact living room, this guide is designed for beginner decorators like you. Expect to spend around 2-3 hours on this project, depending on the complexity of your space and the number of furniture pieces involved. Are you ready to create a beautiful and functional living room? Let’s get started!
TL;DR Summary
- Assess your space and measure your furniture to determine the best layout.
- Choose multifunctional furniture to maximize utility.
- Consider traffic flow and focal points when arranging.
- Accessorize wisely to create a cozy atmosphere.
TL;DR Summary
Editor’s Choice

Smuxee Nesting Coffee Table Set of 2, 23.6″ Round Coffee Table Wood Grai…

Ahomly 87″ Convertible Sofa Bed – Space-Saving Sleeper with Pull-Out D…

BAYKA Floating Shelves for Wall, Wall Mounted Rustic Wood Shelves for Ba…
Prerequisites/Materials Needed
- Measuring tape
- Notepad and pencil for planning
- Small furniture pieces (sofa, chairs, coffee table)
- Multifunctional furniture (e.g., ottoman with storage)
- Decor items (cushions, rugs, art)
- Furniture sliders (for easy rearrangement)
Skill Level & Time Estimate
Skill Level: beginner
Total Time Estimate: 2-3 hours
Expect to spend about 30 minutes on planning, 1 hour on rearranging, and another hour for decorating.
Skill Level & Time Estimate
Editor’s Choice

Vivihomety Utility Slim Storage Cart with Wheels, 4 Tier Small Rolling C…


Leick Home Mission End Table, Solid Wood, Built-In-Lamp, 1 Drawer, Botto…
Step 1: Clear the Space
Start by completely clearing the room of all furniture and accessories. This allows you to see the entire space and visualize potential layouts. Follow these sub-steps:
- Remove all furniture and accessories from the room.
- Clean the floor and surfaces to prepare for a fresh start.
- Take measurements of the room dimensions and note any architectural features like windows and doors.
Pro Tip: Use a measuring tape to get accurate dimensions to help in planning your layout.
Why this matters: A clean slate will help you focus on how to best utilize the space.
Time estimate: 30 minutes.
Step 1: Clear the Space
Editor’s Choice


CRAFTSMAN 25-Ft Tape Measure with Fraction Markings, Retractable, Self-L…
Step 2: Measure Your Furniture
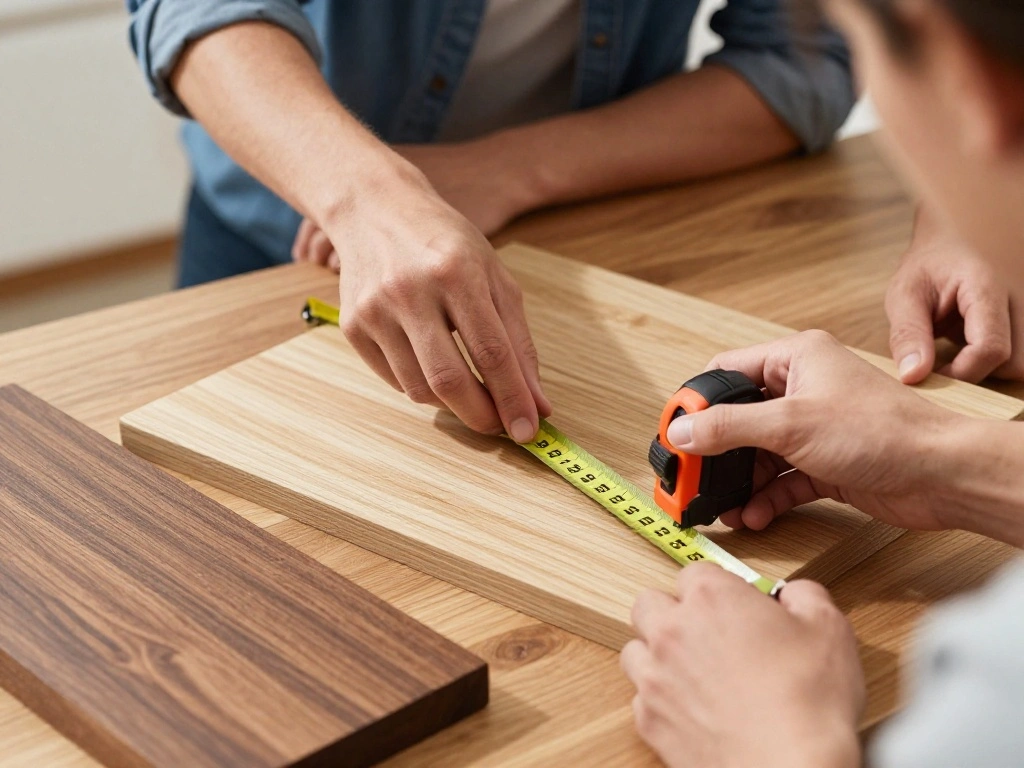
Before you start arranging, measure each piece of furniture you plan to use. This will help you determine what fits where. Follow these sub-steps:
- Measure the length, width, and height of each furniture item.
- Write down the measurements in your notepad.
- Consider the size and shape of each item to avoid overcrowding.
Warning: Avoid using oversized furniture in a small room, as it can make the space feel cramped.
Why this matters: Knowing the dimensions of your furniture helps you visualize where each piece can go without overwhelming the space.
Time estimate: 20 minutes.
Step 2: Measure Your Furniture
Editor’s Choice

HOOBRO Small Narrow Side Table with Charging Station, Skinny End Table f…

Digital Caliper, Sangabery 0-6 inches Caliper with Large LCD Screen, Aut…
Step 3: Create a Floor Plan

Sketch a basic floor plan of your living room on paper or use an online room planner. This will give you a visual representation of potential layouts. Here’s how to do it:
- Draw the room’s dimensions on paper or use a room planning app.
- Mark the location of windows, doors, and electrical outlets.
- Experiment with different furniture arrangements on paper.
Pro Tip: Use graph paper to scale your drawings for better accuracy.
Why this matters: Visualizing the layout helps you see how furniture will fit together and what arrangements look best before moving heavy items.
Time estimate: 30 minutes.
Step 3: Create a Floor Plan
Editor’s Choice

Modular & Multi-Functional Furniture Guide for 2026: How to Choose, Buy,…

PAPERAGE Undated Weekly & Monthly Hardcover Planner (Black), 5.6 in x 8 …

Zaviko Graph Paper Pad 8.5 x 11, 2 Pack, 4×4 Graph Ruled, Grid Paper Pad…
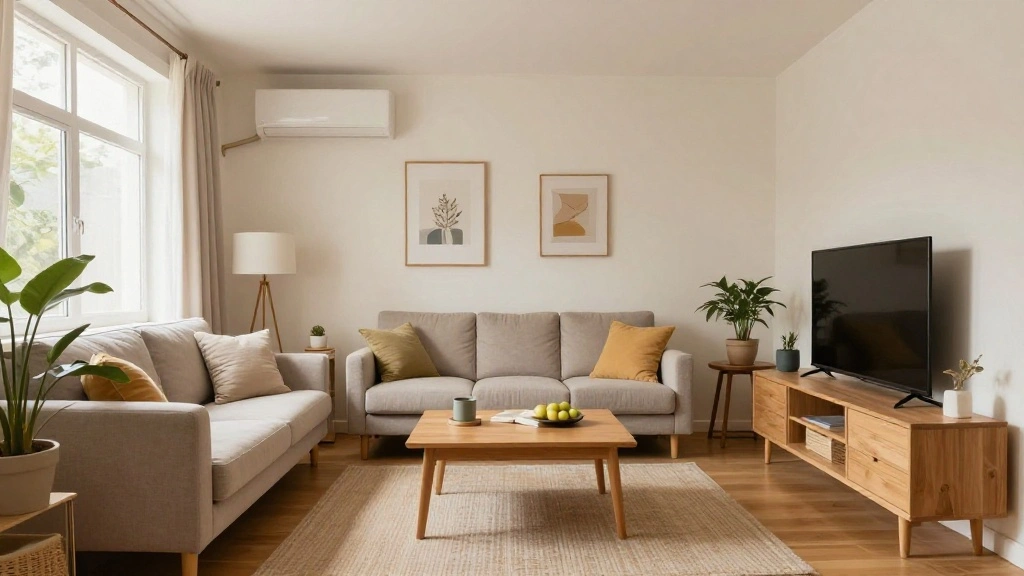
Step 4: Decide on a Focal Point
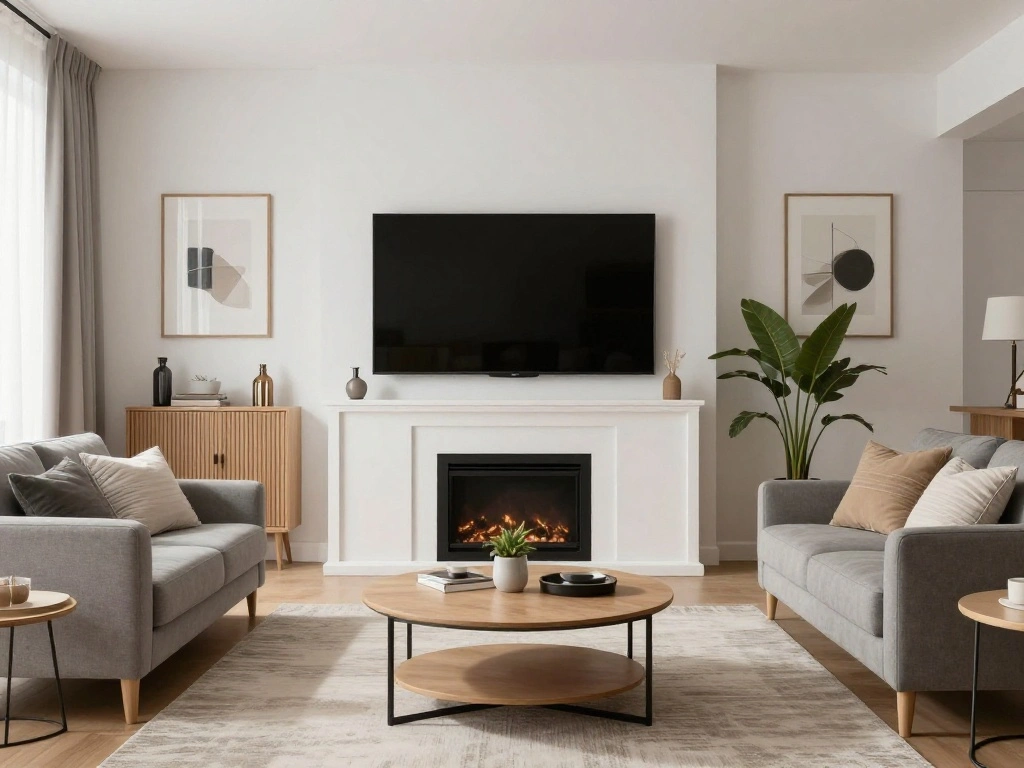
Choose a focal point for your living room, such as a fireplace, a TV, or a piece of art. This will guide your furniture placement. Follow these steps:
- Identify the main feature of the room that draws attention.
- Arrange your main seating to face this focal point.
- Consider the flow of traffic in relation to this focal point.
Pro Tip: Position your sofa about 8-10 feet from the focal point for optimal viewing.
Why this matters: A focal point creates visual interest and anchors the room, making it feel more cohesive.
Time estimate: 20 minutes.
Step 4: Decide on a Focal Point
Editor’s Choice

VASAGLE BARNET Collection – Side Table, Small End Table for Living Room,…

COLAMY Fabric Round Storage Ottoman with Reversible Tray Lid – Multi-F…
Step 5: Arrange Seating First
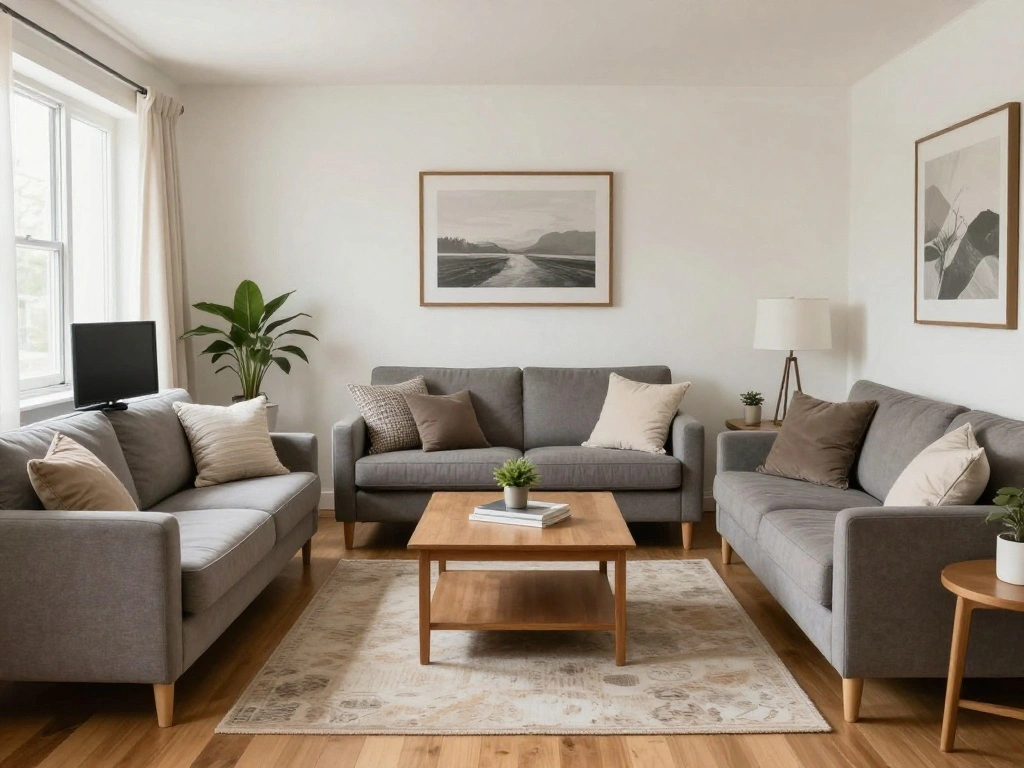
Begin by arranging your seats (sofa, chairs) around your chosen focal point. This sets the foundation for the rest of your layout. Follow these steps:
- Place the sofa facing the focal point.
- Add chairs on either side or opposite the sofa, ensuring they are accessible.
- Leave enough space (approximately 2-3 feet) for walking paths between furniture.
Warning: Avoid placing seating too far from the focal point, as it can make conversations difficult.
Why this matters: Seating arrangements are crucial for comfort and interaction in your living space.
Time estimate: 30 minutes.
Step 5: Arrange Seating First
Editor’s Choice

DUMOS Mid Century Modern Accent Chair, Upholstered Armchair with Lumbar …

YITAHOME Sectional Sleeper Sofa with Pull Out Couch Bed, 81″ Convertible…

SEDETA 31.5″ Lift Top Coffee Table with Storage, Square Coffee Tables fo…
Step 6: Add a Coffee Table
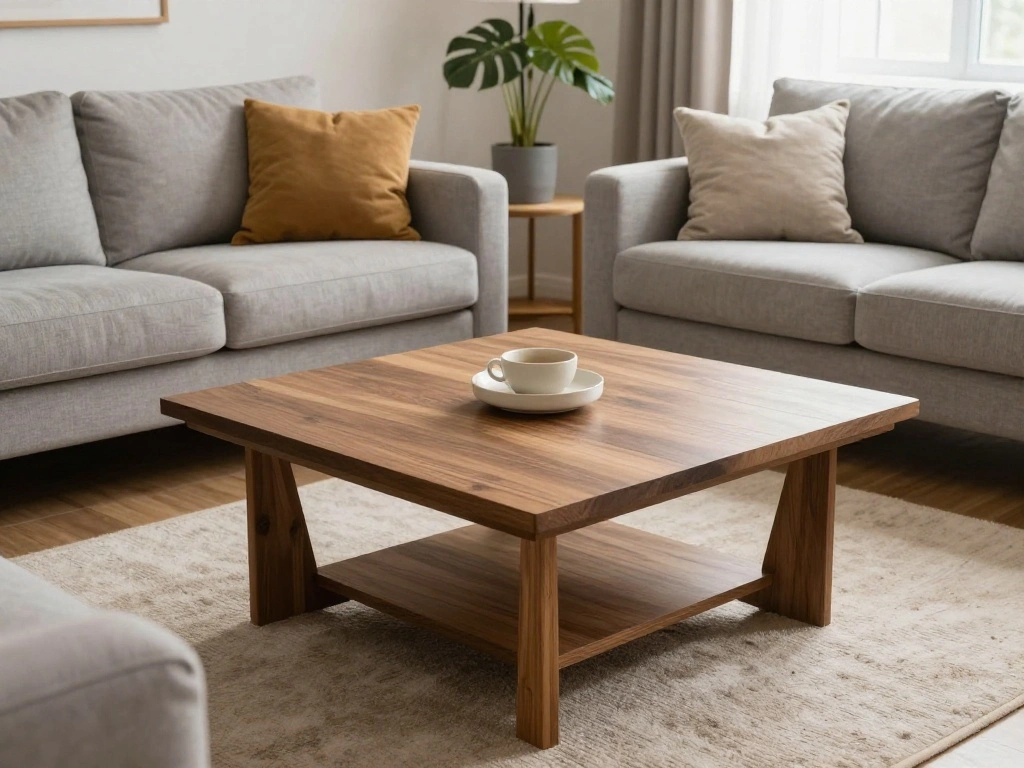
Next, incorporate a coffee table into your seating arrangement. This piece can enhance functionality and style. Follow these steps:
- Select a coffee table that complements your seating (consider size and style).
- Place the coffee table about 18 inches away from the sofa for easy access.
- Ensure the table does not obstruct traffic flow in the room.
Pro Tip: Choose a coffee table with storage options to maximize utility in a small space.
Why this matters: A well-placed coffee table can serve both as a functional piece and as a decorative element.
Time estimate: 20 minutes.
Step 6: Add a Coffee Table
Editor’s Choice
SEDETA 31.5″ Lift Top Coffee Table with Storage, Square Coffee Tables fo…

JOINICE,Round Coffee Table with Storage, 31.5″ Fluted Center Table for L…

Small Coffee Table, Low Table with Solid Wood Legs, 23.6″ Mini Oval Acce…
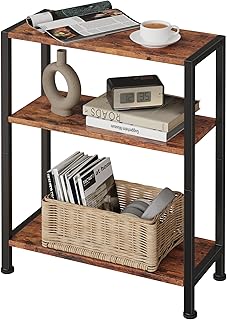
Step 7: Incorporate Additional Furniture

After the main seating and coffee table are in place, you can add additional furniture pieces like side tables, bookshelves, or ottomans. Here’s how:
- Identify areas that need additional surfaces or storage.
- Choose smaller scale pieces that fit well without overcrowding.
- Ensure furniture does not block pathways or views.
Warning: Avoid crowding the room with too many pieces, as it can make the space feel cramped.
Why this matters: Strategic placement of additional furniture enhances functionality without compromising the spacious feel of the room.
Time estimate: 30 minutes.
Step 7: Incorporate Additional Furniture
Editor’s Choice
3-Tier Side Table, Small End Table, Sofa Side Table for Narrow Spaces, S…

Gintan 9-Tier Space Saving Book Shelf with Storage,Bedroom Shelves Foldi…

DUMOS 43 Inch Folding Storage Ottoman Bench, Large Hidden Storage Chest …
Step 8: Add Decorative Elements
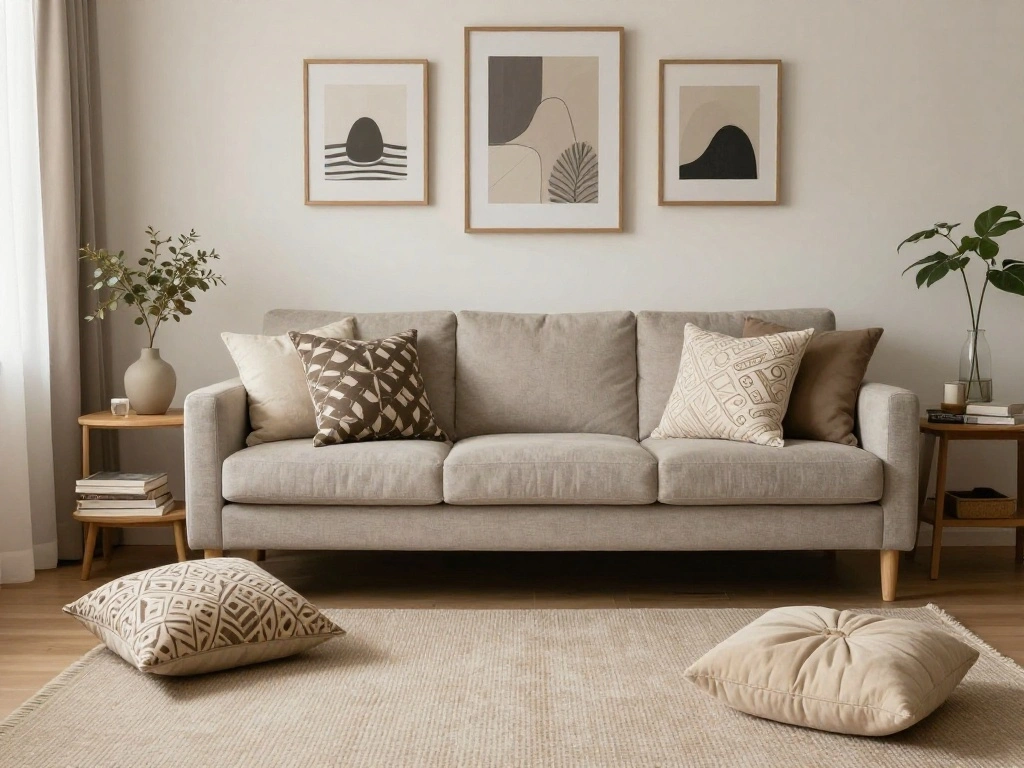
Now it’s time to add decorative elements to give your living room a personal touch. This can include cushions, rugs, and artwork. Follow these steps:
- Choose a color scheme that complements your furniture.
- Add cushions and throws to the sofa and chairs for comfort.
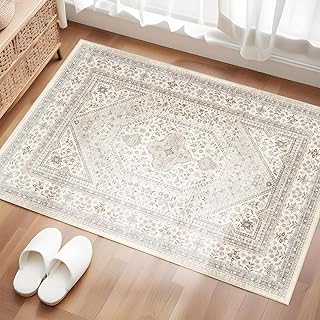
- Place a rug under the coffee table to define the seating area.
Pro Tip: Use mirrors to create an illusion of space and light in the room.
Why this matters: Decorative elements not only enhance aesthetics but also create a warm and inviting atmosphere.
Time estimate: 30 minutes.
Step 8: Add Decorative Elements
Editor’s Choice

MIULEE Pack of 2 Corduroy Decorative Throw Pillow Covers 18×18 Inch Soft…

Area Rugs 6×9 Living Room: Washable Rug Modern Abstract Large Rug Soft N…
OMIRO Desk Makeup Mirror, 8 x 5 inches Table Mirror with Foldable Stand …
Step 9: Finalize the Layout
Take a step back and assess your layout. Make any necessary adjustments to ensure comfort and functionality. Follow these steps:
- Walk around the room to check for traffic flow.
- Adjust furniture placement if needed for better access.
- Ensure all seating is comfortable and inviting.
Warning: Don’t rush this step; take your time to find the best arrangement.
Why this matters: A well-thought-out layout will make your living room more enjoyable to use on a daily basis.
Time estimate: 20 minutes.
Step 9: Finalize the Layout
Editor’s Choice

X-Protector Felt Furniture Sliders Hardwood Floors – 4 PCS 6″ x 3 1/2″ F…
Puino Washable Entryway 2×3 Rug: Small Boho Rugs for Indoor Entrance Non…

Winsome Suzanne Kitchen Table Set with Stools, 33″ in Coffee, Convenient…
Step 10: Enjoy Your Space!

Finally, sit back and enjoy your newly arranged living room. Consider how it feels and functions for your lifestyle. Here’s what to do:
- Invite friends or family over to share your refreshed space.
- Take note of any areas that may need further tweaking.
- Maintain your living room by regularly decluttering and rearranging as needed.
Pro Tip: Keep your space organized to ensure it remains inviting and functional.
Why this matters: Enjoying your space is the ultimate goal, and small adjustments can make a big difference over time.
Time estimate: Ongoing.
Step 10: Enjoy Your Space!
Editor’s Choice

Homepop Home Decor | Upholstered Round Storage Ottoman | Ottoman with St…

SONGMICS Storage Shelf, Small Metal Wire Shelving Unit, Adjustable Shelv…

COMAX Futon Sofa Bed, 4‑in‑1 Convertible Sofa Bed, Folding Boneless …
Pro Tips
- Use Multi-Functional Furniture: Opt for pieces that serve more than one purpose, such as a sofa bed.
- Keep It Light: Light colors can make a small room feel larger and more open.
- Vertical Space: Utilize vertical storage solutions like shelves to free up floor space.
- Lighting Matters: Use a mix of ambient, task, and accent lighting to create a cozy atmosphere.
- Declutter Regularly: A tidy space always feels more spacious.
Pro Tips
Editor’s Choice

Modern Floor Lamp Simple Design with White Shade, Foot Pedal Switch, 60″…
COMAX Futon Sofa Bed, 4‑in‑1 Convertible Sofa Bed, Folding Boneless …

BAYKA Floating Shelves Set of 2, 22.5 inches Farmhouse Rustic Wood Wall …
Common Mistakes to Avoid
Warning: Don’t overcrowd your space with furniture. This can make it feel cramped and uncomfortable. To avoid this, select fewer, larger pieces instead of many small ones.
Warning: Avoid blocking pathways with furniture. This can lead to a cluttered feel and make it difficult to navigate the space. Ensure at least 2-3 feet of walking space between furniture.
Warning: Don’t neglect lighting. A dark room can feel even smaller. Ensure you have adequate lighting options to brighten the space.
Common Mistakes to Avoid
Editor’s Choice

Gizoon Convertible Sofa Bed, 3-in-1 Pull Out Couch, 5-Position Adjustabl…
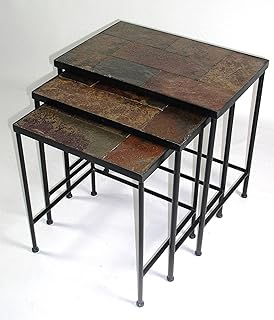
Zhongma Nesting Tables Set of 3, End Tables with Slate Table Top, Solid …

QsQueen Scalloped Wood Wall Shelf – 17 Inch Floating Shelf with Wood B…
Troubleshooting Section
Problem: Furniture feels overcrowded.
Solution: Remove one or two items and reassess the space.
Problem: The room feels dark.
Solution: Add mirrors and more light sources to brighten the space.
Problem: Traffic flow is obstructed.
Solution: Reposition furniture to create clearer pathways.
Problem: Furniture placement feels awkward.
Solution: Take time to adjust pieces until you find a comfortable arrangement.
Problem: The room lacks character.
Solution: Add personal touches like art and decorative items to make the space feel more inviting.
Troubleshooting Section
Editor’s Choice

PACOVY Floor Lamp, Adjustable Height Floor Lamps for Living Room Bedroom…
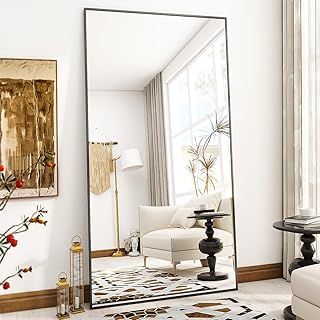
VooBang Large Full Length Mirror 78″ x 35″ – Shatterproof Huge Floor Ful…

Reusable Large Furniture Movers Sliders for Carpet and Hardwood Floors-8…
Variations/Alternative Methods
If you’re looking for different approaches to arranging furniture in a small living room, consider these options:
- Furniture on Angles: Placing furniture at angles can add visual interest and create a more dynamic layout. This works well in larger small rooms.
- Open Shelving: Instead of bulky furniture, opt for open shelving to display items while keeping the floor space open.
- Floor Cushions: Use floor cushions instead of traditional seating to create a casual and flexible seating arrangement.
Variations/Alternative Methods
Editor’s Choice

SONGMICS Mazie Collection – 30 Inches Folding Storage Ottoman Bench, Ott…

Sakugi Storage Shelves – 5 Tier Shelf Organizer, Heavy Duty Garage Shelv…

Nnewvante Floor Chair 42-Position Adjustable Floor Seating for Kids Adul…
FAQs
What if I don’t have enough space for a coffee table? Consider using an ottoman or a side table that can be moved as needed.
How long should I expect to spend on this project? Budget around 2-3 hours for planning, arranging, and decorating.
Is it safe to place heavy furniture on carpet? Yes, but ensure that the weight is evenly distributed to prevent damage.
What if my furniture is too large for my small living room? Look for smaller, more compact alternatives that still serve your needs.
Can I rearrange my living room frequently? Absolutely! Changing your layout can refresh the space and adapt to your needs over time.
FAQs
Editor’s Choice
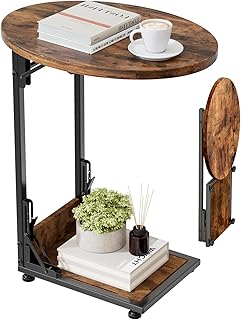
Elbourn Folding Side Table End Couch Tables,Metal Frame C-Shaped TV Stan…
Reusable Large Furniture Movers Sliders for Carpet and Hardwood Floors-8…

30.5-INCH Storage Ottoman Bench, Footrest with Storage, End of Bed Bench…
Conclusion
Congratulations! You’ve successfully arranged your small living room to maximize both comfort and style. Take a moment to appreciate your hard work and the new ambiance of your space. Now that you’ve completed this guide, consider exploring other areas of your home for similar improvements. Perhaps your bedroom or kitchen could use a little makeover as well. Keep experimenting with your space to find what works best for you. Remember, a well-arranged room not only looks good but also enhances your lifestyle!
Enjoy your new living room, and don’t hesitate to revisit this guide whenever you wish to refresh your space!