
Living in a studio apartment can be both a blessing and a challenge. One of the biggest issues residents face is how to create a functional and stylish space without sacrificing comfort. A bed can take up a significant amount of room, making it difficult to use your studio for other activities, like working or entertaining guests. It’s time to find a creative solution!
In this guide, you will learn various ways to hide your bed, allowing you to maximize space while maintaining comfort. By the end of this article, you will know how to choose the best method for your needs, whether it’s using a murphy bed, investing in multipurpose furniture, or employing clever decor tricks.
This project is beginner friendly and should take an estimated 2-3 hours to complete, depending on the method you choose. Ready to transform your studio? Let’s dive in!
TL;DR Summary
- Learn to hide your bed in a studio apartment for a more functional and stylish space.
- Explore various methods, including murphy beds and multipurpose furniture.
- Follow step-by-step instructions for each method.
- Enjoy a decluttered living space without sacrificing comfort!
TL;DR Summary
Editor’s Choice

Flamaker Futon Sofa Bed Modern Folding Futon Set Convertible Recliner Lo…

COLAMY Fabric Round Storage Ottoman with Reversible Tray Lid – Multi-F…

Greenvelly Folding Bed with 5 Inch Mattress, 75” x 38” Portable Roll…
Prerequisites/Materials Needed
- Murphy Bed Kit: If opting for a murphy bed.
- Multipurpose Furniture: A sofa bed or convertible furniture.
- Decorative Screens: For a stylish partition.
- Storage Solutions: Baskets or bins for organizing.
- Basic Tools: Screwdriver, drill, measuring tape.
Prerequisites/Materials Needed
Editor’s Choice

Create-A-Bed Queen Size Deluxe Murphy Bed Kit, Vertical

WUTUTUEE 107”Modular Sectional Sofa Convertible U Shaped Sofa Couch Se…

Room Divider 6FT Portable Room Dividers and Folding Privacy Screens, 88’…
Skill Level & Time Estimate
Skill Level: beginner
Total time estimate: 2-3 hours
Here’s a breakdown of the time by major steps:
- Choosing the method: 30 minutes
- Gathering materials: 30 minutes
- Implementation: 1-2 hours
Skill Level & Time Estimate
Editor’s Choice
Room Divider 6FT Portable Room Dividers and Folding Privacy Screens, 88’…

Wilding Wallbeds Murphy Bed Mechanism Hardware Kit (Universal Size Fits …
Step 1: Choose Your Hiding Method

The first step to hiding your bed is to choose the best method for your space. Consider your lifestyle and the amount of space you have available. Here are a few popular options:
1. Murphy Bed – A wall bed that folds up when not in use.
2. Sofa Bed – A couch that converts into a bed.
3. Decorative Screens – Mobile partitions that can stylishly block off the sleeping area.
4. Storage Ottomans – Benches that can hide bedding and serve as seating.
Why this matters: Choosing the right method sets the stage for a successful transformation.
Time estimate: 30 minutes.
Step 2: Measure Your Space

Before committing to any method, measure your studio to ensure that your chosen solution will fit. Follow these sub-steps:
1. Length – Measure the length of the wall where the bed will go.
2. Width – Measure the width of your space, including any furniture.
3. Height – Check the height of the ceiling to ensure adequate clearance for a murphy bed.
Pro Tip: Write down your measurements to reference later.
Why this matters: Accurate measurements prevent costly mistakes and ensure your bed fits perfectly.
Time estimate: 15-20 minutes.
Step 2: Measure Your Space
Editor’s Choice
Create-A-Bed Queen Size Deluxe Murphy Bed Kit, Vertical

Convertible Sleeper Chair-Fabric Futon Sofa Bed, Single Sleeper Sofa, Sm…

Budding Joy 90L Under Bed Storage Containers, Closet Organizers and Stor…
Step 3: Gather Your Materials
With your method chosen and measurements taken, it’s time to gather the required materials. Depending on your choice, you may need:
1. Murphy Bed Kit – Includes hardware and instructions.
2. Sofa Bed – Choose a style that suits your decor.
3. Decorative Screens – Select colors and patterns that complement your space.
4. Storage Solutions – Find decorative bins that match your aesthetic.
Warning: Make sure everything is compatible with your chosen method.
Why this matters: Having all materials on hand streamlines the process and minimizes interruptions.
Time estimate: 30 minutes.
Step 3: Gather Your Materials
Editor’s Choice

Vipbear 7 Seat Modular Sectional Sleeper Sofa with Pull Out Bed, L-Shape…
Step 4: Prepare Your Space

Before installation, prepare your space to ensure a smooth process:
1. Clear the Area – Move furniture and create space to work.
2. Clean the Surface – Dust and wipe down surfaces where you will be working.
3. Mark Locations – Use a pencil to mark where the bed will go.
Pro Tip: Use painter’s tape to create a visual guide for your bed placement.
Why this matters: A clean and organized workspace allows for better focus and minimizes mistakes.
Time estimate: 20-30 minutes.
Step 5: Install the Murphy Bed
If you opted for a murphy bed, follow these steps for installation:
1. Assemble the Frame – Follow the manufacturer’s instructions.
2. Attach to Wall – Use a drill to secure the bed frame to the wall.
3. Install Mattress Platform – Secure the platform for your mattress.
4. Test the Mechanism – Ensure it opens and closes smoothly.
Warning: Make sure the bed is securely attached to avoid accidents.
Why this matters: Proper installation ensures safety and functionality.
Time estimate: 1-2 hours.
Step 6: Set Up the Sofa Bed

If you chose a sofa bed, here’s how to set it up:
1. Position the Sofa – Place it in a convenient location.
2. Open the Bed Mechanism – Follow instructions to convert the sofa into a bed.
3. Dress the Bed – Add bedding, pillows, and blankets for comfort.
Warning: Ensure the sofa bed is on a flat surface for safety.
Why this matters: A comfortable setup enhances the functionality of your living space.
Time estimate: 30 minutes.
Step 7: Arrange Decorative Screens

If you opted for decorative screens, here’s how to arrange them:
1. Select Locations – Decide where to place the screens for maximum coverage.
2. Position Screens – Set them up in a way that divides the space effectively.
3. Style the Area – Add plants or decor items to enhance aesthetics.
Pro Tip: Choose screens that complement your existing decor for a cohesive look.
Why this matters: Decorative screens add style while providing privacy and defining spaces.
Time estimate: 20-30 minutes.
Step 7: Arrange Decorative Screens
Editor’s Choice
Room Divider 6FT Portable Room Dividers and Folding Privacy Screens, 88’…
Step 8: Utilize Storage Solutions

To keep your studio organized, utilize storage solutions:
1. Choose Bins – Select decorative bins that fit your decor.
2. Fill with Bedding – Store extra pillows, blankets, or linens.
3. Label Bins – Use labels for easy identification of contents.
Warning: Avoid overstuffing bins to maintain a tidy appearance.
Why this matters: Good organization creates a more functional and inviting space.
Time estimate: 20-30 minutes.
Step 8: Utilize Storage Solutions
Editor’s Choice

SUPVAN E11 Bluetooth Label Maker Machine with 4 Tapes, Support Keyboard …

GRANNY SAYS Wicker Storage Baskets for Shelves, Wicker Baskets for Organ…
Budding Joy 90L Under Bed Storage Containers, Closet Organizers and Stor…
Step 9: Add Final Touches

Finally, add personal touches to enhance your space:
1. Decorate with Art – Hang artwork or photos that reflect your style.
2. Incorporate Plants – Add greenery for a fresh ambiance.
3. Adjust Lighting – Use lamps or string lights to create a cozy atmosphere.
Pro Tip: Choose decor that enhances the functionality of your space; for example, light curtains can make the area feel larger.
Why this matters: Personalizing your space makes it feel like home.
Time estimate: 30 minutes.
Pro Tips
- Choose the Right Furniture: Opt for pieces that serve multiple purposes.
- Use Vertical Space: Wall-mounted shelves can store items without taking up floor space.
- Keep Decor Minimal: Avoid clutter by selecting a few key pieces.
- Maximize Natural Light: Use light colors and sheer fabrics to make the space feel larger.
- Invest in Quality Bedding: Comfortable bedding enhances your sleeping experience and makes the bed more inviting.
Pro Tips
Editor’s Choice

Bobve Farmhouse Murphy Bed Queen, 85″ Wall Bed Folds to Save Space, Conc…

DUMOS 43 Inch Folding Storage Ottoman Bench, Large Hidden Storage Chest …

Pyle 2-Pc 1U Server Rack Shelf, Vented Shelves for Good Air Circulation,…
Common Mistakes to Avoid
Warning: Not measuring your space can lead to poor-fitting furniture.
Warning: Overcrowding your studio can make it feel cramped.
Warning: Ignoring comfort when selecting a bed can negatively impact your sleep quality.
Common Mistakes to Avoid
Editor’s Choice

LIVAUVEAD Murphy Bed Queen with Storage & Charging Station, Murphy Cabin…
Flamaker Futon Sofa Bed Modern Folding Futon Set Convertible Recliner Lo…
Troubleshooting Section
Problem: Murphy bed won’t fold up.
Solution: Check the installation and ensure all screws are tight.
Problem: Sofa bed is uncomfortable.
Solution: Invest in a quality mattress topper.
Problem: Decorative screen doesn’t provide enough privacy.
Solution: Use thicker fabric or layer with curtains.
Troubleshooting Section
Editor’s Choice

Linenspa Memory Foam Mattress Topper, Full Size – 3 Inch Gel Infused Mem…

AJAZZ Privacy Curtains for Room Divider with Blackout & Soundproof (Whit…
Create-A-Bed Queen Size Deluxe Murphy Bed Kit, Vertical
Variations/Alternative Methods
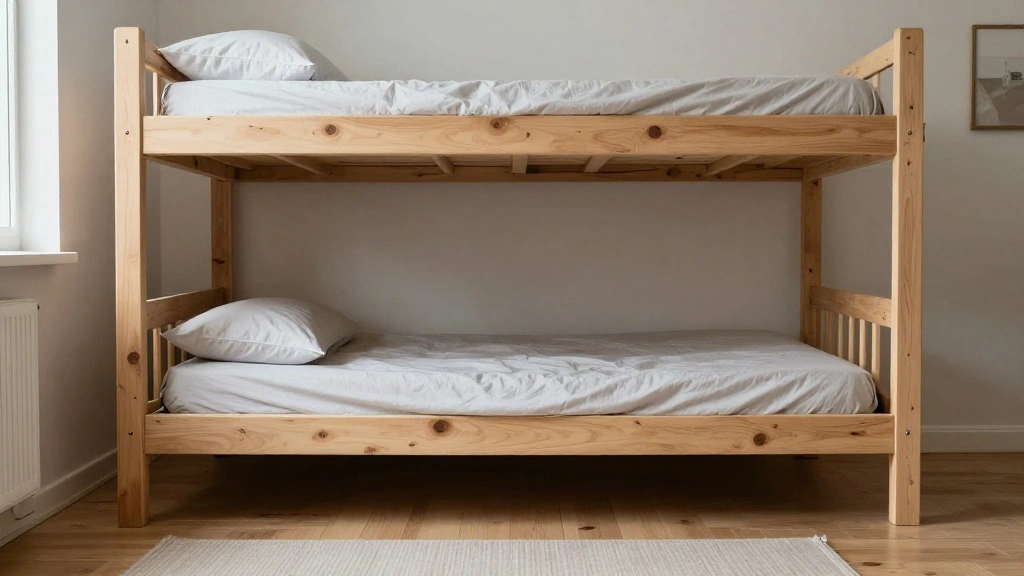
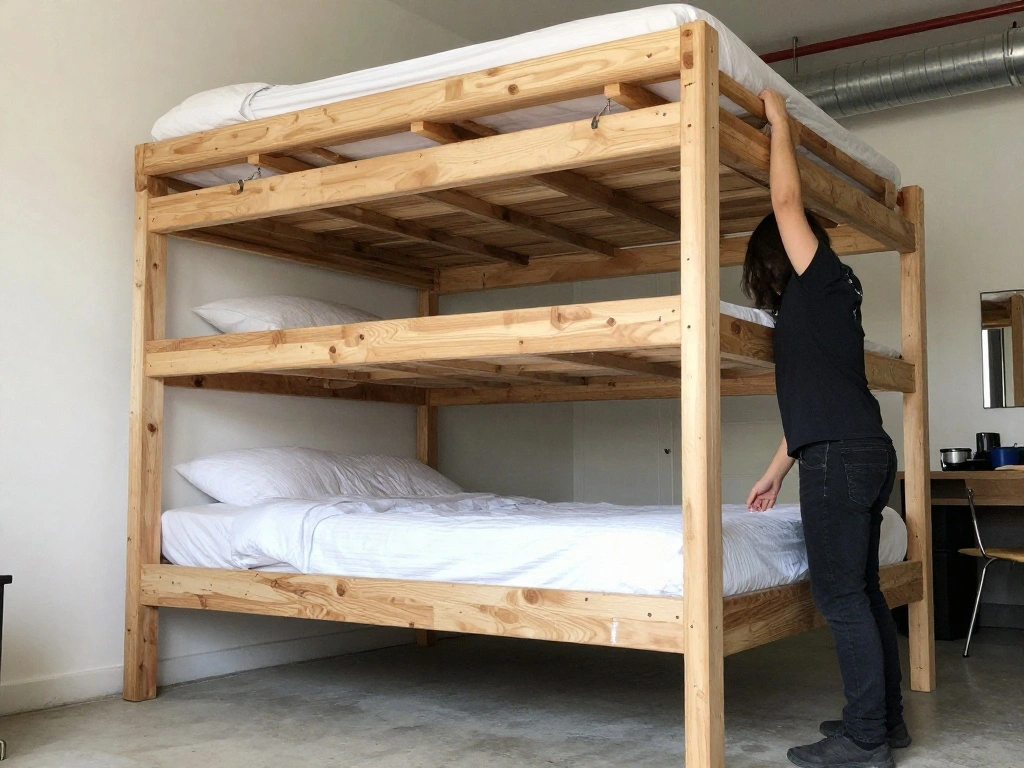
- Loft Bed: Raises the bed to create space underneath for a desk or storage, ideal for high ceilings.
- Folding Bed: A portable option that can be stored away easily.
- Sliding Door Dividers: Offers a more permanent solution for creating separate areas within a studio.
Variations/Alternative Methods
Editor’s Choice

GarveeHome Loft Bed Twin Size, Heavy Duty Metal Loft Bed Frame with Arch…

MARCHWAY Ultralight Folding Tent Camping Cot Bed, Portable Compact for O…

AJAZZ 100% Blackout Magnetic Accordion Door Curtain – Invisible Folding …
FAQs
What if I don’t have space for a murphy bed? Consider a sofa bed or a folding bed as alternatives.
How long should I expect the installation to take? Expect 2-3 hours depending on the method you choose.
Is it safe to install a murphy bed myself? Yes, as long as you follow the manufacturer’s instructions carefully.
Conclusion

Congratulations! You’ve successfully hidden your bed and transformed your studio apartment into a functional and stylish space. Enjoy the extra room for activities and entertaining guests. Now that you have a beautiful setup, consider exploring other organization tips or decor ideas to further enhance your living space. Remember, a well-organized studio can boost your creativity and comfort!