
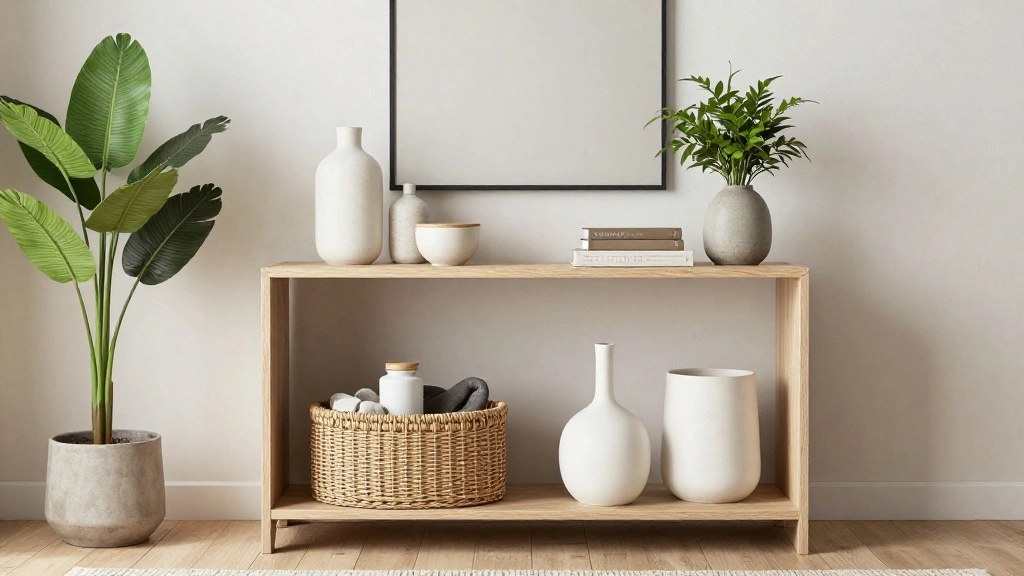
Is your entryway looking bare and unwelcoming? An empty console table can make a space feel cold and uninviting, failing to create the warm first impression you desire. Styling your entryway console table not only enhances the aesthetics of your home but also serves as a functional space to organize your essentials.
In this guide, you’ll learn how to transform your console table into a stylish focal point that reflects your personality while also serving practical purposes. By the end, you’ll have a beautifully curated table that impresses your guests and welcomes you home every day.
This guide is tailored for beginners and will take approximately 1-2 hours to complete. You’ll walk away with practical tips on choosing the right decor, arranging items harmoniously, and incorporating personal touches. Let’s get started on creating a stunning entryway that welcomes you and your guests!
TL;DR Summary
- Start with a clean slate by decluttering your console table.
- Choose a color scheme and theme to guide your decor choices.
- Incorporate functional items like trays and baskets.
- Layer with decor elements like books, art, and plants for depth.
TL;DR Summary
Editor’s Choice

The Interior Design Handbook: Furnish, Decorate, and Style Your Space

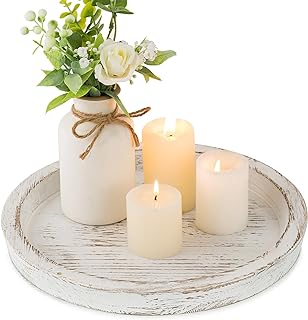
11.5 Inches Candle Holder Tray Home Decor, Round Wood Tray for Coffee Ta…

Easy to Grow Live Houseplants (6 Pack), Deluxe Collection of Assorted Ai…
Prerequisites/Materials Needed
- Basic Cleaning Supplies: Cloth or wipes, all-purpose cleaner
- Decor Items:
- 1-2 decorative trays
- 1-2 plants (real or faux)
- 1-2 picture frames
- 1-2 decorative books
- 1-2 candles or decorative objects
- Functional Items:
- 1 basket for keys or mail
- 1 small bowl for loose change
Prerequisites/Materials Needed
Editor’s Choice

4×6 Vintage Flower Picture Frame, Ornate Antique Photo Frame with Glass …

Gifts For Women Trinket Dish Unique Birthday New Home Gifts For Women He…
Skill Level & Time Estimate
Skill Level: beginner
Total Time Estimate: 1-2 hours
Breakdown of time by major steps: 15 minutes for cleaning, 30 minutes for selecting decor, 30 minutes for arranging, and 15 minutes for final touches.
Skill Level & Time Estimate
Editor’s Choice

Der Rose 2026 Graduation Gifts Set for Her, 3 Pack Mini Potted Fake Plan…

DII Farmhouse Braided Stripe Table Runner Collection, 15×72 (15×77, Frin…
Hanobe Candle Plate Holder Tray: Round Wood Decorative Candle Plate – Ru…
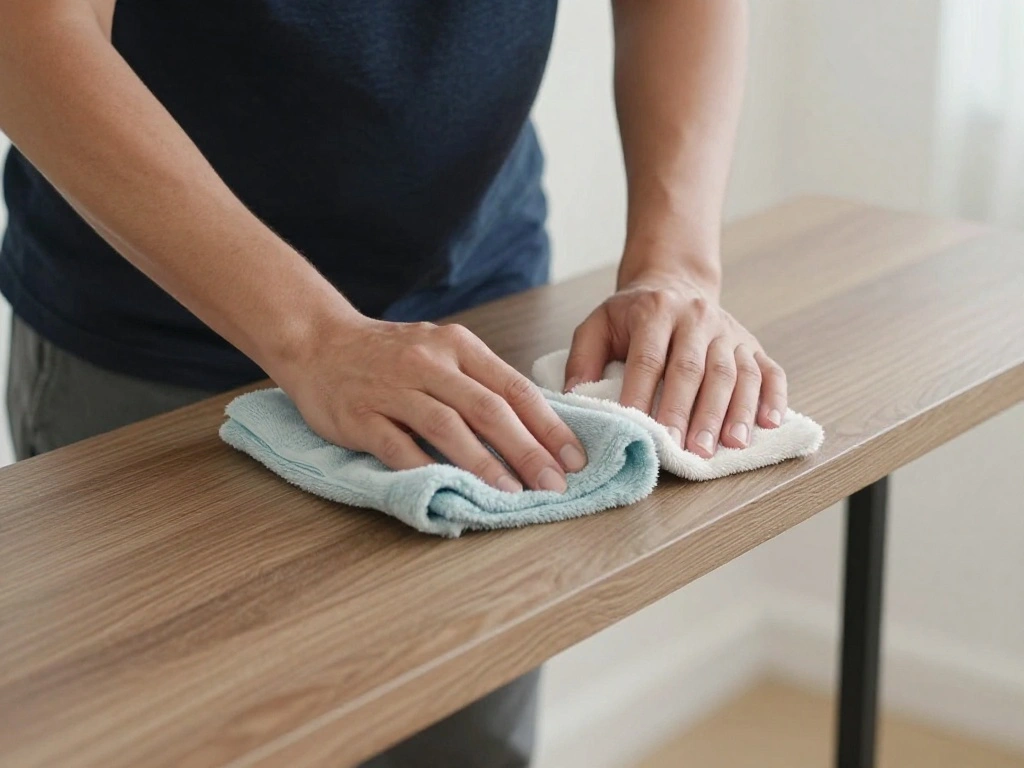
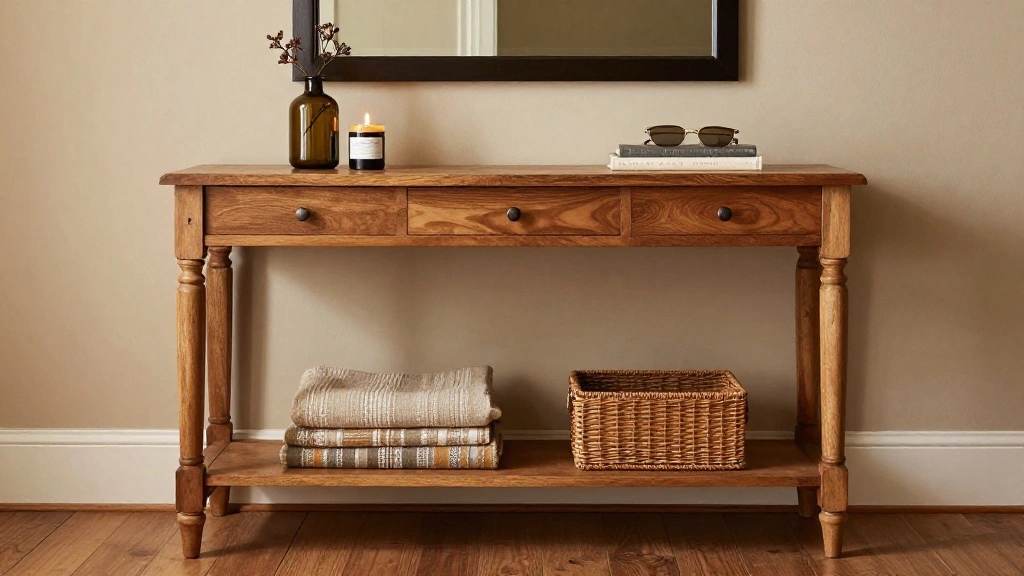
Step 1: Clear the Console Table
Begin by decluttering the console table. This step is crucial for a fresh start. Follow these sub-steps:
- Remove all items from the table.
- Clean the surface thoroughly with a cloth and all-purpose cleaner.
- Sort through the items you removed; decide what to keep, discard, or relocate.
Warning: Avoid placing items back on the table too soon; ensure it is completely dry after cleaning.
Why this matters: A clean table provides a blank canvas for your new arrangement. It helps you visualize the space better and prevents clutter from returning.
Time estimate for this step: 15 minutes.
Step 1: Clear the Console Table
Editor’s Choice

Good Clean Love Ultra Sensitive Foaming pH-Balanced Feminine Wash, Gentl…

Sparkling Gold Reading Women Statue, Thinker Sculptures, Abstract Art Or…

PHI VILLA White Storage Cabinet with Baskets, Accent Cabinet with Drawer…
Step 2: Choose a Color Scheme
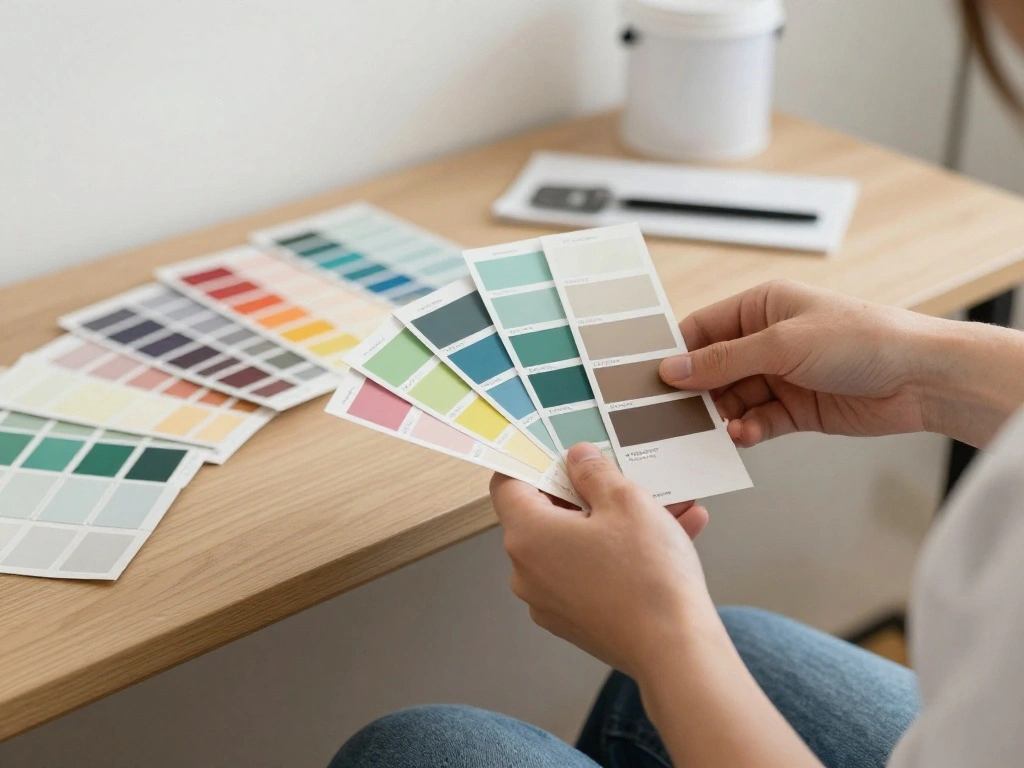
Selecting a color scheme helps unify the decor on your console table. Here’s how to choose:
- Identify the main colors in your entryway.
- Choose 2-3 complementary colors for your decor items.
- Consider the mood you want to create: warm tones for coziness or cool tones for calmness.
Pro Tip: Use color swatches or take photos of your space to help visualize your color scheme.
Why this matters: A cohesive color scheme creates harmony and makes your entryway feel thoughtfully designed.
Time estimate for this step: 10 minutes.
Step 2: Choose a Color Scheme
Editor’s Choice

Small Night Stand Organizer Nightstand Tray Bedside Table Organizer Wome…

A Guide to Selecting the Perfect Palette for Every Room: Practical Tips …
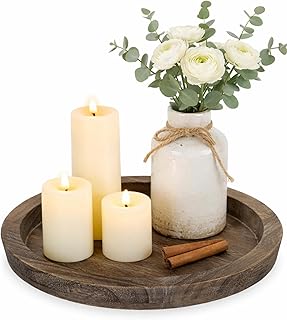
Step 3: Select Functional Items
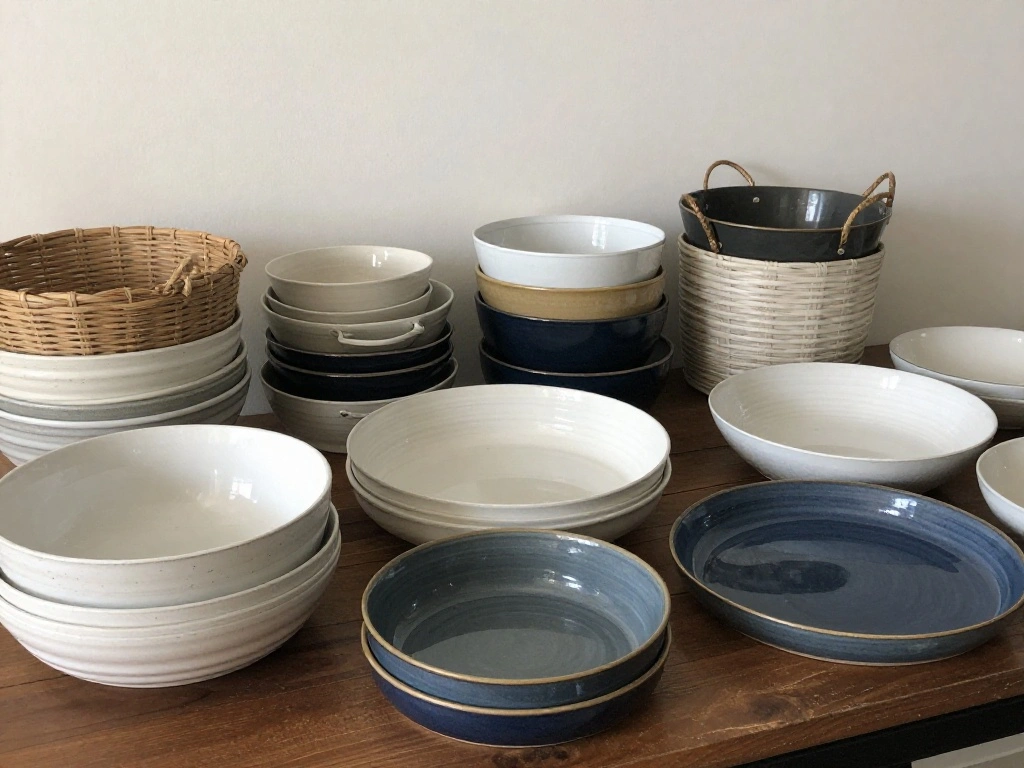
Incorporate functional items to make your console table practical. Follow these steps:
- Choose a decorative tray to corral smaller items like keys or mail.
- Add a basket to hold items that tend to clutter the space.
- Include a small bowl for loose change or miscellaneous items.
Pro Tip: Opt for trays and baskets that complement your color scheme for added style.
Why this matters: Functional items not only keep your entryway organized but also add visual interest.
Time estimate for this step: 15 minutes.
Step 3: Select Functional Items
Editor’s Choice

BOLTCORRSE Wooden Decorative Bowl – Hand Carved Natural Wood Fruit Bow…
Step 4: Layer with Decorative Items
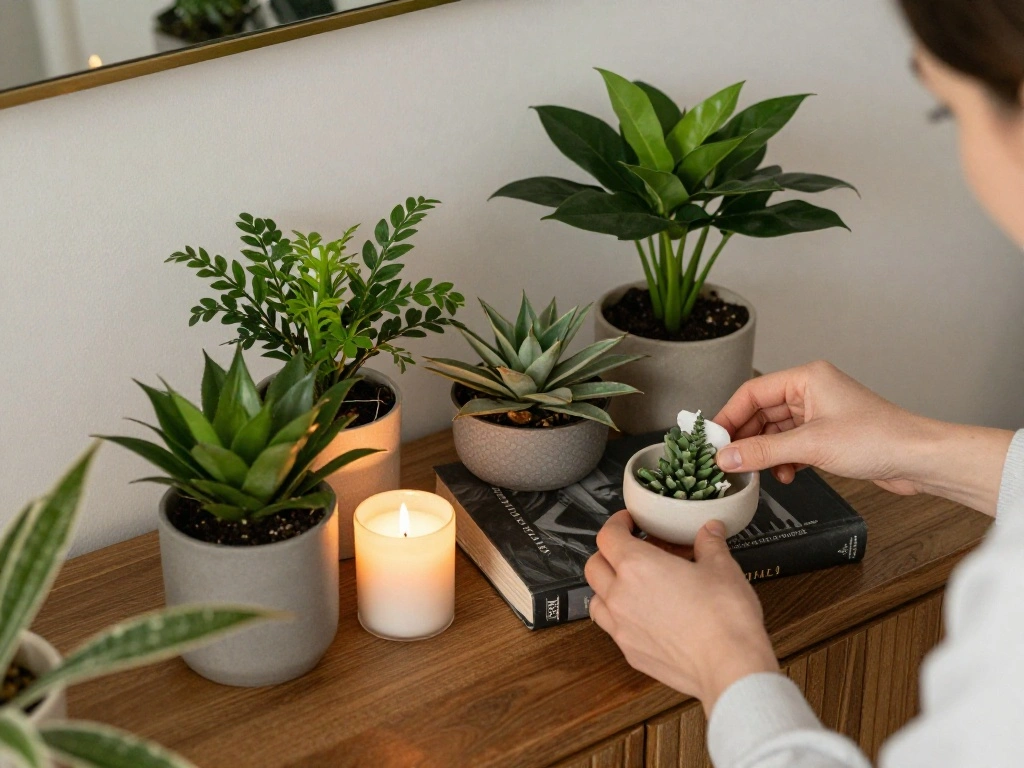
Now it’s time to add decorative elements that reflect your style. Here’s how:
- Start with larger items like a plant or a piece of art.
- Add medium-sized items such as decorative books or a candle holder.
- Finish with smaller items like photo frames or sculptures.
Warning: Avoid overcrowding; leave some space empty for visual balance.
Why this matters: Layering creates depth and interest, making your console table a visual focal point.
Time estimate for this step: 30 minutes.
Step 5: Create Height Variation
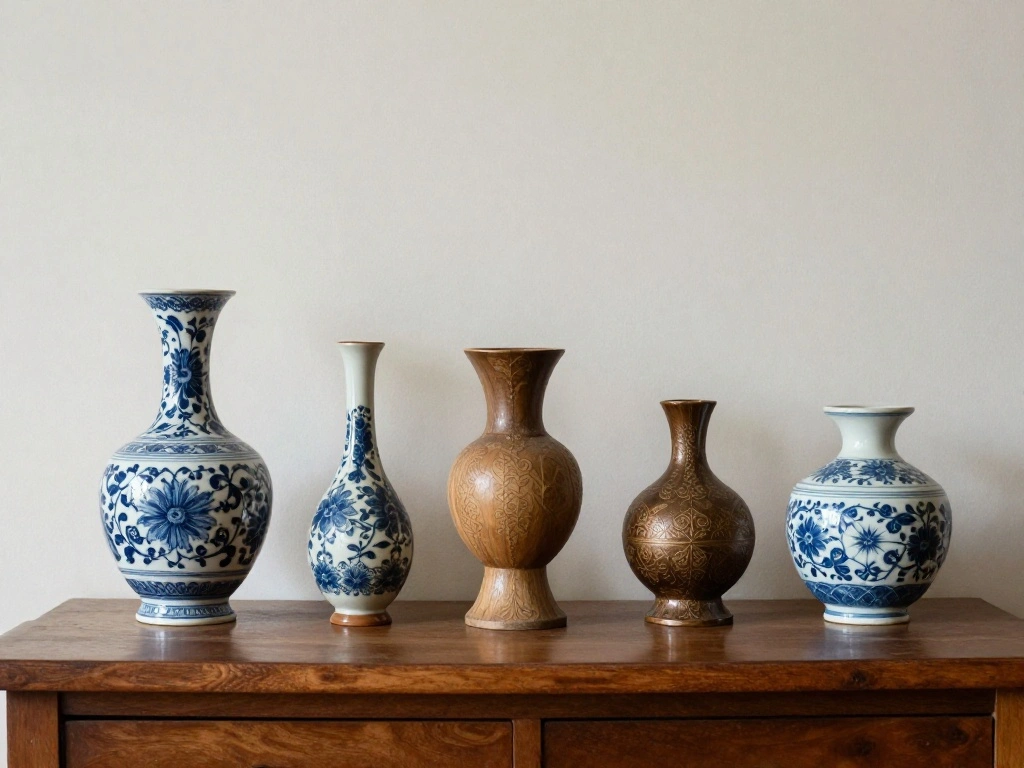
Adding height variation enhances visual interest. Follow these steps:
- Use books or stands to elevate smaller items.
- Mix tall items, like a vase, with shorter ones for contrast.
- Arrange items in odd numbers for a more natural look.
Pro Tip: Use a mix of vertical and horizontal items to create a dynamic display.
Why this matters: Height variation draws the eye and makes the display more engaging.
Time estimate for this step: 15 minutes.
Step 5: Create Height Variation
Editor’s Choice

Aheroi Large Acrylic Risers, 8 Pcs 2 Set(7”L~8”L~9”L) Acrylic Disp…
Step 6: Incorporate Personal Touches
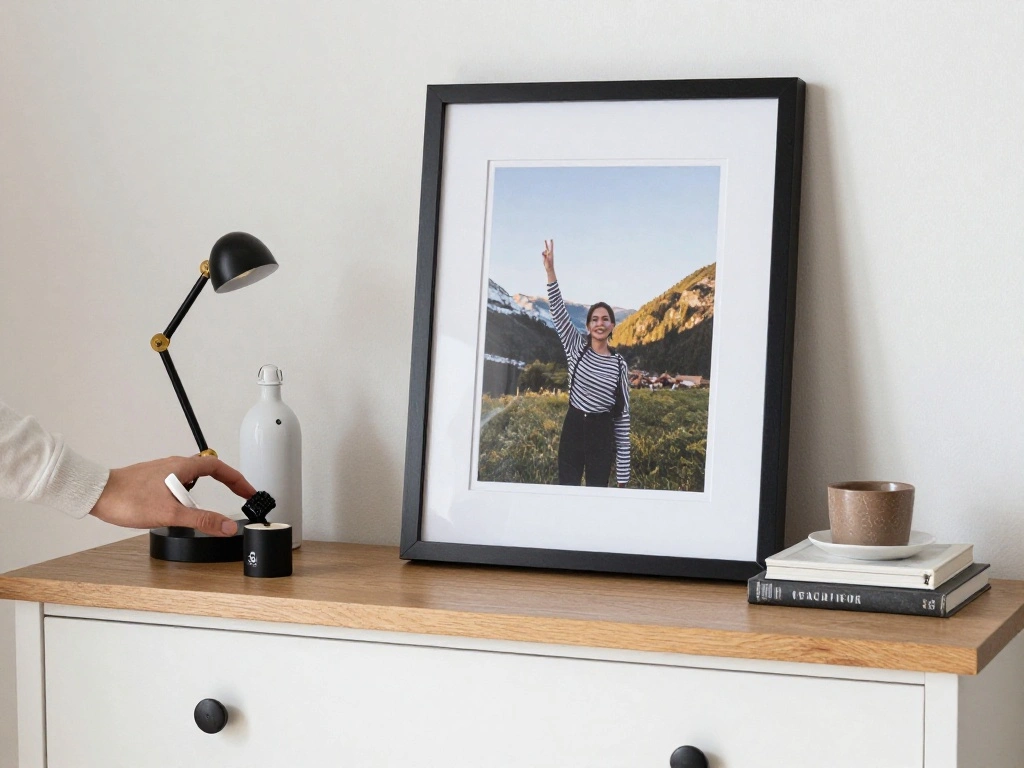
Add personal elements to make the space uniquely yours. Here’s how:
- Include a framed photo or a piece of art that resonates with you.
- Add souvenirs from travels or meaningful objects.
- Consider seasonal decor to keep it fresh.
Warning: Don’t overcrowd with personal items; select only your favorites.
Why this matters: Personal touches make the space inviting and reflective of your personality.
Time estimate for this step: 20 minutes.
Step 6: Incorporate Personal Touches
Editor’s Choice

Traveler Gifts Travel Definition Wooden Box Sign Travel Quote Desk Decor…

Vintage Grey Thin Boarder Floral Photo Frame / 4×6 In | For Vertical and…
Step 7: Final Touches and Adjustments
Now it’s time to review your arrangement and make adjustments. Follow these steps:
- Step back and assess your console table from different angles.
- Adjust the placement of items for balance and harmony.
- Ensure everything is clean and dust-free.
Pro Tip: Take a photo of your arrangement to spot areas for improvement.
Why this matters: Final adjustments ensure the display looks polished and inviting.
Time estimate for this step: 15 minutes.
Step 7: Final Touches and Adjustments
Editor’s Choice

Hanobe Leaf Wooden Decorative Tray: Leaf Shaped Wood Key Tray Decor Plat…
Step 8: Maintain Your Console Table
To keep your console table looking great, establish a maintenance routine. Here’s how:
- Regularly dust and clean the surface.
- Reassess your decor every season to refresh the look.
- Keep functional items organized and declutter as needed.
Warning: Avoid letting clutter accumulate; set a weekly reminder to tidy up.
Why this matters: Regular maintenance keeps your entryway inviting and prevents it from becoming a dumping ground.
Time estimate for this step: Ongoing, 5-10 minutes weekly.
Step 8: Maintain Your Console Table
Editor’s Choice

Small Heart Hands Sculpture Decor for Living Room Bedroom Bookshelf Coff…

Goodpick Cube Storage Bins – Towel, Book, Cloth, Shoes, Closet Shelf Wov…
Step 9: Consider Lighting
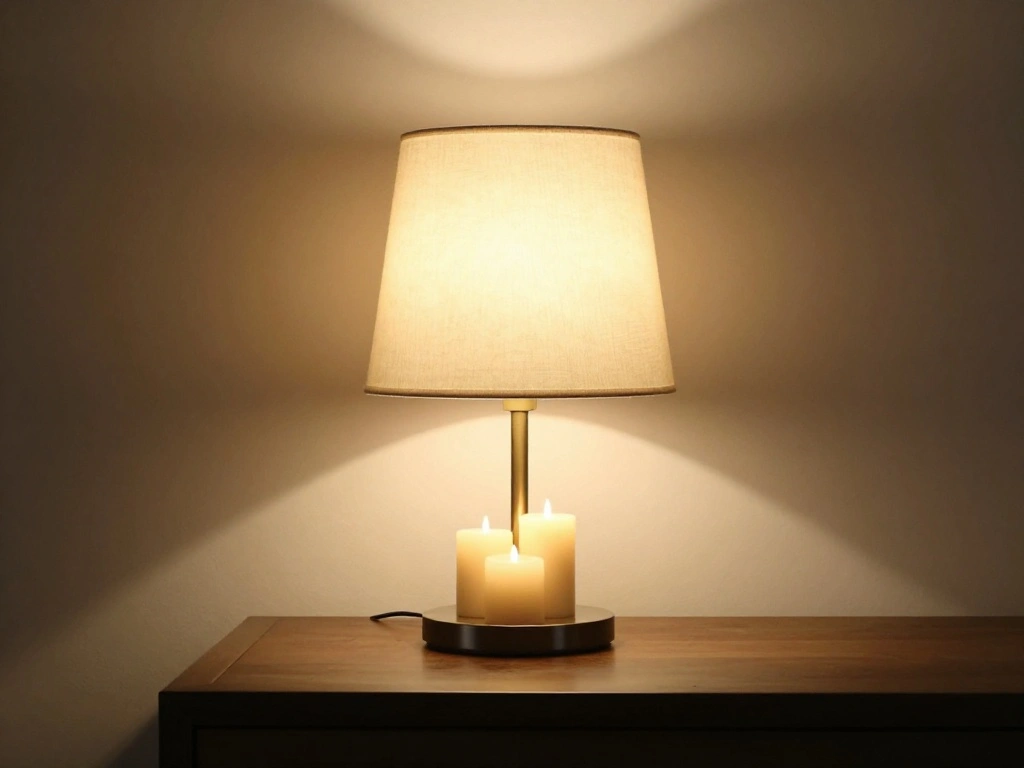
Lighting can enhance the ambiance of your entryway console table. Here’s how to incorporate it:
- Add a stylish lamp for functional and decorative lighting.
- Consider using candles for a warm glow.
- Ensure the lighting highlights key decor elements.
Pro Tip: Use warm light bulbs to create a cozy atmosphere.
Why this matters: Good lighting highlights your decor and creates an inviting atmosphere.
Time estimate for this step: 15 minutes.
Step 9: Consider Lighting
Editor’s Choice

GE Relax LED Light Bulbs, 60 Watt, Soft White, A19 (4 Pack)

EDISHINE Mid Century Table Lamp, Bedside Lamp with Pull Chain Switch, So…

Tyawon Glass Battery Operated LED Flameless Candles with Remote and Time…
Step 10: Enjoy Your New Entryway

Finally, take a moment to appreciate your work! Here’s how to enjoy your new entryway:
- Invite friends or family over to showcase your styled console table.
- Take photos to capture the transformation.
- Reflect on the positive feelings your entryway now evokes.
Pro Tip: Continue to personalize your console table as your tastes change over time.
Why this matters: Enjoying your space encourages you to maintain it and keeps your home feeling fresh.
Time estimate for this step: 10 minutes for reflection; ongoing enjoyment.
Step 10: Enjoy Your New Entryway
Editor’s Choice

WWW.THROWPILLOW.IN Green Cotton Linen Table Runner with Crystals 14×72 I…
Hanobe Candle Plate Holder Tray: Round White Wood Decorative Tray Decor …

Buffet Lamps Set of 2, 30″ Tall Black Table Lamps for Console Table, Ent…
Pro Tips
- Color Coordination: Use the color wheel to find complementary colors.
- Seasonal Decor: Change items seasonally for a fresh look.
- Textural Variety: Mix materials like wood, metal, and fabric for depth.
- Layering Heights: Use books to elevate smaller items for visual interest.
- Personal Sentiments: Choose decor that tells a story or reminds you of good memories.
Pro Tips
Editor’s Choice

Home Sweet Heaven: Oversized Decorative Book For Display, An Aesthetic C…

Color Bud Vases in Bulk – Set of 24 Mini Glass Bud Vases for Centerpiece…
Common Mistakes to Avoid
Warning: Overcrowding the table can make it feel chaotic. Keep a balance between decorative and functional items.
Warning: Ignoring cleaning can lead to dust accumulation. Regular maintenance is essential.
Warning: Using too many personal items can clutter the look. Choose your favorites only.
Warning: Not considering height variation can lead to a flat look. Mix different heights for interest.
Warning: Failing to adjust decor seasonally can make the space feel stale. Refresh regularly.
Common Mistakes to Avoid
Editor’s Choice

40-Piece All Purpose Household Pink Tool Kit for Girls, Ladies and Women…
Small Night Stand Organizer Nightstand Tray Bedside Table Organizer Wome…

DECRAFTS Seagrass Storage Basket with Lid Rectangular Small Woven Shelf …
Troubleshooting Section
Problem: The table looks cluttered.
Solution: Remove one or two items. Streamline the decor to key pieces.
Problem: Items don’t match.
Solution: Reassess your color scheme. Swap out items that clash.
Problem: It feels too empty.
Solution: Add a statement piece like a larger plant or artwork.
Problem: The lighting feels harsh.
Solution: Change to warm light bulbs or add softer lighting options.
Problem: Items are hard to reach.
Solution: Rearrange functional items for easier access.
Troubleshooting Section
Editor’s Choice

4Pcs Pink Pillow Covers, Fashion Woman Watercolor Perfume High Heels Lip…

Birthday Gifts for Women – Green Monstera Plant Faux Stained Glass Windo…

Women Bedside Table Lamps for Bedroom, Cute Flower Desk Lamp With Adjust…
Variations/Alternative Methods
- Minimalist Style: Use fewer items and focus on clean lines and shapes. Great for small spaces.
- Eclectic Style: Mix and match decor from different eras and styles. This approach allows for personal expression.
- Seasonal Themes: Change decor according to seasons or holidays. Ideal for keeping your entryway fresh and engaging.
Variations/Alternative Methods
Editor’s Choice

Gold 4 x 6” High-End Zinc Alloy Picture Frame with Wave Design – Modern…

Vintage Vase Set of 3, Ceramic Vintage Flower Vases, Chinoiserie Decorat…

Christmas Door Sign Decor, Not a Creature was Stirring, not Even a Mouse…
FAQs
What if I don’t have a large table?
You can style a smaller table by focusing on fewer, well-chosen items.
How long should I spend on styling?
Dedicate at least 1-2 hours for a thoughtful arrangement.
Is it safe to use candles on the table?
Yes, but ensure they are in holders and never left unattended.
Can I use family photos?
Absolutely! Personal photos add warmth and character.
What if my table is against the wall?
Use wall art or shelves above it to create a cohesive look.
FAQs
Editor’s Choice

Mother’s Day Glass Candle Holders Set of 4, Best Mom Ever Tealight Holde…
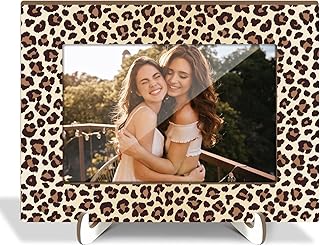
Leopard Print Picture Frames, Decorative Wood Photo Frames Birthday Gift…

SICOTAS Console Table with Rattan Drawers – Boho Rattan Entryway Table w…
Conclusion
Congratulations on styling your entryway console table! You’ve transformed a simple piece of furniture into a welcoming and functional space. Remember, your entryway sets the tone for your home, so keep it curated and inviting.
Now that you’ve completed this guide, consider exploring other areas of your home that could use a refresh. Whether it’s your living room or bedroom, the principles you’ve learned here can apply anywhere. Keep experimenting with styles and personal touches to create a home that truly reflects you.