
Living in a studio apartment presents unique challenges when it comes to organization. Without the luxury of separate rooms, clutter can accumulate quickly, making your space feel chaotic and cramped. This can lead to stress and frustration, especially when you’re trying to find things or relax in your home.
In this guide, you will learn how to efficiently organize your studio apartment room by room. By the end of the process, you will have a well-structured, cozy space that maximizes every square inch. We will cover essential organization tips specifically tailored for living areas, bedrooms, kitchens, and bathrooms.
This guide is designed for beginners and should take approximately 2-3 hours to complete, depending on the size of your studio. Get ready to transform your living space and create a peaceful sanctuary!
TL;DR Summary
- Declutter each area before organizing.
- Utilize vertical space to maximize storage.
- Incorporate multifunctional furniture.
- Designate specific areas for items based on usage.
TL;DR Summary
Editor’s Choice

BALEINE 1 Pack Fabric Closet Storage Bins for Shelves, Linen Closet Orga…

AMEILIFE Sofa Bed, Sleeper Sofa with Storage Chaise, Convertible Sofa Be…

BAYKA Floating Shelves for Wall, Wall Mounted Rustic Wood Shelves for Ba…
Prerequisites/Materials Needed
- Storage bins (3-5, various sizes)
- Drawer organizers (2-3)
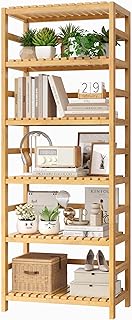
- Shelving units (1-2)
- Cleaning supplies (multi-surface cleaner, cloths)
- Labels (for bins and shelves)
- Trash bags (for decluttering)
Prerequisites/Materials Needed
Editor’s Choice
FOTOSOK 6-Tier Bamboo Shelf, Bamboo Bookcase with Adjustable Shelves, Fr…

WOWBOX 25 PCS Clear Plastic Drawer Organizer Set, 4 Sizes Desk Drawer Di…

CleverMade Collapsible Storage Bins 62L (3-Pack) – Heavy Duty Collapsi…
Skill Level & Time Estimate
Skill Level: beginner
Total time estimate: 2-3 hours
Consider breaking this down into the following approximate time allocations:
- Decluttering: 30-60 minutes
- Organizing living area: 30-45 minutes
- Organizing kitchen: 30-45 minutes
- Organizing bedroom: 30-45 minutes
Skill Level & Time Estimate
Editor’s Choice

EconoHome Clear Storage Box – 95 Qt/24 Gallon Clear Plastic Storage Bins…
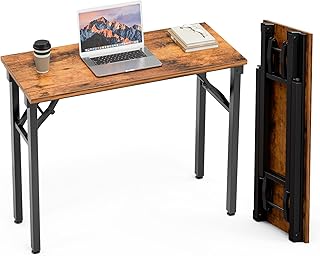
TEMI Small Computer Desk Folding Table – 35.8″ Foldable Office Desk, No …

Whitmor 36 Pair Over The Door Shoe Organizer, 12 Tier Hanging Shoe Organ…
Step 1: Declutter Each Area

Start by decluttering each area of your studio apartment. This is crucial for creating an organized space. Follow these steps:
- Begin with one area, such as the living room.
- Remove all items from surfaces like tables and shelves.
- Sort items into three categories: keep, donate/sell, and discard.
Warning: Avoid overwhelming yourself by trying to declutter everything at once. Focus on one area at a time.
Why this matters: Decluttering helps you identify what you truly need while freeing up space for organization.
Time estimate: 30-60 minutes.
[Screenshot: Show before-and-after images of a cluttered living area being decluttered.]
Step 1: Declutter Each Area
Editor’s Choice

SUPVAN E11 Bluetooth Label Maker Machine with 4 Tapes, Support Keyboard …

IRIS USA 4-Pack Storage Bins with Lids, 13 Quart, Made in USA Stackable …

30.5-INCH Storage Ottoman Bench, Footrest with Storage, End of Bed Bench…
Step 2: Organize the Living Area

Now that you’ve decluttered, focus on organizing your living area. Use the following steps:
- Identify your frequently used items (remote, books, etc.).
- Allocate a specific place for each item, preferably in easy-to-reach spots.
- Utilize storage bins for less frequently used items, labeling them for easy identification.
Pro Tip: Use vertical space by adding shelves above furniture. This maximizes storage without taking up floor space.
Why this matters: An organized living area enhances relaxation and functionality.
Time estimate: 30-45 minutes.
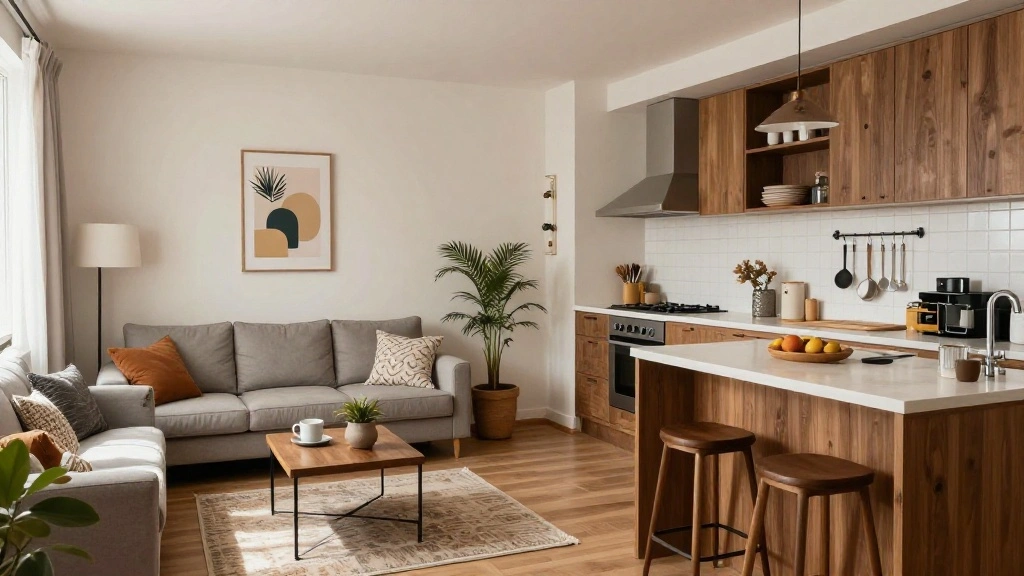
[Screenshot: Show a well-organized living area with labeled storage and vertical shelving.]
Step 2: Organize the Living Area
Editor’s Choice

SUPVAN E11 Bluetooth Label Maker Machine with 4 Tapes, Support Keyboard …
BAYKA Floating Shelves for Wall, Wall Mounted Rustic Wood Shelves for Ba…

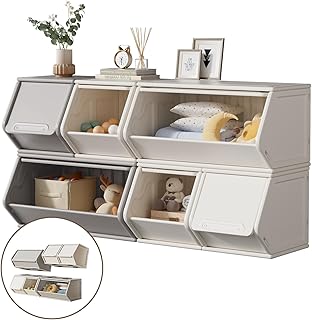
5 Pack Stackable Closet Storage Basket – Stackable Storage Bins, Multifu…
Step 3: Tackle the Kitchen

The kitchen is often a hotspot for clutter. Here’s how to keep it organized:
- Empty kitchen drawers and cabinets to assess what you have.
- Group similar items together; for example, keep all utensils in one drawer.
- Use drawer organizers to keep smaller items tidy.
Warning: Avoid overcrowding cabinets, as it makes finding items difficult.
Why this matters: A well-organized kitchen allows for efficient cooking and easy access to items.
Time estimate: 30-45 minutes.
[Screenshot: Show a tidy kitchen drawer with organized utensils and labels.]
Step 3: Tackle the Kitchen
Editor’s Choice

Vtopmart 25 PCS Clear Plastic Drawer Organizers Set, 4-Size Versatile Ba…

SONGMICS Cabinet Organizer Shelf, Set of 2 Kitchen Counter Shelves, Kitc…

SKTEET Set of 8 Clear Plastic Storage Bins, 4 Large and 4 Small Stackabl…
Step 4: Organize the Bedroom
Next, focus on your bedroom to create a restful environment:
- Clear off surfaces like bedside tables and dressers.
- Sort your clothes and accessories; donate items you don’t wear.
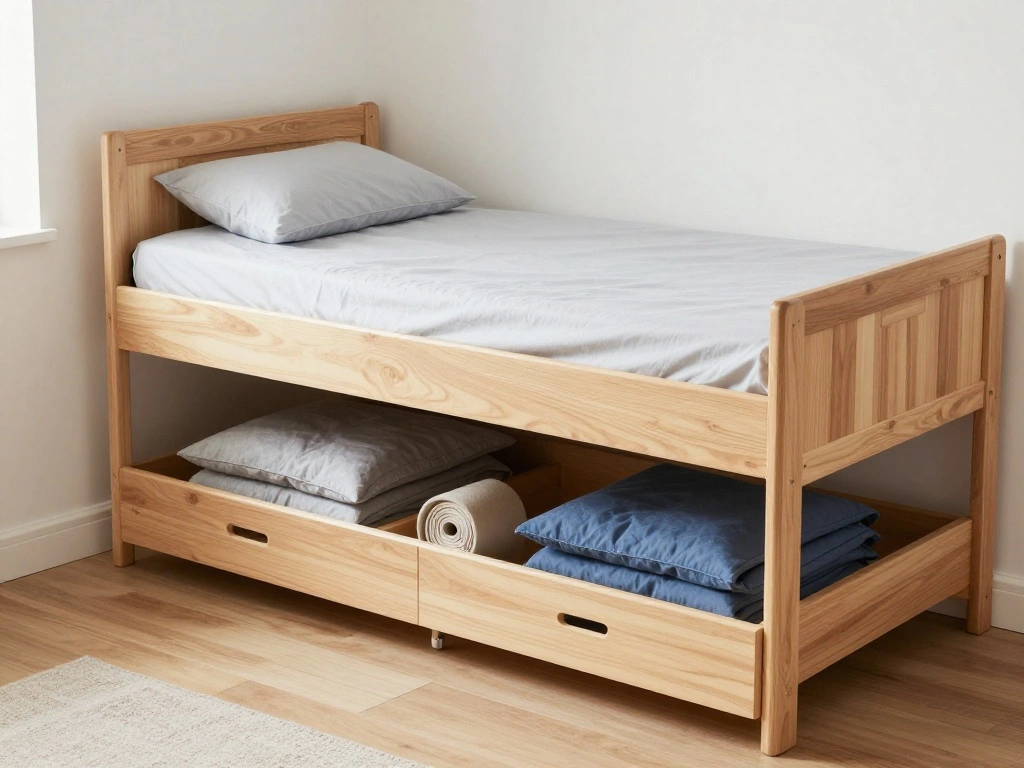
- Use under-bed storage for seasonal items or shoes.
Pro Tip: Consider using multifunctional furniture, like a bed with built-in drawers.
Why this matters: An organized bedroom promotes better sleep and relaxation.
Time estimate: 30-45 minutes.
[Screenshot: Show a well-organized bedroom with under-bed storage and tidy surfaces.]
Step 4: Organize the Bedroom
Editor’s Choice

Storage Basket 16x12x8 inch Fabric Sturdy Canvas Storage Bins Organizer …

King Bed Frame with Storage & Built-in Nightstands, Velvet Upholstered P…

Budding Joy 90L Under Bed Storage Containers, Closet Organizers and Stor…
Step 5: Organize the Bathroom

The bathroom can easily become cluttered due to various products. Follow these steps to organize it:
- Remove all items from counters and cabinets.
- Group similar items (toiletries, cleaning supplies) together.
- Use clear bins to store items under the sink, labeling each bin.
Warning: Avoid storing expired products; they take up unnecessary space.
Why this matters: An organized bathroom simplifies your daily routine.
Time estimate: 30-45 minutes.
[Screenshot: Show a neat bathroom counter with organized bins and products.]
Step 5: Organize the Bathroom
Editor’s Choice

JARLINK Over The Door Organizer Storage, 5 Shelf Hanging Door Organizer …

8 Pack Extra Large Heavy Duty Moving Bags, Clear Storage Bins with Lids,…

VEVOR Manual Round Labeling Machine, 15-20pcs/min, Applicator for Round …
Step 6: Maintain Your Organization System
Once you’ve organized your studio, maintaining it is key. Here’s how:
- Set aside a few minutes each week to tidy up.
- Regularly assess your items and declutter as needed.
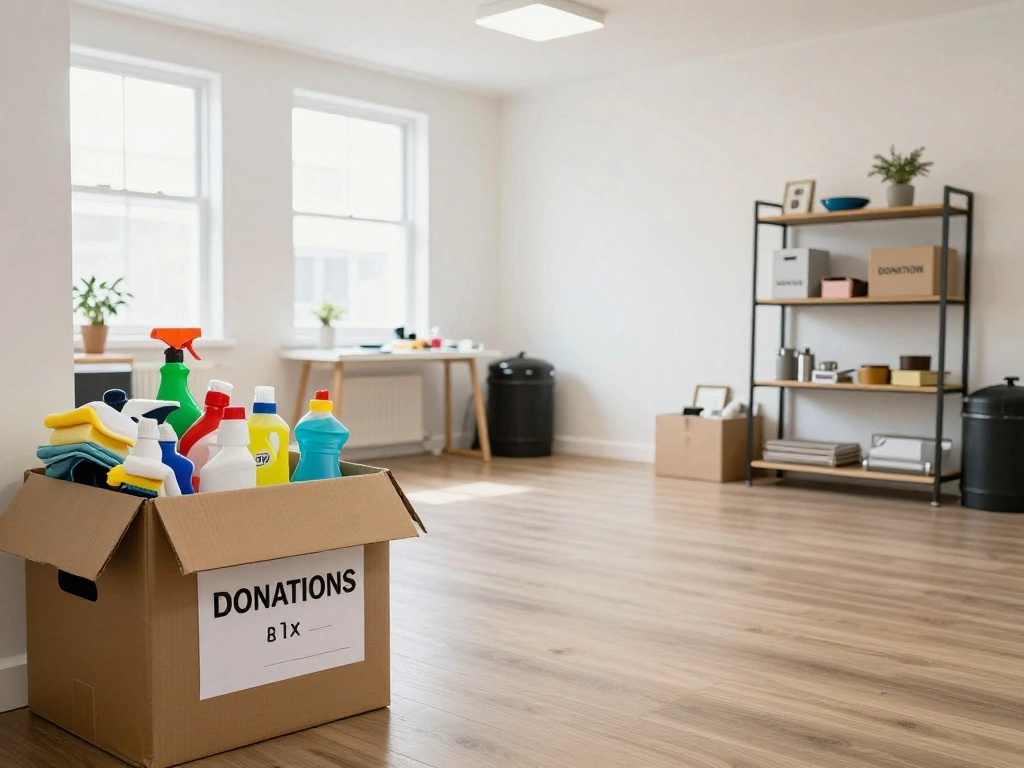
- Keep a donation box handy for items you no longer need.
Pro Tip: Create a cleaning schedule to keep surfaces clear and organized.
Why this matters: Consistent maintenance prevents clutter from returning.
Time estimate: Ongoing, 10-15 minutes weekly.
[Screenshot: Show a clean and organized space, emphasizing maintenance tools and a donation box.]
Step 6: Maintain Your Organization System
Editor’s Choice
Phomemo Label Maker, D30 Portable Bluetooth Label Maker Machine with Tap…

Large Cleaning Supplies Caddy Portable Shower Basket Supply Organizer wi…

IRIS USA 20-Pack Storage Bins with Lids, 6 Quart, Shoe Boxes Clear Stack…
Step 7: Personalize Your Space

After organizing, it’s essential to make your apartment feel like home:
- Add personal touches like photos, plants, or art.
- Choose a color scheme that reflects your style.
- Utilize decorative storage options that complement your decor.
Pro Tip: Select multifunctional decor items that also provide storage.
Why this matters: Personalizing your space enhances comfort and makes it uniquely yours.
Time estimate: 30-60 minutes.
[Screenshot: Show a stylish studio apartment with personalized decor and organized items.]
Step 7: Personalize Your Space
Editor’s Choice

QsQueen Scalloped Wood Wall Shelf – 17 Inch Floating Shelf with Wood B…

Preboun 8 Pcs 18 x 18 Inch Fresh Colors Decorative Throw Pillow Covers, …

DUMOS 43 Inch Folding Storage Ottoman Bench, Large Hidden Storage Chest …
Step 8: Celebrate Your Accomplishments
Finally, take a moment to appreciate your hard work:
- Stand back and admire your organized space.
- Share your accomplishment with friends or on social media.
- Consider inviting friends over to showcase your newly organized apartment!
Pro Tip: Reward yourself for the effort with a small treat or activity.
Why this matters: Celebrating your success motivates you to maintain your organized space.
Time estimate: 10-15 minutes.
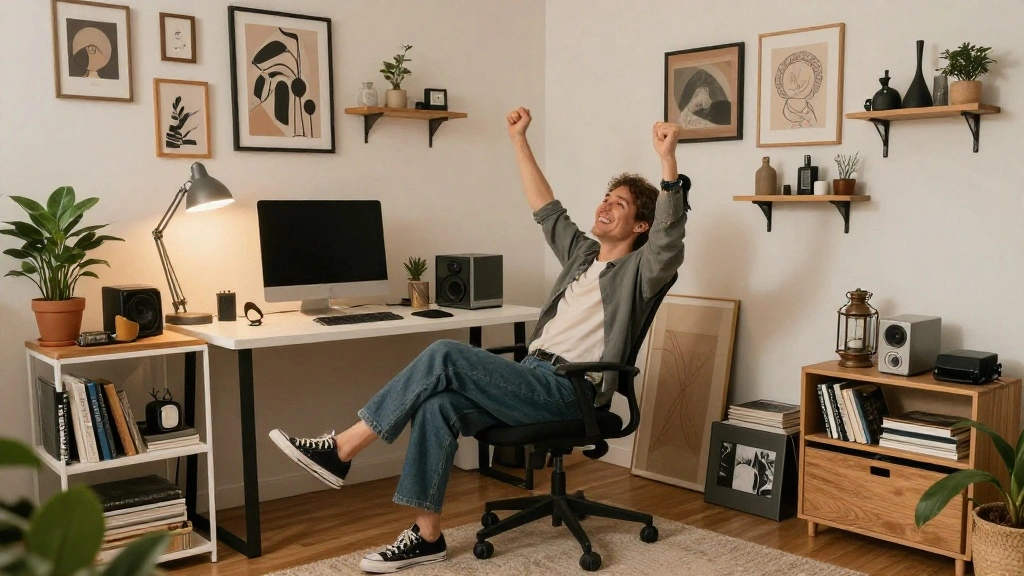
[Screenshot: Show a happy person enjoying their organized studio apartment.]
Step 8: Celebrate Your Accomplishments
Editor’s Choice

Lifewit 6 Pack Clothes Storage Bins with Lids, Foldable Blanket Storage …
BAYKA Floating Shelves for Wall, Wall Mounted Rustic Wood Shelves for Ba…
Pro Tips
- Vertical Storage: Maximize space by using tall bookshelves or wall-mounted shelves.
- Under Furniture Storage: Utilize the space under your bed or sofa for storage bins.
- Regular Decluttering: Schedule monthly decluttering sessions to keep clutter at bay.
- Multi-Use Furniture: Choose furniture that doubles as storage, like ottomans with hidden compartments.
- Label Everything: Labels help you and guests know where things belong.
Pro Tips
Editor’s Choice
Budding Joy 90L Under Bed Storage Containers, Closet Organizers and Stor…
DUMOS 43 Inch Folding Storage Ottoman Bench, Large Hidden Storage Chest …

TUTOTAK Narrow Bookshelf, 8-Tier Bookcase, Spine Book Shelf for Small Sp…
Common Mistakes to Avoid
Warning: Don’t keep items you rarely use. This leads to clutter. Regularly assess your belongings.
Warning: Avoid overcrowding spaces. Stick to a rule of leaving some empty space for breathability.
Warning: Don’t forget about vertical space. Use it smartly to avoid clutter on surfaces.
Common Mistakes to Avoid
Editor’s Choice

Sakugi Storage Shelves – 5-Tier Large Capacity Shelf Organizer with Hook…
Sterilite 4-Pack Industrial Tote, Plastic Storage Container Bins with Li…

GRUSIGN 78 Inch Convertible Sofa Bed, 5-in-1 Futon Sofa Bed Pull Out Cou…
Troubleshooting Section
Problem: My studio feels cluttered again.
Solution: Revisit your decluttering process and assess each area for unnecessary items.
Problem: I can’t find storage solutions that fit.
Solution: Measure your available space and look for custom solutions or modular furniture.
Problem: Items keep piling up on surfaces.
Solution: Establish a ‘one in, one out’ rule for new items to prevent accumulation.
Troubleshooting Section
Editor’s Choice
UNICOO® 2+4 Free Combination Stackable Plastic Storage Cabinet | Custom…

WISELIFE Over The Door Organizer Storage 4 Shelves Large Capacity Hangin…

IBUYKE Multifunctional Storage Vanity Stool with Flip Tabletop, Adjustab…
Variations/Alternative Methods
Minimalist Approach: Focus on keeping only essential items for a clean, open space.
Color-Coding System: Organize items by color for a visually appealing arrangement.
Seasonal Rotation: Rotate items based on seasons to keep your space fresh and organized.
Variations/Alternative Methods
Editor’s Choice
8 Pack Extra Large Heavy Duty Moving Bags, Clear Storage Bins with Lids,…
Phomemo Label Maker, D30 Portable Bluetooth Label Maker Machine with Tap…
HOMZ 3-Pack 24 Inch Seasonal Holiday Clear Plastic Wreath Storage Contai…
FAQs
What if I don’t have enough storage bins? You can use boxes or repurpose containers you already have.
How long should I spend organizing each area? Aim for 30-45 minutes per area, depending on clutter.
Is it safe to stack items vertically? Yes, but ensure they are stable and won’t topple over easily.
FAQs
Editor’s Choice
Sterilite 6-Pack Ultra Latching Box, Storage Bins with Lids, Clear Plast…

360° Rotating Sofa Side Cabinet Storage Cabinet Bedside Table with Each…

FACBOTALL 82″ Tall Bookshelf, 7-Tier Open Shelves Bookcase, Freestanding…
Conclusion

Congratulations on taking the steps to organize your studio apartment! You’ve transformed your space into a functional and inviting environment. Keep up the maintenance practices you’ve learned to ensure your home remains clutter-free.
As you enjoy your newly organized studio, consider exploring additional organization resources or tools to further enhance your living experience. Remember, a well-organized space contributes to a peaceful mind and an enjoyable home.