
Do you find yourself struggling with limited closet space? Whether you’re in a small apartment or simply need more organization, a no-closet clothing storage system can be a game changer. This guide will help you create a functional and stylish clothing storage solution that utilizes your available space effectively.
By the end of this guide, you’ll have a customized storage system that not only declutters your living space but also makes your clothing easily accessible. You will learn how to choose the right materials, design an attractive layout, and implement practical storage techniques.
This project is designed for beginners and can be completed in about 3-4 hours. You’ll be amazed at how simple adjustments can transform your space. Let’s get started on this creative journey!
TL;DR Summary
- Learn how to build a practical no-closet clothing storage system.
- Discover essential materials and tools needed for the project.
- Follow step-by-step instructions to create your customized storage solution.
- Explore tips for maintenance and common mistakes to avoid.
TL;DR Summary
Editor’s Choice

Optish Over The Door Hooks, Door Hanger Hooks for Hanging, Over The Door…

5 Pack Stackable Closet Storage Basket – Stackable Storage Bins, Multifu…
Sakugi Clothes Rack – Clothing Rack with Storage Mesh Shelf & Casters, H…
Prerequisites/Materials Needed
- Wooden shelves (2-3 pieces, size depends on space)
- Clothing racks (1-2, adjustable height)
- Storage bins (3-5, stackable)
- Hooks (for accessories, 5-10)
- Tools:
- Drill
- Screwdriver
- Measuring tape
Prerequisites/Materials Needed
Editor’s Choice

LiaMeE Adjustable Clothing Rack for Hanging Clothes, Heavy Duty Garment …

Vtopmart 6 Pack Clear Stackable Storage Bins with Lids, Large Plastic Co…

BAYKA Floating Shelves Set of 2, 22.5 inches Farmhouse Rustic Wood Wall …
Skill Level & Time Estimate
Skill Level: beginner
Total time estimate: 3-4 hours
Breakdown:
- Planning and design: 1 hour
- Gathering materials: 1 hour
- Assembly: 1-2 hours
Skill Level & Time Estimate
Editor’s Choice

8 Pack Extra Large Heavy Duty Moving Bags, Clear Storage Bins with Lids,…

HYSEYY Double Rods Clothes Rack, Rolling Clothing Rack for Hanging Cloth…

BOOMIBOO Hanging Closet Organize and Shelves,5-Hanging Shelf with 2 Si…
Step 1: Measure Your Space

Start by measuring the area where you plan to set up your clothing storage. This is crucial for determining the dimensions of shelves and racks that will fit your space. Follow these steps:
- Use a measuring tape to measure the height, width, and depth of the area.
- Write down the measurements for reference.
- Consider any obstacles like windows or electrical outlets that may affect your layout.
Pro Tip: Take measurements at different points to ensure accuracy, as walls may not be perfectly straight. Why this matters: Accurate measurements help you avoid purchasing materials that won’t fit. Time estimate for this step: 30 minutes.
Step 1: Measure Your Space
Editor’s Choice

Sakugi Clothes Rack – 33.0″ x 12.2″ x 79.5″ Clothing Rack with Shelves &…

C&AHOME Cube Storage Organizer, 16-Cube Shelves Units, Plastic Storage C…
Step 2: Design Your Layout

Once you have your measurements, it’s time to design the layout of your clothing storage. This will involve deciding where to place shelves, racks, and bins. Follow these steps:
- Sketch a rough layout on paper or use design software.
- Determine the best placement for clothing racks to allow for easy access.
- Plan for the shelves to hold bins or folded clothes.
Pro Tip: Consider vertical space for shelves to maximize storage. Why this matters: A well-thought-out design ensures effective use of space and keeps your clothing organized. Time estimate for this step: 30 minutes.
Step 2: Design Your Layout
Editor’s Choice
8 Pack Extra Large Heavy Duty Moving Bags, Clear Storage Bins with Lids,…

BAYKA Floating Shelves for Wall, Wall Mounted Rustic Wood Shelves for Ba…

HYSEYY Clothes Rack, Double Rods Rolling Clothing Rack for Hanging Cloth…
Step 3: Gather Your Materials

With your design in hand, it’s time to gather all the materials you will need. Collect everything from shelves to hooks before you begin assembly. Follow these steps:
- Visit your local hardware store or order materials online.
- Check your list to ensure you have everything.
- Consider purchasing extra screws or hooks, just in case.
Pro Tip: Look for versatile materials that can serve multiple purposes. Why this matters: Having all materials on hand reduces delays during assembly. Time estimate for this step: 1 hour.
Step 3: Gather Your Materials
Editor’s Choice

Honey-Can-Do 5-Tier Heavy Duty Adjustable Shelving Unit, 250-lb Per Shel…

bussdis Coat Hooks Wall Mount for Hanging, Heavy Duty Backpack Hooks for…
Casafield Set of 2 Water Hyacinth Basket Organizers with 4 Sections, Esp…
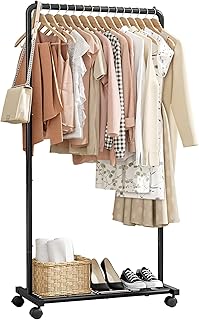
Step 4: Assemble the Clothing Racks

Now it’s time to put together your clothing racks. This step is straightforward but requires careful assembly. Follow these steps:
- Lay out all parts of the clothing rack on the floor.
- Use your screwdriver to attach the pieces, following the manufacturer’s instructions.
- Ensure all screws are tight for stability.
Warning: Make sure the rack is stable before hanging clothes to avoid accidents. Why this matters: A sturdy rack prevents damage to your clothes and ensures safety. Time estimate for this step: 1 hour.
Step 4: Assemble the Clothing Racks
Editor’s Choice

Amartisan 10-Piece Magnetic Screwdrivers Set, 5 Phillips and 5 Slotted T…

VIPEK R2 Plus Rolling Garment Rack 3 Tiers Adjustable Wire Shelving Clot…
LiaMeE Adjustable Clothing Rack for Hanging Clothes, Heavy Duty Garment …
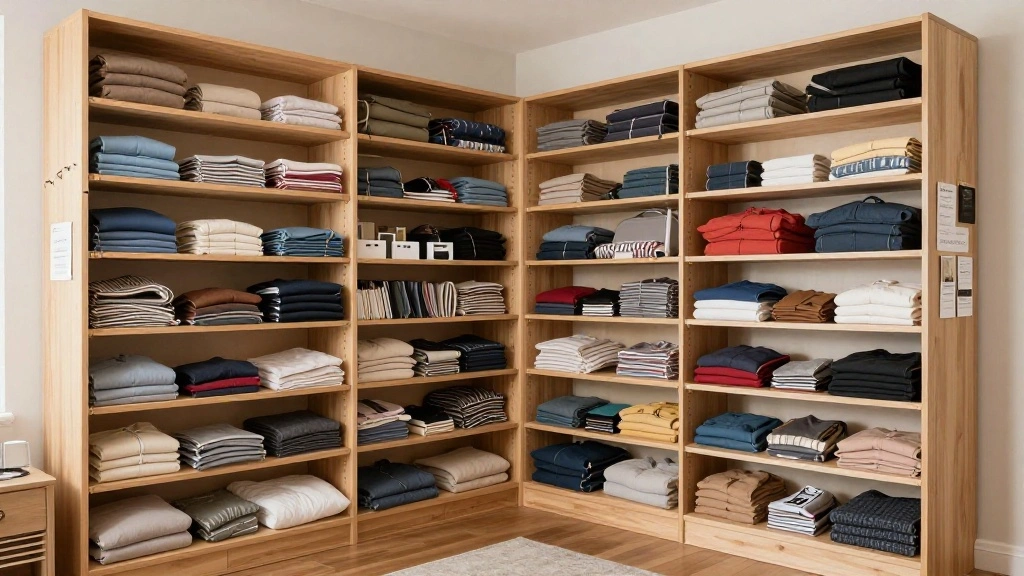
Step 5: Install Shelves
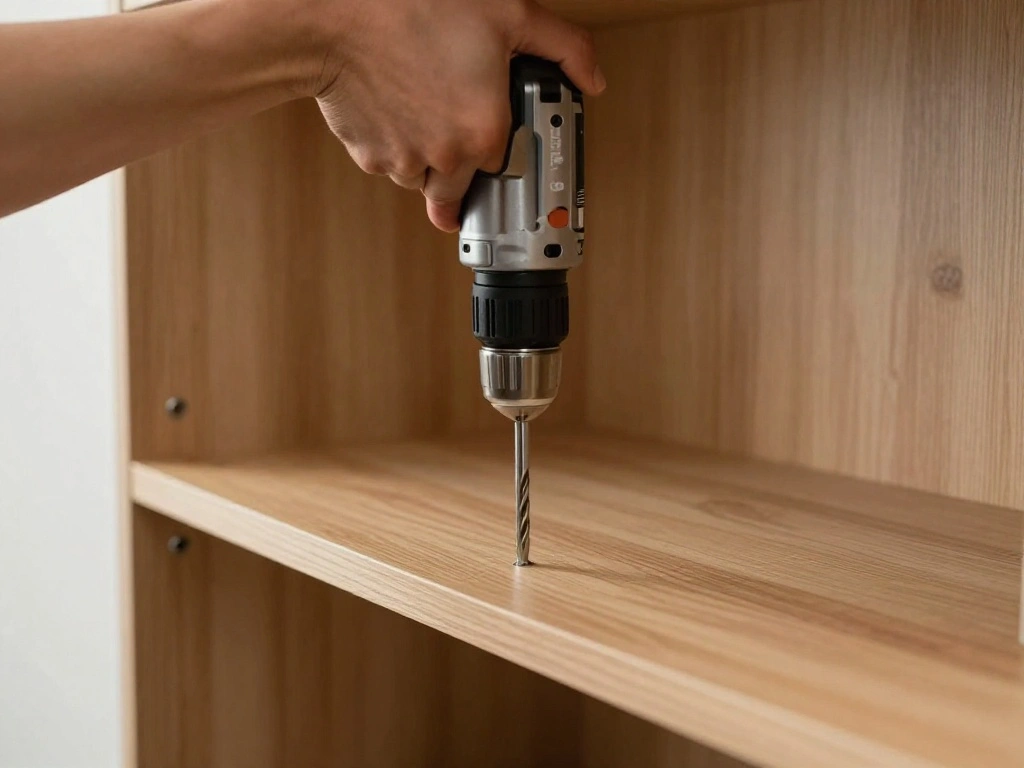
Next, install the shelves according to your design. This step will provide the foundation for storing bins and folded clothes. Follow these steps:
- Mark the position of the shelves on the wall based on your layout.
- Use a level to ensure the marks are straight.
- Drill holes and secure brackets to hold the shelves.
- Place the shelves onto the brackets.
Pro Tip: Use wall anchors if you’re mounting on drywall for added support. Why this matters: Proper installation ensures your shelves can hold the weight of your clothing without collapsing. Time estimate for this step: 1 hour.
Step 5: Install Shelves
Editor’s Choice

CX Black & Yellow, 4-Tier Heavy Duty Plastic Storage Shelves that Suppor…

KURUI 140Pcs #8 Self Drilling Drywall Anchors with Screws Kit, Heavy Dut…

Iron Supports Universal Heavy-Duty Commercial Bracket – Industrial Suppo…
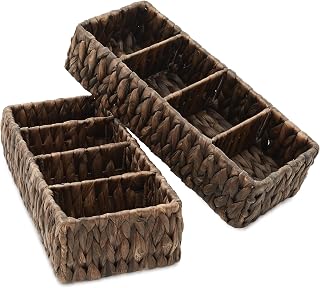
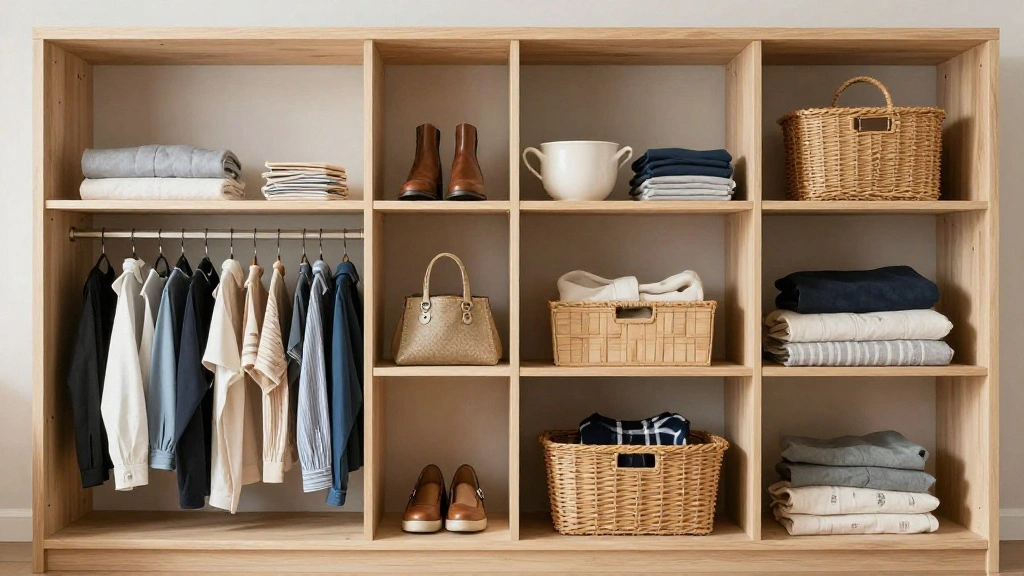
Step 6: Organize Clothing Bins

Now that your shelves and racks are in place, it’s time to organize your clothing bins. This step is key to maintaining an orderly system. Follow these steps:
- Sort your clothes by category (e.g., tops, bottoms, outerwear).
- Place each category into its own bin.
- Label the bins for easy identification.
Pro Tip: Use clear bins to see contents easily. Why this matters: Organized bins make it simple to find what you need, saving you time. Time estimate for this step: 30 minutes.
Step 6: Organize Clothing Bins
Editor’s Choice

Lifewit Drawer Dividers for Clothes, 3.2″ High 10.5″-16.5″ Expandable Dr…

YFXCVSL 4 Tier Plastic Storage Bins with Lid 23QT, Stackable Storage Con…

Nelko Label Maker Machine with Tape, P21 Bluetooth Label Printer, Wirele…
Step 7: Hang Accessories and Additional Items
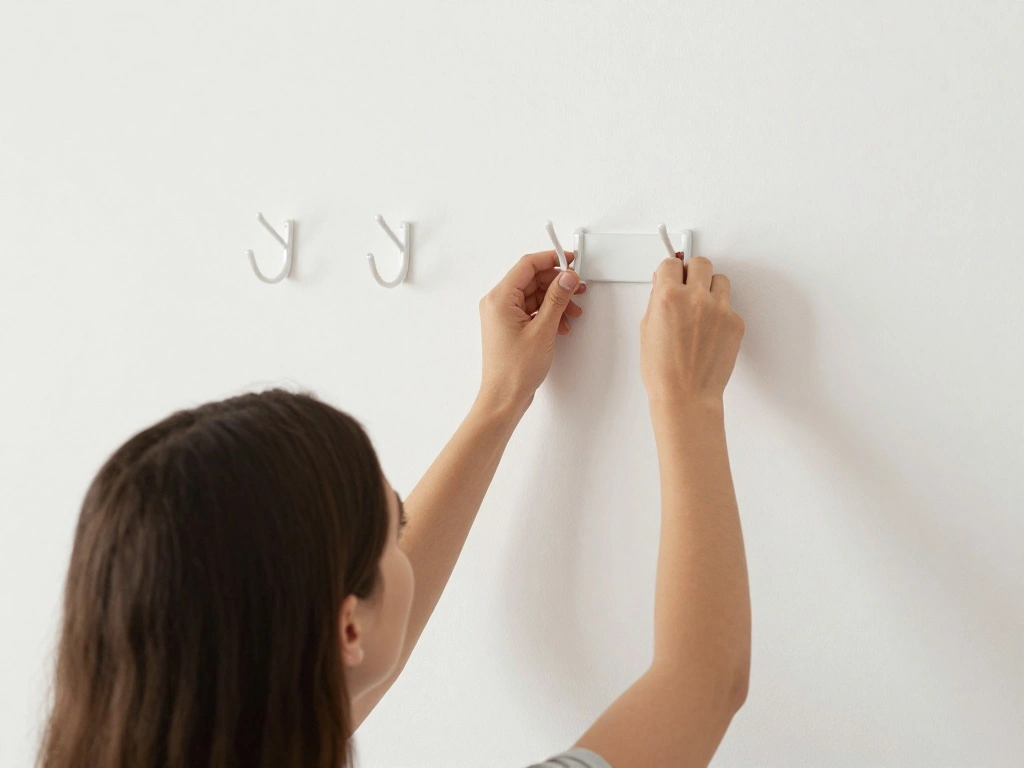
Finally, utilize hooks or additional storage options for accessories. This will keep everything in your clothing storage system cohesive and functional. Follow these steps:
- Decide where to place hooks for accessories like belts and scarves.
- Install hooks on the wall or side of the shelving unit.
- Hang accessories neatly for easy access.
Pro Tip: Group similar accessories together for a tidy look. Why this matters: Keeping accessories organized prevents clutter and enhances the overall appearance of your storage space. Time estimate for this step: 30 minutes.
Step 7: Hang Accessories and Additional Items
Editor’s Choice
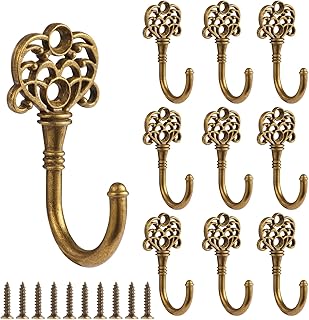
10 PCS Vintage Metal Wall Hooks, Bohemian Decorative Hook with Screws, W…

Consumest Over The Door Hooks Organizer – 3 Tier Door Hanger with 9 Coat…
Step 8: Maintain Your Clothing Storage System

To keep your no-closet clothing storage system functioning well, regular maintenance is necessary. Follow these steps:
- Set a schedule to reorganize your bins every season.
- Check for any loose screws or unstable shelves regularly.
- Replace any worn-out bins or racks as needed.
Pro Tip: Create a checklist for seasonal maintenance to stay on top of organization. Why this matters: Consistent maintenance ensures your system remains effective and visually appealing. Time estimate for this step: 15 minutes every season.
Step 8: Maintain Your Clothing Storage System
Editor’s Choice
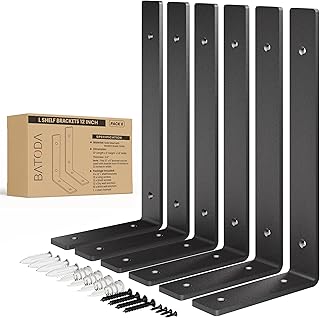
BATODA Pack 6 – 12”L Heavy Duty Shelf Brackets – L Shelf Brackets Black…
5 Pack Stackable Closet Storage Basket – Stackable Storage Bins, Multifu…

The Ultimate Home Maintenance Checklist and Logbook for Homeowners: An E…
Pro Tips
- Flexible Storage Solutions: Consider using foldable storage boxes for seasonal clothing.
- Color Coordination: Organize clothing by color to create a visually appealing display.
- Use Vertical Space: Maximize height with tall shelving units or hanging organizers.
- Regular Decluttering: Schedule time to donate or discard items you no longer wear.
- Incorporate Lighting: Add lighting to dark corners to enhance visibility.
Pro Tips
Editor’s Choice

JARLINK Over The Door Organizer Storage, 5 Shelf Hanging Door Organizer …

Sakugi Storage Shelves – 5-Tier Large Capacity Shelf Organizer with Hook…

VEVOR 65L Collapsible Storage Bins with Lids 3 Packs, Stackable Utility …
Common Mistakes to Avoid
Warning: Failing to measure accurately can lead to a poorly fitting system. Always double-check your measurements before purchasing materials.
Warning: Overloading shelves can cause them to collapse. Adhere to weight limits for each shelf and rack.
Warning: Neglecting to label bins can lead to confusion and disorganization. Always use clear labels for easy identification.
Common Mistakes to Avoid
Editor’s Choice

VEVOR Storage Shelving Unit, 5-Tier Adjustable, 2000 lbs Capacity, Heavy…

Sterilite 4 Pack Ultra Latching Box, Storage Bins with Lids, Clear Plast…

SUPVAN E11 Bluetooth Label Maker Machine with 4 Tapes, Support Keyboard …
Troubleshooting Section
Problem: My shelves are sagging.
Solution: Check if the brackets are securely fastened and redistribute the weight evenly across the shelves.
Problem: I can’t find my clothes.
Solution: Reorganize bins by category and ensure they’re clearly labeled. Consider color-coding for better visibility.
Problem: Hooks are coming loose.
Solution: Inspect the screws and tighten them. If necessary, use wall anchors for added support.
Troubleshooting Section
Editor’s Choice

Zinc Self-Drilling Drywall Anchors with Screws Kit, 25 Heavy Duty Metal …

17Inch 8 Pcs Pilaster Shelf Brackets, Adjustable Mortise Mount Shelf Rai…
Sterilite 4 Pack Ultra Latching Box, Storage Bins with Lids, Clear Plast…
Variations/Alternative Methods
1. Freestanding Clothing Racks: Ideal for those who want a mobile option. Pros: Easy to move; Cons: May take up more floor space.
2. Wall-Mounted Shelves: Great for maximizing vertical space. Pros: Space-saving; Cons: Requires drilling into walls.
3. Under-Bed Storage: Perfect for seasonal clothing. Pros: Hidden storage; Cons: Limited access.
Variations/Alternative Methods
Editor’s Choice

Budding Joy 90L Under Bed Storage Containers, Closet Organizers and Stor…
Sakugi Clothes Rack – Clothing Rack with Storage Mesh Shelf & Casters, H…

Laundry Room Shelves Wall Mounted with Wire Baskets, Over the Washer and…
FAQs
What if I don’t have enough wall space? Use freestanding solutions like clothing racks or tall shelving units that can be placed anywhere.
How long should I expect this project to take? The entire setup can take about 3-4 hours, depending on your pace and organization.
Is it safe to mount heavy items on the wall? Yes, as long as you use appropriate wall anchors and brackets to support the weight.
Conclusion
Congratulations on building your very own no-closet clothing storage system! You’ve taken a significant step towards better organization and maximizing your living space. Keep maintaining your system to ensure it remains effective and visually appealing.
As you continue to enjoy your newly organized space, consider exploring other home organization projects or even upgrading your storage solutions. Embrace the simplicity and functionality that come with a decluttered lifestyle!