
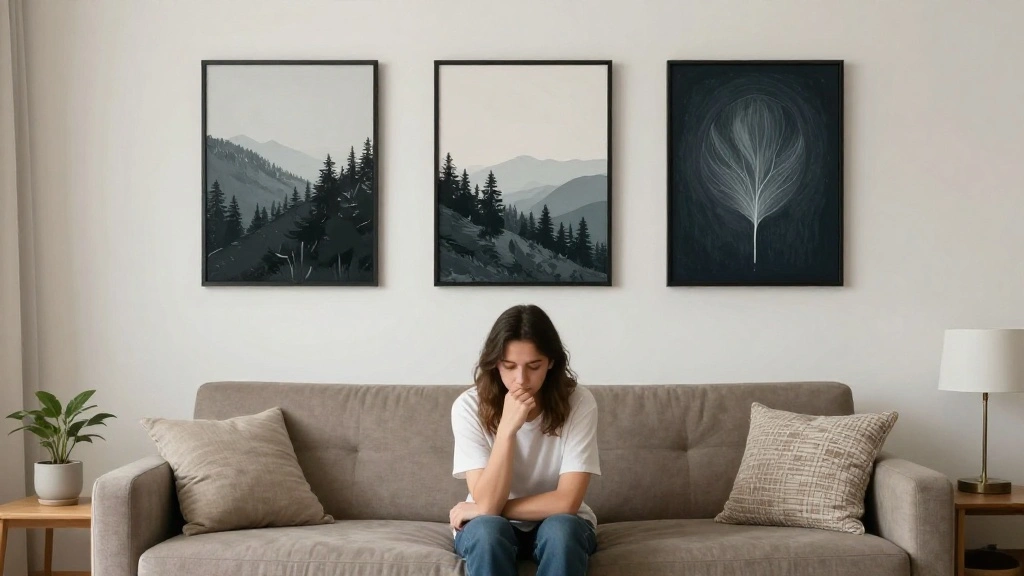
Are you tired of staring at bland walls that lack personality? Many of us want to enhance our living spaces but feel held back by the high costs of art and decor. This is where DIY wall art comes into play. Creating your own wall art can not only save you money but also allow you to express your unique style. In this guide, you will learn how to create stunning DIY wall art that will elevate your home without breaking the bank.
By the end of this tutorial, you’ll have your very own piece of wall art that reflects your taste, and you’ll feel a sense of accomplishment knowing you made it yourself. You will learn specific techniques for gathering materials, designing your art, and executing it step by step. This guide is tailored for beginner DIYers and can be completed in about 2-3 hours!
Get ready to unleash your creativity, turn your walls into a canvas, and add a personal touch to your home!
TL;DR Summary
- Transform your empty walls with affordable DIY wall art.
- Step-by-step instructions for creating unique pieces.
- Materials list included for easy gathering.
- Perfect for beginners and can be completed in 2-3 hours.
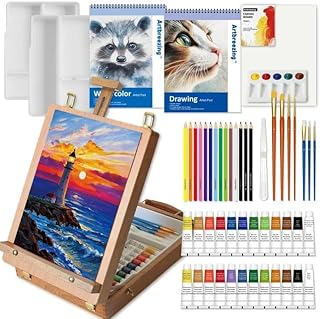
Recommended Products

【What Will You Get ?】 Our 2 pack insect paint by numbers kit for adults comes with everything you need to begin: 1x waterproof canvas, 1x matching paint, 3x nylon brushes (different sizes), 1x line drawing, 1x instruction manual, 1x finished effect card, 2x metal hooks.(No frame)

Paint by Numbers Kit for Adults:Adult paint by numbers included 1x textured canvas (no frame),3x high quality brushes,1x set of acrylic paint,1x numbered reference canvas and 2x metal hooks.All tools are prepared,you can paint directly

Paint by Numbers CaptainCrafts Brand: Trademark protected by Amazon. A beautiful and fun set of digital painting by numbers. Paint by number contains: acrylic paints, brushes, teaching drawings, linen canvas.
TL;DR Summary
Editor’s Choice

Simetufy 12 Pack 8×10 Canvas Boards for Painting, Blank Flat Canvas Pane…

Shuttle Art Acrylic Paint, 36 Colors Acrylic Paint Set with Brushes & Pa…

60 Pcs Acrylic Paint Brush Set, Oil & Watercolor – Professional Artist B…
Prerequisites/Materials Needed
- Basic Materials:
- Canvas or poster board (1-2 pieces)
- Acrylic paints (various colors)
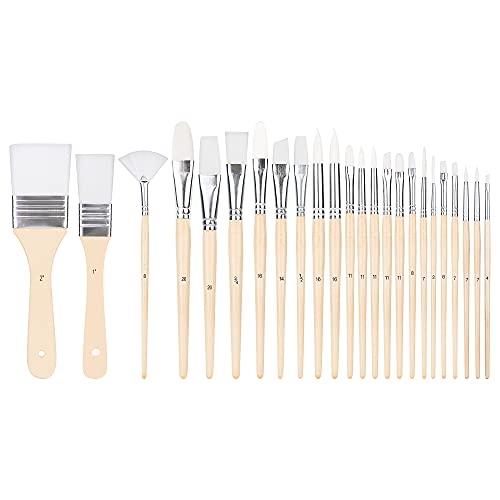
- Paintbrushes (various sizes)
- Palette for mixing colors
- Water cup for rinsing brushes
- Optional Materials:
- Stencils or templates (for designs)
- Glue for collage elements
- Additional decorative items (e.g., fabric scraps, beads)
- Tools:
- Scissors
- Pencil for sketching
- Ruler (optional for straight lines)
Recommended Products

【8x10 Canvas Value Pack】This canvas bulk includes 5 pack 8x10 inches blank canvases for painting, perfect painting canvas for kids and Professional painter.

【12x16 Canvas】This set includes 3 pack 12x16 inches canvas for painting, perfect painting canvas for Beginners and Professional painter.

Primed & Ready to Paint - Our canvases for painting are already primed with acid-free acrylic and ready to use. No need to prepare!
Prerequisites/Materials Needed
Editor’s Choice
Simetufy 12 Pack 8×10 Canvas Boards for Painting, Blank Flat Canvas Pane…
Shuttle Art Acrylic Paint, 36 Colors Acrylic Paint Set with Brushes & Pa…

20 Pcs Paint Brushes, Acrylic Painting Brush Set, Watercolor Brushes, Ac…
Skill Level & Time Estimate
Skill Level: beginner
Time Estimate: 2-3 hours
Breakdown:
– Gathering materials: 30 minutes
– Designing your art: 30 minutes
– Painting and assembly: 1-2 hours
Recommended Products

ALL INCLUSIVE PAINT SET: Unleash your creativity from beginner to professional level with this fun and educational acrylic paint. Open the box, and you're ready to draw and paint! It comes complete with 24 vibrant paints in 60ml bottles, providing ample colors for your artistic endeavors. Additionally, we've included 12 high-quality acrylic paint brushes, catering to both kids and adults.

50 VIBRANT COLORS : Shuttle Art Acrylic Paint Set comes with 50 colors acrylic paint in 60 ml/2 oz bottles, providing the most commonly used colors and inspiring hot fluorescent and metallic colors to your art projects, ideal for painting and crafting

🎨Safety guarantee & High quality- Made of premium paint material, conforming to ASTM D-4236 and EN71 standards,HissiCo acrylic paint set is in rich pigment, creamy, non toxic and safe for adults, teens and kids’ creative art painting time
Skill Level & Time Estimate
Editor’s Choice

TMOL Acrylic Paint Set, 24 Colors (2 oz/Bottle) with 12 Art Brushes, Art…
Simetufy 12 Pack 8×10 Canvas Boards for Painting, Blank Flat Canvas Pane…

Paint Brushes Set of 24 Pieces Wooden Handles Brushes with Canvas Brush …
Step 1: Gather Your Materials

Start by collecting all the necessary materials listed in the prerequisites. This helps you avoid interruptions later. Here’s how to do it:
- Go through your home to find items like canvas or poster board.
- Visit a local craft store or shop online for paints and brushes.
- Check if you have optional items like stencils or decorative elements that can enhance your design.
Pro Tip: Get creative! You can use old newspapers, magazines, or fabric scraps to make a collage-style art piece.
Why this matters: Gathering everything upfront saves time and ensures a smoother process later.
Time estimate for this step: 30 minutes.
Recommended Products
Artist's set with 24 paint brushes in a variety of shapes and sizes that make artistic creation easier

Size: 10 sizes professional round-pointed paint brushes with a variety of shapes make MIXING COLOR easier. 10 Sizes: 5/8 8 6 4 5 3 2 2 1 2/0; Length: 6.5 to 7.5 inches

Made of high quality wood and nylon, durable and eco-friendly. Brush surface renders light yellow luster, and almost every hair firmly stand upright.
Step 1: Gather Your Materials
Editor’s Choice

Simetufy 11 x 14 inch 42 Pack Flat Painting Canvas Boards- Gesso Primed …

Magimate Stain Brush Set 1-inch 2-inch 3-inch and 4-inch Assortment, Bri…
Shuttle Art Acrylic Paint, 36 Colors Acrylic Paint Set with Brushes & Pa…
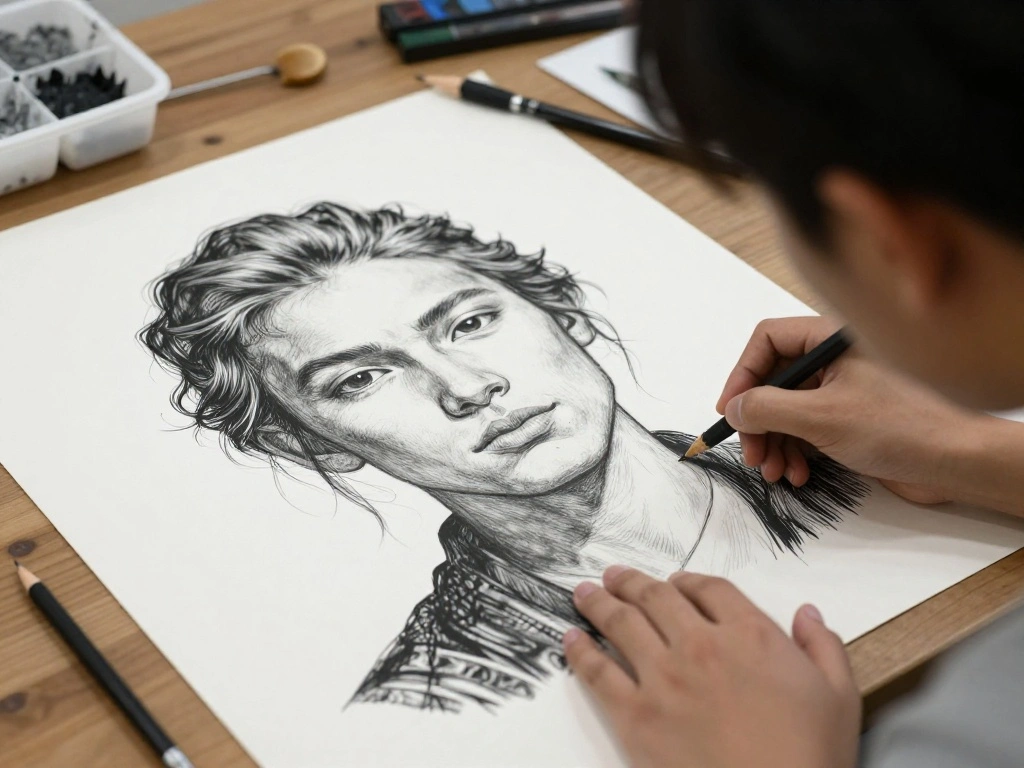
Step 2: Plan Your Design
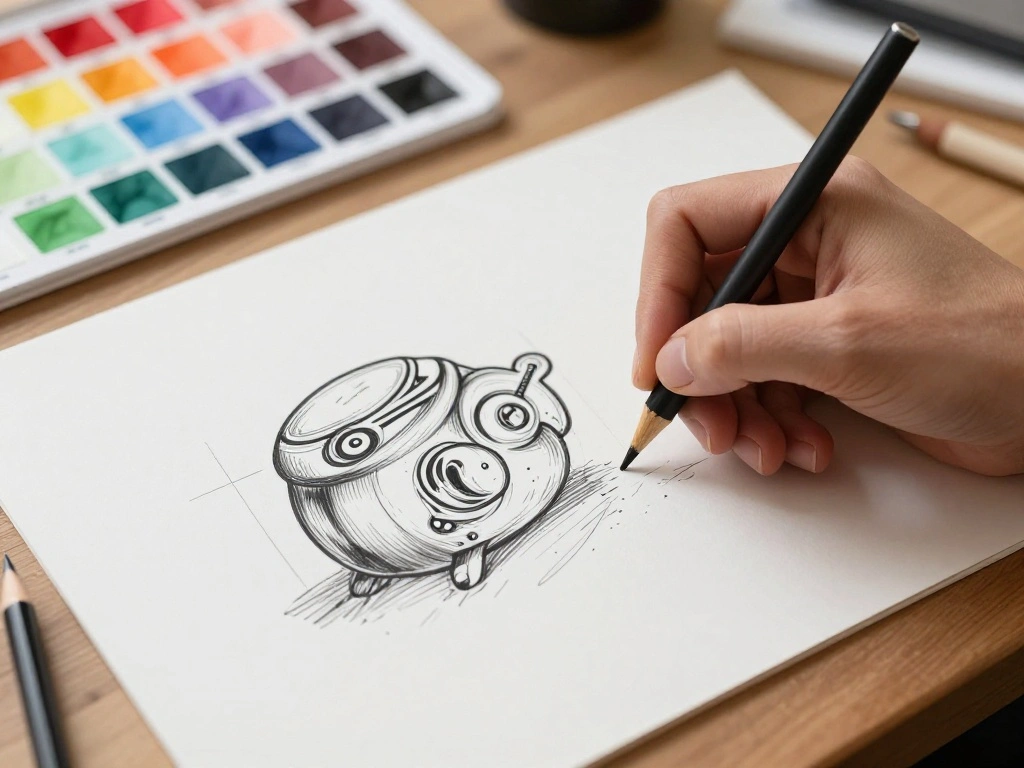
Now it’s time to decide what your wall art will look like. This step is crucial for guiding your painting process. Follow these sub-steps:
- Sketch your ideas on paper. Focus on shapes, colors, and composition.
- If using stencils, select and outline them on your canvas.
- Consider the color scheme that will best fit your space.
Pro Tip: Use a color wheel to find complementary colors that will make your artwork pop.
Why this matters: Planning helps you visualize the final product and reduces mistakes during painting.
Time estimate for this step: 30 minutes.
Step 2: Plan Your Design
Editor’s Choice

JimKing Creative Color Wheel, Paint Mixing Learning Guide, Art Class Tea…
Simetufy 12 Pack 8×10 Canvas Boards for Painting, Blank Flat Canvas Pane…

Stencil Drawing Kit for Kids, 25 Pcs Plastic Drawing Stencils with 400+ …
Step 3: Prepare Your Workspace

Creating art can get messy, so setting up a clean and organized workspace is essential. Here’s how to get started:
- Choose a flat, stable surface to work on, like a table or desk.
- Lay down newspaper or a drop cloth to protect the area from paint spills.
- Arrange your materials within easy reach to minimize distractions.
Warning: Ensure your workspace is well-ventilated if you’re using strong-smelling paints.
Why this matters: An organized workspace boosts creativity and helps you focus on your art.
Time estimate for this step: 15 minutes.
Recommended Products

【CRAFT YOUR OWN PAINTING】 The framed paint by number ktis for kids is simple, whether it is children or beginners can do the painting well. The frame has been installed to make paint by number kits easier to use, put on the table, you can start your painting. After you've finished your painting, you can hang it on the wall to decorate your room

【What You Get】Paint by numbers kit for adults include you will get: 2 high-quality, soft, waterproof canvas, 2 set of perfectly matched acrylic paints,2 set of high-quality brushes (including 3 different size brushes), 4 sets of hooks, 2 instruction and reference pictures of finished products.

Step 3: Prepare Your Workspace
Editor’s Choice

CALPALMY 14 Pack Paper Mache Masks – 2 Sizes for Artistic Projects, Thea…

Canvas Painters Drop Cloth (Size 9 x 12 Feet – Pack of 2) – Pure Cotton …

24QT 2Packs Clear Craft Organizers and Storage with Trays, Art Supply Or…
Step 4: Start Painting
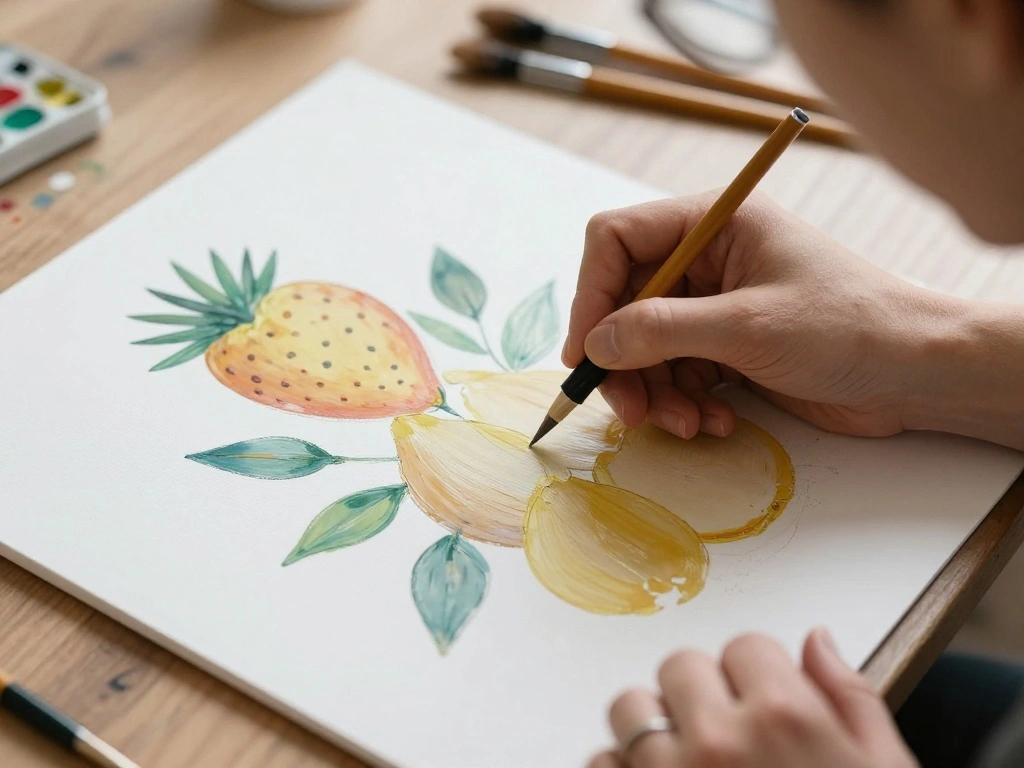
With your workspace ready, it’s time to bring your design to life through painting. Follow these steps:
- Pour your chosen paint colors onto your palette.
- Begin with the background; use a larger brush for broad strokes.
- Gradually add details with smaller brushes, following your design.
Pro Tip: Let each layer dry before adding more details to avoid smudging.
Why this matters: Layering creates depth and dimension in your artwork.
Time estimate for this step: 1-2 hours.
Recommended Products

100% Cotton Canvas Boards for Painting: Natural long-staple heavy-duty cotton makes these painting canvas have higher tinting strength and excellent touching sense, holding pigments well and maintaining the paints natural tones and glossiness

【8"x10" Canvas Panels】 8x10 inch canvas boards are lightweight and easy to store and carry and are suitable for children just beginning to develop their skills. 42 pack paint canvases are suitable for painting classes and school art supplies

【11x14 Canvas Value Pack】This canvas bulk includes 2 pack11x14 inches blank canvases for painting, perfect painting canvas for kids and Professional painter.
Step 4: Start Painting
Editor’s Choice

15Pcs Paint Brushes Value Pack, Includes 15 Different Types of Brushes, …

100 Pcs Paint Tray Palettes, Plastic Disposable Round Paint Palette Bulk…
Shuttle Art Acrylic Paint, 36 Colors Acrylic Paint Set with Brushes & Pa…
Step 5: Add Finishing Touches

Once your painting is dry, it’s time to enhance your artwork with some finishing touches:
- Inspect your work for any areas that need touch-ups.
- Add embellishments like glitter, fabric, or beads if desired.
- Consider applying a clear sealant to protect your artwork.
Pro Tip: Use a spray sealant for a smooth finish.
Why this matters: Finishing touches can elevate an ordinary piece into a stunning work of art.
Time estimate for this step: 30 minutes.
Step 5: Add Finishing Touches
Editor’s Choice

60 Pcs 4″ x 4″(10cm x 10cm) Assorted Craft Fabric Bundle Squares Patchwo…

LEOBRO Glitter, 18 Pack Fine Glitter, Craft Glitter Powder Shake Jar, Mu…

Mod Podge Spray Acrylic Sealer that is Specifically Formulated to Seal C…
Step 6: Let It Dry Completely
Before displaying your wall art, ensure it is completely dry. This step is crucial to avoid damage:
- Leave your artwork in a well-ventilated area to dry.
- Check for any damp spots before handling.
- Consider placing it outside if the weather is suitable, but avoid direct sunlight.
Warning: Handling wet paint can ruin your hard work.
Why this matters: Proper drying ensures your artwork remains intact and vibrant.
Time estimate for this step: 1 hour (drying time may vary).
Recommended Products

VALUE PAINT BRUSHES SET: Total 15pcs paint brushes with 6 kinds of different functionals heads and size, all of them are prefect working with all paint types

The Royal Brush Golden Taklon Paint Brush Set includes 1 inch, 2 inch and 3 inch wide brushes with sturdy hardwood handles. Ideal for acrylic paints, varnishes, glazes, watercolors and adhesives. Brushes are made of white taklon, golden taklon and camel hair.

[Versatile 20PCS Painting Brushes for Every Artist] This 20PCS painting brushes set includes 8 unique brush types—flat, round, filbert, angle, fan, liner, and detail brushes—designed to meet the needs of every artist. Perfect for blending, detailing, or bold strokes, this set ensures you have the right tool for any technique. Whether you’re working on canvas, paper, or other surfaces, these brushes deliver smooth and precise results.
Step 6: Let It Dry Completely
Editor’s Choice

12 x 9 Ft Plastic Drop Cloths (6-Pack) – Disposable Painter’s Sheeting &…

Art Drying Rack with 25 Removable Shelves, Mobile Metal Paint Drying Sta…

Pearington Art Drying Rack, 50 Removable Wire Shelves, Mobile Steel Stor…
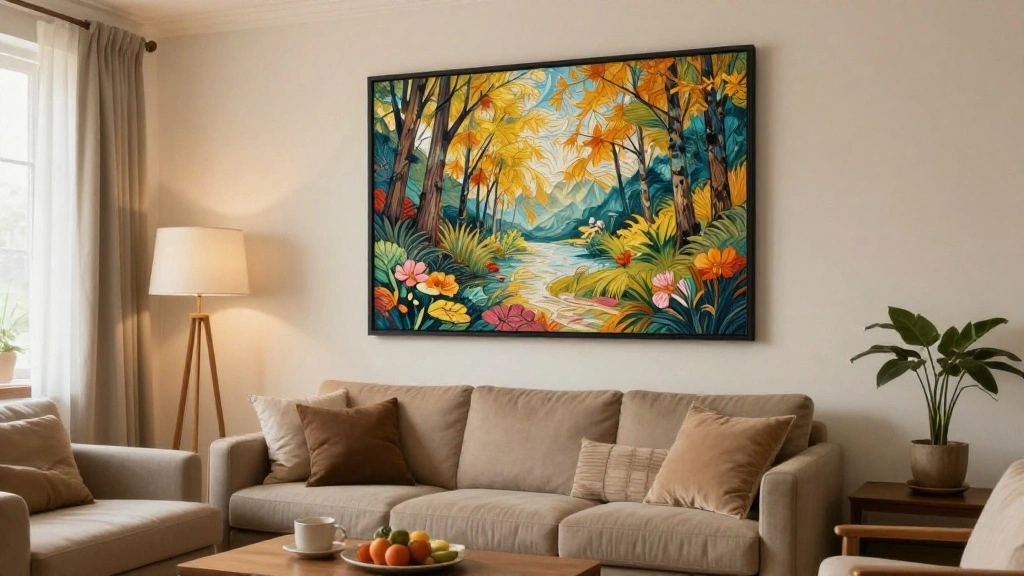
Step 7: Prepare for Display
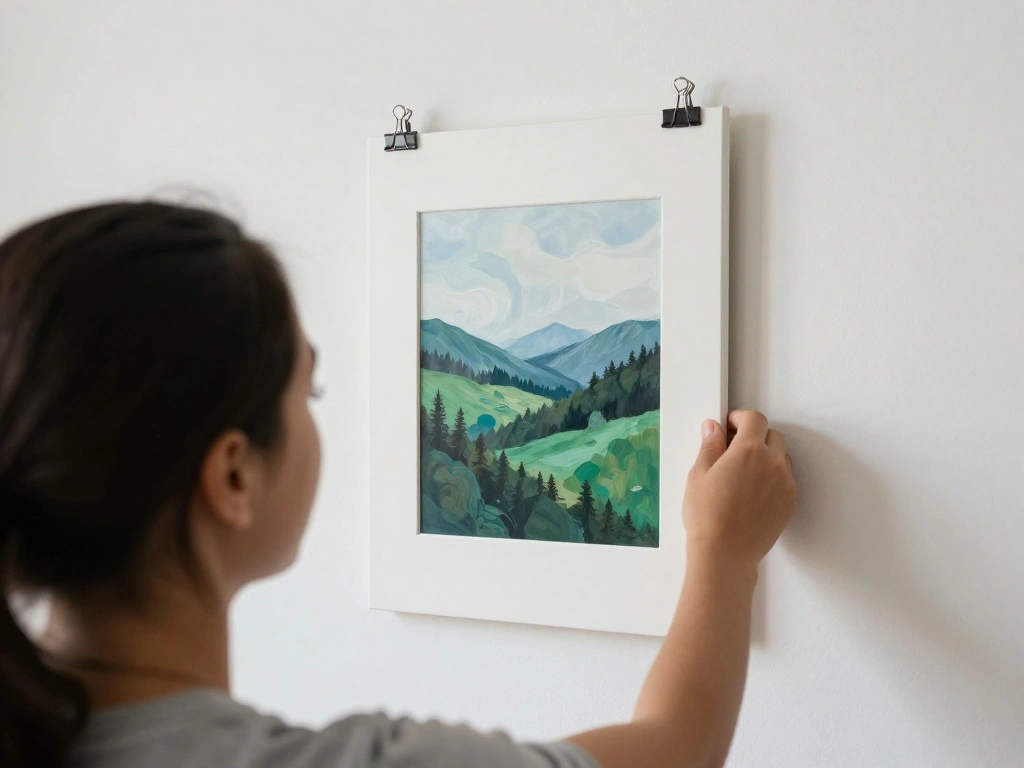
With your artwork dry, it’s time to get it ready for display on your wall:
- Choose an appropriate location that complements the room’s decor.
- Decide how you want to hang it – framed, unframed, or on a shelf.
- If hanging, use appropriate wall hooks or nails.
Pro Tip: Use painter’s tape to mark the spot on the wall before hammering.
Why this matters: Proper placement enhances the visual appeal of your artwork.
Time estimate for this step: 30 minutes.
Step 7: Prepare for Display
Editor’s Choice

Wall Hooks for Hanging Towel/Coat – 22LB Screw in Metal Hanger Wall Moun…

Gold 4 x 6” High-End Zinc Alloy Picture Frame with Wave Design – Modern…

4 Rolls Premium Painters Tape, Blue Tape, Masking Tape, Paint Tape for M…
Step 8: Hang Your Art
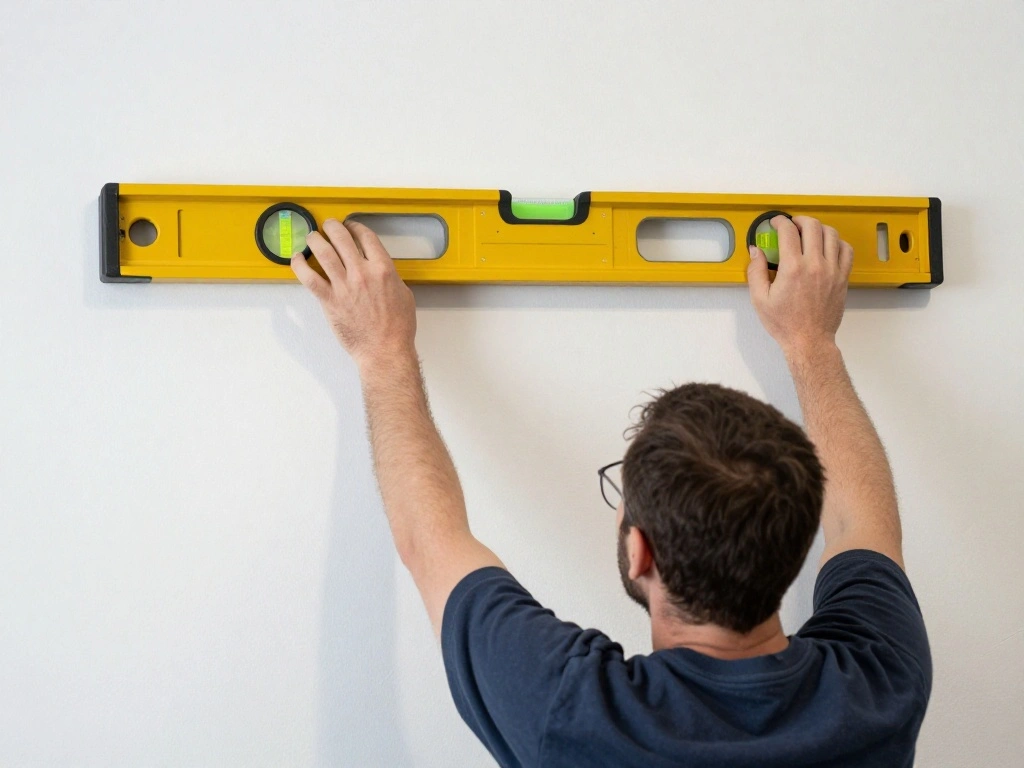
Now that you’ve prepared your artwork for display, it’s time to hang it:
- Position the art on the wall where you marked it.
- Use a hammer to secure the nail or hook in place.
- Step back and ensure it is level and centered.
Pro Tip: Use a level tool to ensure your artwork hangs straight.
Why this matters: Properly hung art looks professional and polished, enhancing your space.
Time estimate for this step: 15 minutes.
Step 8: Hang Your Art
Editor’s Choice

8/16/24oz Straight Rip Fiberglass General Purpose Claw Hammer, with Smoo…

Torpedo Level Magnetic, Firecore 9 Inch Shockproof Small Leveler Tool wi…

KURUI 303Pcs Picture Hanging Kit, Picture Hangers Assorted Kit with Heav…
Step 9: Enjoy Your Artwork!

Congratulations! You’ve created and displayed your very own DIY wall art. Here’s how to fully appreciate your work:
- Take a moment to admire your creation from different angles.
- Consider sharing your art on social media to inspire others.
- Invite friends or family to see your work and celebrate your creativity!
Pro Tip: Consider creating a gallery wall with multiple pieces for added impact.
Why this matters: Sharing your work can be rewarding and inspire others to express their creativity.
Time estimate for this step: 15 minutes.
Step 9: Enjoy Your Artwork!
Editor’s Choice

upsimples 19 Pack Picture Frames Collage Wall Decor for Mounting or Tabl…

FLUXOJOY 24 Pack Kids Painting Kit, DIY Canvas Painting Set with Easels,…
KURUI 303Pcs Picture Hanging Kit, Picture Hangers Assorted Kit with Heav…
Pro Tips
- Color Mixing: Experiment with mixing colors on your palette for unique shades.
- Layering Techniques: Use multiple layers of paint for depth in your artwork.
- Inspiration Sources: Look online for design inspiration or visit local galleries.
- Art Supplies: Invest in quality brushes for better results and smoother application.
- Time Management: Break the project into smaller sessions if needed to avoid feeling overwhelmed.
Pro Tips
Editor’s Choice

Soucolor Acrylic Paint Brushes Set, Easter Basket Stuffers, 20Pcs Round …

Mont Marte Acrylic Colour Paint Set Signature 24pc x 1.21 US fl.oz (36ml…

Common Mistakes to Avoid
Warning: Not letting paint dry completely can lead to smudges. Always allow adequate drying time.
Warning: Using too much water with acrylic paint can make it transparent and wash out colors. Use sparingly.
Warning: Skipping the planning stage may lead to an unbalanced design. Always sketch first.
Warning: Using low-quality materials can result in poor durability. Invest in decent supplies for best results.
Warning: Not considering wall space can lead to overcrowding. Ensure enough room for your artwork to breathe.
Common Mistakes to Avoid
Editor’s Choice

ESRICH Canvas Boards for Painting, 5 Pack Canvases for Painting 8×10 Cot…

Soucolor 9″ x 12″ Sketch Book, 100 Sheets Top Spiral Bound Sketchbook wi…
Artkey Acrylic Paint Set, 24 Colors 2 oz/59 ml Acrylic Paint Kit for Pro…
Troubleshooting Section
Problem: Paint is smudging during application.
Solution: Use a lighter touch with your brushes and allow each layer to dry before adding more.
Problem: Artwork looks flat.
Solution: Add layers of varying colors and textures to create depth.
Problem: Colors appear dull after drying.
Solution: Apply a gloss or matte finish to enhance vibrancy.
Problem: Artwork is difficult to hang.
Solution: Use sturdy wall hooks and ensure the piece is lightweight.
Problem: Design looks unbalanced.
Solution: Step back and reassess; consider adding more elements if necessary.
Troubleshooting Section
Editor’s Choice

ARTME Iridescent Acrylic Paint Set, 20 Chameleon Colors in 2 oz/60ml Bot…

Pro Grade Paint Brushes, 5-Piece Paint Brush Set, Flat & Angle Brushes f…

Zinsser 408 Bulls Eye Shellac Traditional Finish & Sealer Spray, 12 oz, …
Variations/Alternative Methods
If you’re looking for different styles or techniques, consider these options:
- Collage Art: Use magazine cutouts and recycled materials to create a mixed media piece. Great for an eclectic look.
- String Art: Use nails and colored string to create geometric patterns. This adds a three-dimensional element to your wall.
- Photo Wall: Create a gallery wall with personal photos and memories. This is an excellent way to personalize your space.
Variations/Alternative Methods
Editor’s Choice

1200pc Tri-Color Small Nails, 19mm – Gold, Silver, Black, Assortment Set…
upsimples 19 Pack Picture Frames Collage Wall Decor for Mounting or Tabl…
Mixed Media Art Set,55 Pack Painting Supplies Kit with Tabletop Sketch B…
FAQs
What if I don’t have a canvas? You can use cardboard or thick poster board as an alternative base for your art.
How long should I let my artwork dry? Typically, allow at least 1-2 hours for acrylic paint to dry, depending on thickness.
Is it safe to use acrylic paints indoors? Yes, acrylic paints are generally safe, but ensure good ventilation while painting.
Can I use old paints for my project? Check for consistency and odor; if they are thick or have a foul smell, it’s best to discard them.
What should I do if I make a mistake? Acrylic paint can be easily painted over once dry; don’t be afraid to fix errors.
FAQs
Editor’s Choice
Paint Brushes Set of 24 Pieces Wooden Handles Brushes with Canvas Brush …
Simetufy 12 Pack 8×10 Canvas Boards for Painting, Blank Flat Canvas Pane…
Shuttle Art Acrylic Paint, 36 Colors Acrylic Paint Set with Brushes & Pa…
Conclusion
Congratulations on completing your DIY wall art project! You’ve not only transformed your space but also developed a new skill. Take pride in your creation and enjoy the personal touch it adds to your home.
Now that you’ve mastered this technique, consider creating additional pieces or exploring other art forms. Check out online tutorials or local art classes for more inspiration. The world of DIY art is at your fingertips, and your creativity knows no bounds!