

Are you tired of looking at that ugly rental flooring every day? Whether it’s stained carpets, outdated tiles, or scratched laminate, unsightly flooring can dampen your living space’s vibe. Many renters feel stuck, but there’s a way to transform your home without a permanent commitment.
In this guide, you’ll learn how to cover these flaws temporarily, allowing you to create a fresh and inviting atmosphere. You’ll discover various methods, from rugs to peel-and-stick tiles, that will help you achieve a stylish look without risking your security deposit.
By following this step-by-step guide, you’ll gain practical skills that can elevate your rental experience. Difficulty Level: Beginner
Time Estimate: 2-3 hours.
Get ready to reclaim your space and make it feel like home!
TL;DR Summary
- Identify the type of flooring and choose the right covering method.
- Gather necessary materials for a temporary flooring solution.
- Follow step-by-step instructions to install your chosen covering.
- Enjoy a stylish new floor without permanent changes!
TL;DR Summary
Editor’s Choice
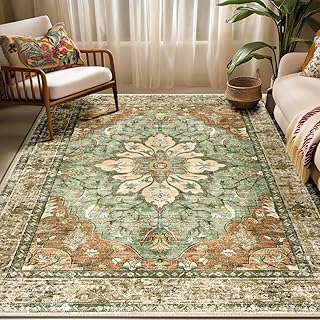
RELEANY Area Rugs 5’x7′ Washable Non-Slip, Floral Vintage Distress Medal…

VallisCo Peel and Stick Vinyl Flooring 36 Pack 54 Sq.Ft, Waterproof Viny…

Sorbus Wood Grain Floor Tiles Foam Mat EVA Interlocking Mats Tile 3/8-In…
Prerequisites/Materials Needed
- Rug or carpet tiles (size according to your space)
- Peel-and-stick vinyl tiles (if preferred)
- Double-sided tape (for securing rugs)
- Utility knife (for cutting tiles)
- Measuring tape
- Cleaning supplies (vacuum, mop)
Prerequisites/Materials Needed
Editor’s Choice

Wood Grain Peel and Stick Floor Tiles – 11.8” Width, Full Roll Lengt…

Peel and Stick Carpet Floor Tiles 12×12 Inch, 30 Pack Tile Carpet Square…

YYXLIFE Double Sided Removable Rug Tape – Carpet Adhesive for Hardwood F…
Skill Level & Time Estimate
Skill Level: Beginner
Total time estimate: 2-3 hours
Here’s a quick breakdown of time by major steps:
– Selecting materials: 30 minutes
– Preparing the space: 30 minutes
– Installing coverings: 1-2 hours
These estimates may vary depending on the size of your area and your chosen method.
Skill Level & Time Estimate
Editor’s Choice

Tivoli II Self Adhesive Vinyl Floor Planks, 10 Pack – 6″ x 36″, Barnwood…

5×7 Area Rug for Living Room: Washable Abstract Soft Rugs Non Slip Moder…
Step 1: Assess Your Flooring
Start by thoroughly examining your current flooring. Why this matters: Knowing the type of flooring helps you choose the best temporary covering.
1. Identify the material: Is it carpet, tile, or laminate?
2. Check for damage: Look for stains, scratches, or warped areas.
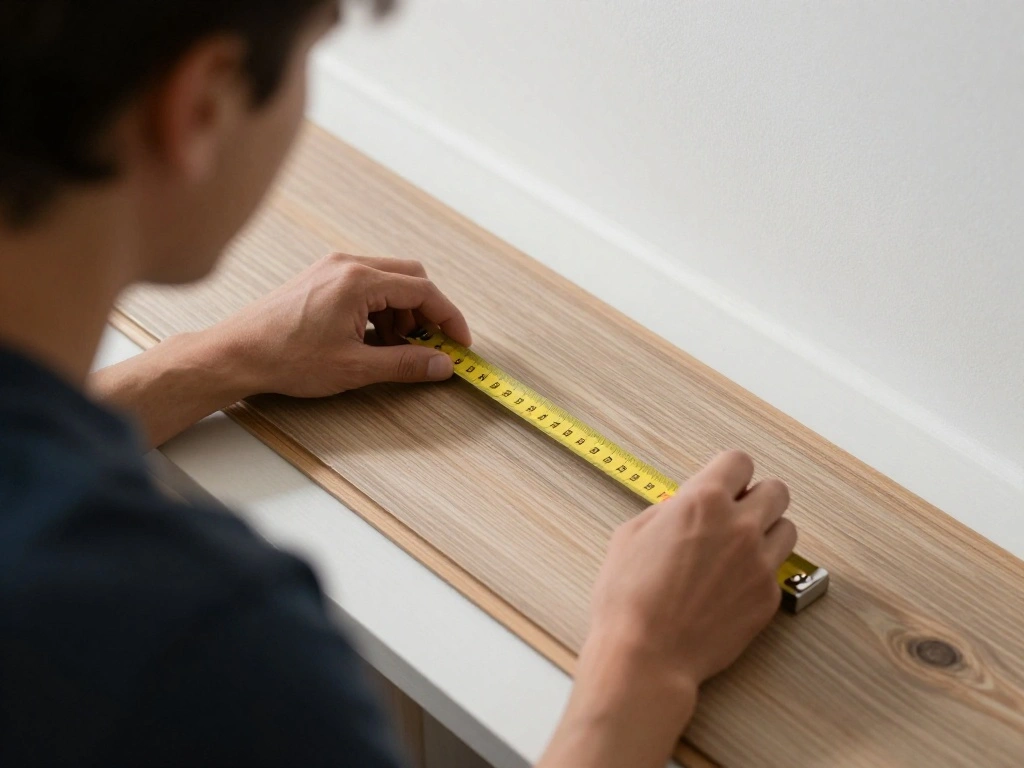
3. Measure the area: Use a measuring tape to determine the dimensions of the space.
Pro Tip: Take pictures of the flooring for reference when shopping for coverings.
Time estimate for this step: 30 minutes.
Step 1: Assess Your Flooring
Editor’s Choice

39″ x 100′ Heavy-Duty Temporary Floor Protection for Construction & Reno…

Lareko 54 Sq.Ft,Wood Peel and Stick Floor Tiles,36 Pack Grey Vinyl Floor…

Nakagishi Area Rug Living Room Rugs: 5×7 Large Soft Machine Washable Boh…
Step 2: Choose Your Temporary Covering
Once you know your flooring type, select the most suitable covering. Why this matters: The right covering enhances aesthetics and helps avoid safety hazards.
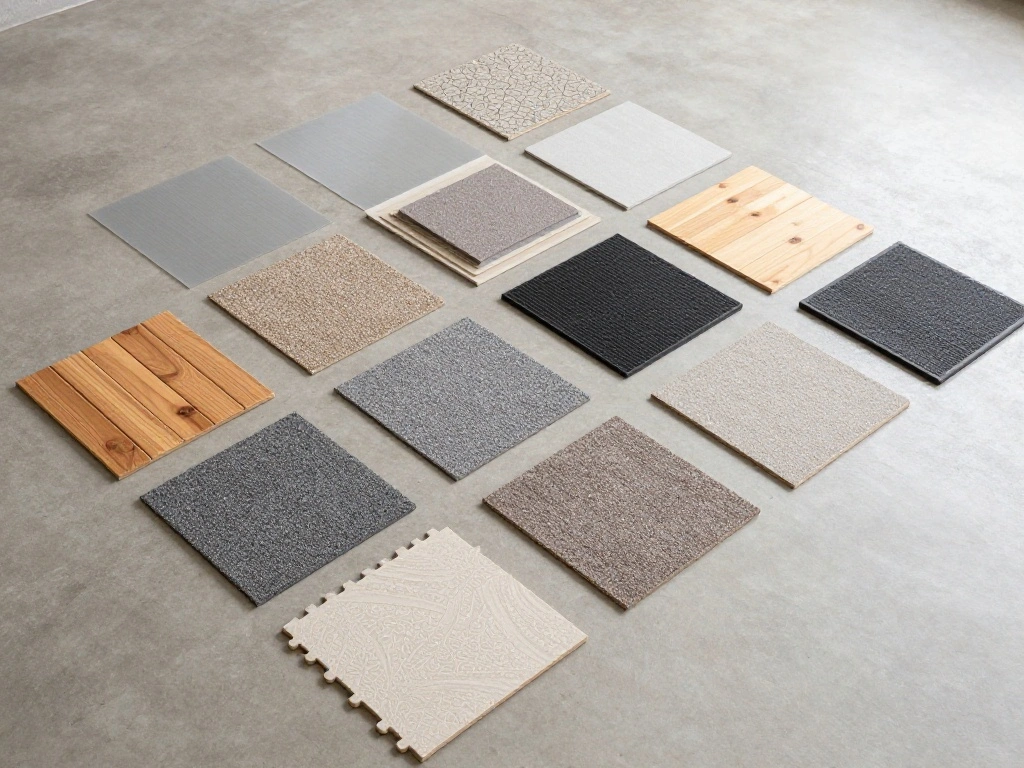
1. Consider rugs for carpeted areas: They can add color and comfort.
2. Explore peel-and-stick vinyl tiles for durability on hard surfaces.
3. Look into carpet tiles for easy installation and customization.
Warning: Avoid covering damaged flooring unless you plan to repair it later.
Time estimate for this step: 30 minutes.
Step 2: Choose Your Temporary Covering
Editor’s Choice

36 Pcs Plush Interlocking Carpet Tiles, Non-Toxic Shaggy Foam Carpet Til…

Nexus Self Adhesive 12-Inch Vinyl Floor Tiles, 20 Tiles – 12″ x 12″, Bia…

Soalmost Washable Area Rug 8×10, Large Soft Rugs for Living Room Vintage…
Step 3: Prepare the Space

Preparation is key for a successful installation. Why this matters: A clean and organized space ensures better adhesion and longevity of your covering.
1. Clear the area: Remove furniture, rugs, and any items on the floor.
2. Clean the flooring: Use a vacuum and mop to remove dust and debris.
3. Dry the surface: Make sure the floor is completely dry to allow better adhesion.
Pro Tip: If using peel-and-stick tiles, consider using a primer for optimal results.
Time estimate for this step: 30 minutes.
Step 3: Prepare the Space
Editor’s Choice
Nexus Self Adhesive 12-Inch Vinyl Floor Tiles, 20 Tiles – 12″ x 12″, Bia…

FloorPops FPP4182W Peel Stick Tile Primer, White & Off-White
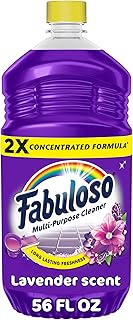
Fabuloso Multi-Purpose Cleaner & Floor Cleaner, 2X Concentrated, Lavende…
Step 4: Install Your Covering
Now it’s time to put your chosen covering in place. Why this matters: Proper installation ensures durability and a polished look.
1. If using rugs, place them according to your design preference.
2. For carpet tiles, start in a corner and work outward, pressing firmly as you go.
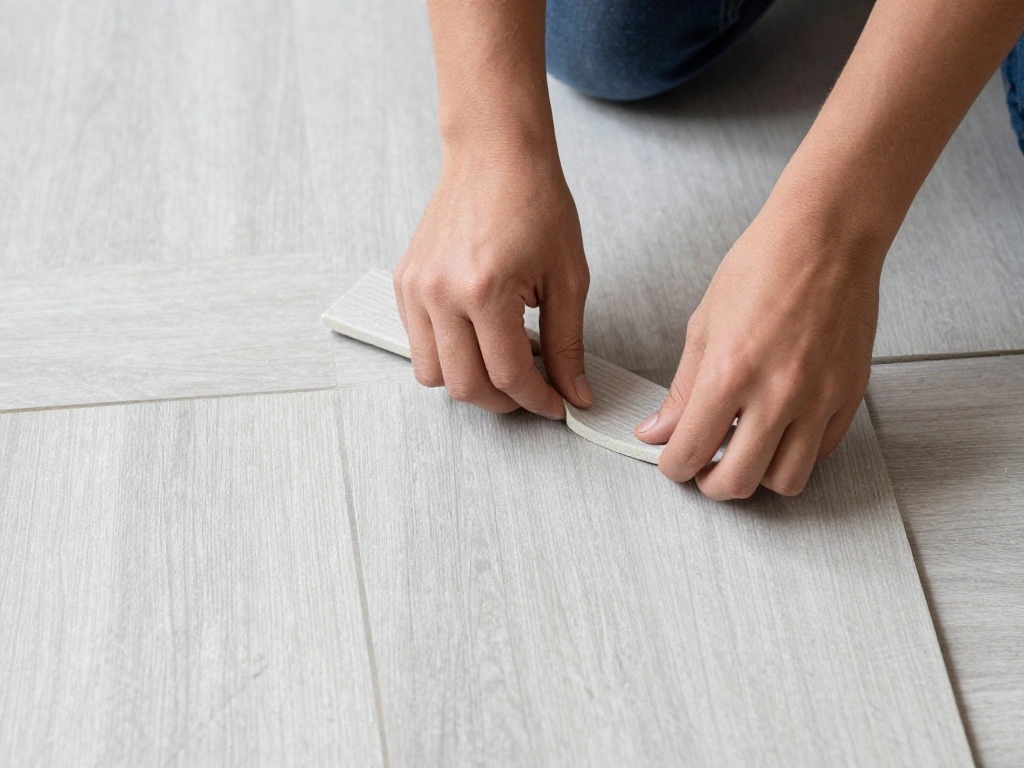
3. If using peel-and-stick tiles, peel the backing and stick them to the floor, aligning edges carefully.
Warning: Ensure that you press down firmly to avoid bubbles and ensure adhesion.
Time estimate for this step: 1-2 hours.
Step 4: Install Your Covering
Editor’s Choice
Nexus Self Adhesive 12-Inch Vinyl Floor Tiles, 20 Tiles – 12″ x 12″, Bia…

Trippy Happy Face Rug Cool Rugs Tufted Quick Dry Bath Mats for Bathroom …
36 Pcs Plush Interlocking Carpet Tiles, Non-Toxic Shaggy Foam Carpet Til…
Step 5: Secure Your Covering

Securing your covering will help it stay in place. Why this matters: A secure covering prevents slipping and maintains the integrity of your flooring.
1. For rugs, use double-sided tape on the corners and edges to prevent movement.
2. Ensure carpet tiles are pressed down completely.
3. For peel-and-stick tiles, check all edges for proper adhesion.
Pro Tip: After installation, avoid heavy foot traffic for at least 24 hours to allow the adhesive to set.
Time estimate for this step: 30 minutes.
Step 5: Secure Your Covering
Editor’s Choice
36 Pcs Plush Interlocking Carpet Tiles, Non-Toxic Shaggy Foam Carpet Til…

Nexus Self Adhesive 12-Inch Vinyl Floor Tiles, 20 Tiles – 12″ x 12″, Lig…

Carpet Tape Double Sided – Rug Tape Grippers for Hardwood Floors and Are…
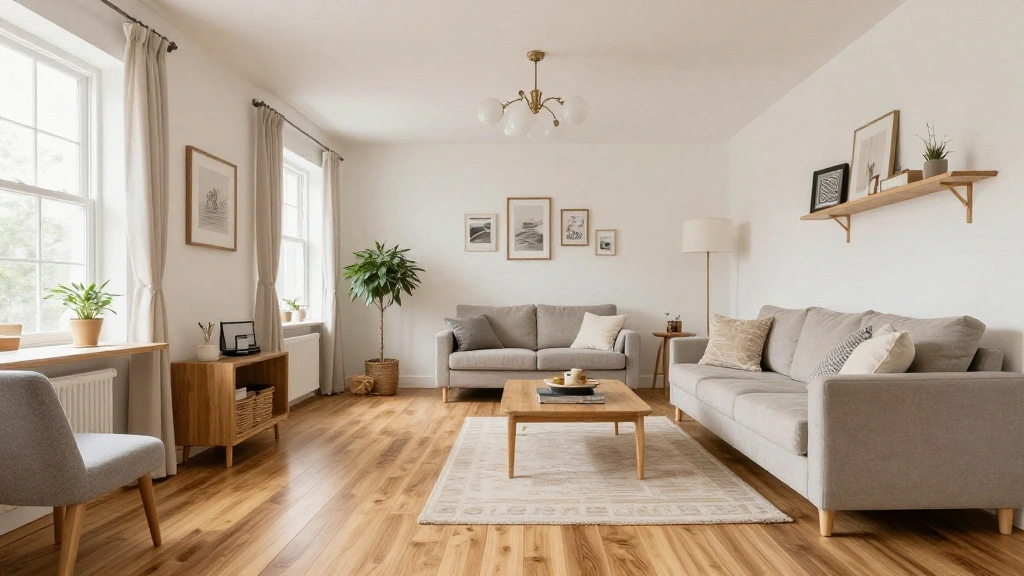
Step 6: Enjoy Your New Space

Congratulations! You’ve successfully covered your ugly rental flooring. Why this matters: A refreshed space can greatly improve your mood and enjoyment of your home.
1. Replace furniture carefully, avoiding damage to your new covering.
2. Add decorative elements like throw pillows or art to enhance the new look.
3. Regularly clean and maintain your new flooring to prolong its life.
Pro Tip: Consider seasonal changes in decor to keep your space feeling fresh!
Time estimate for this step: 15 minutes.
Step 6: Enjoy Your New Space
Editor’s Choice
Nexus Self Adhesive 12-Inch Vinyl Floor Tiles, 20 Tiles – 12″ x 12″, Bia…
RELEANY Area Rugs 5’x7′ Washable Non-Slip, Floral Vintage Distress Medal…
Pro Tips
- Choose Quality Materials: Invest in good rugs or tiles for better durability.
- Layer Rugs: For a stylish look, layer smaller rugs over larger ones.
- Regular Maintenance: Keep your flooring clean to ensure longevity.
- Experiment with Layout: Don’t hesitate to rearrange furniture and rugs for a fresh look.
- Storage Solutions: Keep extra tiles or rugs for future repairs.
Pro Tips
Editor’s Choice
Nakagishi Area Rug Living Room Rugs: 5×7 Large Soft Machine Washable Boh…
Nexus Self Adhesive 12-Inch Vinyl Floor Tiles, 20 Tiles – 12″ x 12″, Bia…

Veken Non Slip Cushioned Rug Pad Gripper 8 x 10 Ft, Felt and Silicone Ba…
Common Mistakes to Avoid
Warning: Not measuring properly can lead to wasted materials. Always double-check your measurements!
Warning: Skipping the cleaning step may cause poor adhesion. Always ensure the floor is clean and dry.
Warning: Using the wrong type of tape on rugs can damage the underlying floor. Use appropriate double-sided tape designed for flooring.
Warning: Overloading new coverings with heavy furniture immediately can cause damage. Allow time for the adhesive to set.
Warning: Avoid using permanent solutions in your rental. Stick to temporary coverings to protect your deposit.
Common Mistakes to Avoid
Editor’s Choice

Art3d Peel and Stick Floor Tile Vinyl Wood Plank 36-Pack 54 Sq.Ft, Deep …

i frmmy Removable Clear Double Sided Sticky Tape- No Residue, 2 Inches x…
Troubleshooting Section
Problem: The peel-and-stick tiles are not adhering.
Solution: Ensure the floor is clean and dry; try pressing down firmly on edges.
Problem: Rugs keep sliding around.
Solution: Use double-sided tape under the edges for added security.
Problem: Carpet tiles are lifting.
Solution: Check for dirt underneath; reapply or replace if necessary.
Problem: Stains appear on new coverings.
Solution: Clean them immediately with appropriate cleaners.
Problem: Floor coverings look uneven.
Solution: Check alignment and adjust as needed.
Troubleshooting Section
Editor’s Choice
Carpet Tape Double Sided – Rug Tape Grippers for Hardwood Floors and Are…
Carpet Tape Double Sided – Rug Tape Grippers for Hardwood Floors and Are…
Nexus Self Adhesive 12-Inch Vinyl Floor Tiles, 20 Tiles – 12″ x 12″, Bia…
Variations/Alternative Methods
- Area Rugs: Great for adding warmth and can be easily replaced. Best for carpeted or hard floors.
- Temporary Floor Paint: Ideal for those wanting a bold change. Good on concrete or wood but requires careful application.
- Foam Tiles: Excellent for play areas or gyms. Provides cushioning and easy installation, but may not suit all aesthetics.
Variations/Alternative Methods
Editor’s Choice

Rust-Oleum 266593 Professional 2X Distance Inverted Marking Spray Paint,…

ProsourceFit Exercise Puzzle Mat ½-inch, EVA Interlocking Foam Floor Ti…
Soalmost Washable Area Rug 8×10, Large Soft Rugs for Living Room Vintage…
FAQs
- What if I don’t have the right tools? Check with neighbors or borrow from friends if you lack measuring tools or a utility knife.
- How long should I wait before walking on new flooring? For peel-and-stick tiles, wait at least 24 hours for the adhesive to set.
- Is it safe to use rugs over old carpet? Yes, as long as the underlying carpet is clean and in good condition.
- What if I want to remove the coverings later? Most temporary solutions are easily removable without damaging the floor underneath.
- Can I mix different flooring types? Yes, mixing rugs and tiles can create a unique look, but ensure they complement each other.
FAQs
Editor’s Choice

Nexus Self Adhesive 12-Inch Vinyl Floor Tiles, 20 Tiles – 12″ x 12″, Med…

Unique Loom Tekke Collection Area Rug – Sheibani (5′ 3″ Square, Red/ Black)
Conclusion
You’ve transformed your space and covered that ugly rental flooring! Celebrate your accomplishment. Remember, these temporary solutions can be easily changed whenever you want to refresh your style. Consider adding personal touches like artwork or plants to enhance the ambiance further.
Don’t forget to share your success with friends or on social media! You can inspire others in similar rental situations. Now enjoy your new space—it’s all yours, even if just temporarily!