
We’ve all been there—excited to hang that stunning piece of artwork or a decorative mirror, but the fear of damaging the walls can be daunting. Traditional methods often leave behind unsightly holes, peeling paint, or worse, structural issues. This guide is here to help you safely and effectively hang heavy decor without compromising your walls.
By following this guide, you will learn how to use special tools and techniques to hang your heavy items securely. Not only will you achieve a beautiful, professional-looking display, but you will also protect your walls from damage. You’ll discover step-by-step instructions that make this process easy and accessible.
This guide is designed for beginners and will take approximately 1-2 hours to complete, depending on your specific project. Get ready to transform your space with confidence!
TL;DR Summary
- Use wall anchors or adhesive hooks to hang heavy decor safely.
- Ensure you find the right wall studs for maximum support.
- Measure accurately to avoid uneven hanging.
- Follow the steps to achieve a stunning display without wall damage.
TL;DR Summary
Editor’s Choice

TOGGLER SNAPTOGGLE Drywall Anchor with Included Bolts for 1/4-20 Fastene…

Stud Finder Wall Scanner – 5 in 1 Stud Finder Tool w/Smart Chip and HD L…

Adhesive Wall Hooks for Hanging Heavy Duty 50 lbs Large Hooks for Walls …
Prerequisites/Materials Needed
- Tools:
- Drill
- Screwdriver
- Level
- Tape Measure
- Materials:
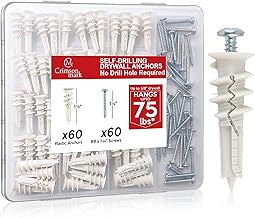
- Wall anchors (if needed)
- Adhesive hooks
- Picture hangers
- Stud finder
- Safety Gear:
- Safety goggles
- Dust mask
Prerequisites/Materials Needed
Editor’s Choice

KURUI Drywall Anchors and Screws Assortment Kit 270PCS, 135 Plastic Dry …

28 Pack Sticky Hooks for Hanging Heavy Duty, Wall Hooks Adhesive, Clear …

Skill Level & Time Estimate
Skill Level: beginner
Total time estimate: 1-2 hours
Step breakdown:
- Preparation: 15-30 minutes
- Measuring and marking: 15 minutes
- Hanging decor: 30-60 minutes
Skill Level & Time Estimate
Editor’s Choice
TOGGLER SNAPTOGGLE Drywall Anchor with Included Bolts for 1/4-20 Fastene…

X-Protector Picture Hanging Strips – 20 Pairs Damage Free Picture Hanger…

Command 15 Lb XL Heavyweight Wall Hook, Damage Free Hanging Wall Hook wi…
Step 1: Gather Your Materials

Start by collecting all the necessary tools and materials listed in the prerequisites. This includes your wall anchors, adhesive hooks, picture hangers, drill, and measuring tape. Having everything at hand will make the process smoother and more efficient.
Pro Tip: Lay out your materials in the area where you will be working. This will save you time and keep you organized.
Why this matters: Gathering your materials ensures you won’t have to stop mid-project to search for tools, helping maintain your momentum. Time estimate for this step: 15 minutes.
Step 1: Gather Your Materials
Editor’s Choice
TOGGLER SNAPTOGGLE Drywall Anchor with Included Bolts for 1/4-20 Fastene…

Adhesive Hooks, 32 Pack 33lb(Max) Sticky Hooks, Transparent Reusable Rem…

25 Pcs Picture Hangers without Nails, 20 Ibs Load Heavy Duty Self Pictur…
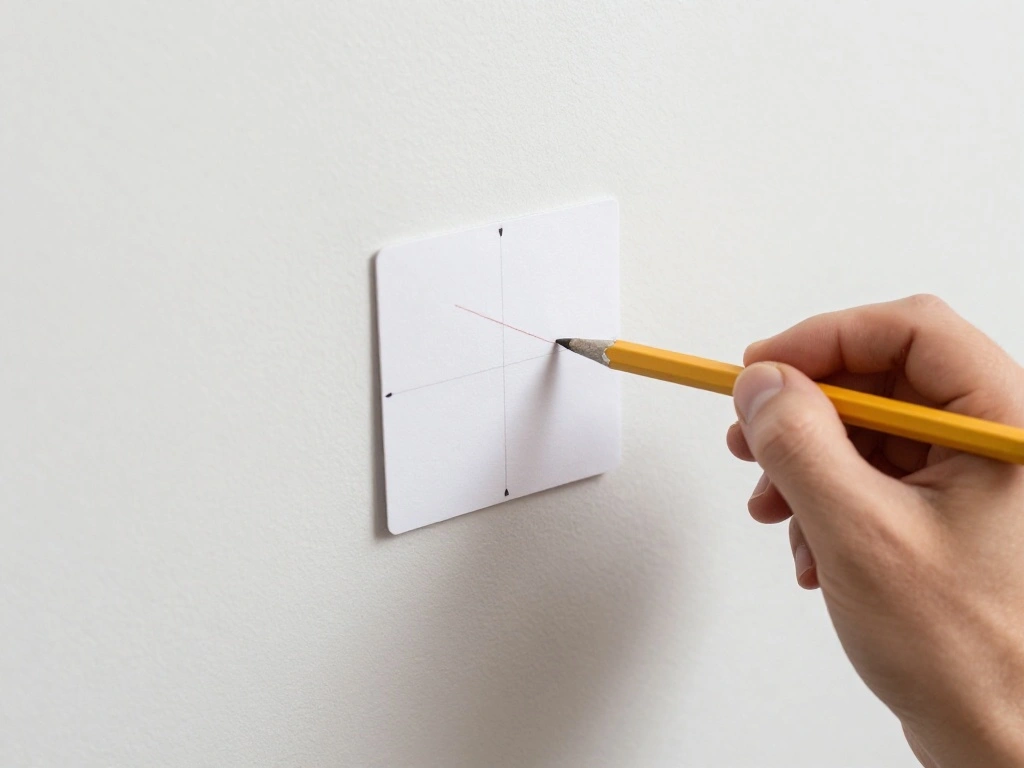
Step 2: Choose Your Decor and Location

Select the heavy decor you wish to hang. Decide on the wall location that best suits your design vision. Consider the room’s layout and how the decor will fit into it.
1. Hold the decor against the wall to visualize its placement.
2. Use painter’s tape to mark the corners of the item on the wall.
3. Step back and check the positioning. Adjust as necessary.
Warning: Ensure the chosen location does not interfere with any electrical outlets or switches.
Why this matters: Proper placement is crucial for aesthetic appeal and functionality. Time estimate for this step: 15 minutes.
Step 2: Choose Your Decor and Location
Editor’s Choice

15 lb Large Picture Hanging Strips 14 Pairs (28 Strips), Damage-Free Han…

KURUI Heavy Duty Hollow Wall Anchors for Drywall Ceiling, Toggle Bolts a…

Franklin Sensors Prosensor M210 Stud Finder With 13-Sensors, Wood & Meta…
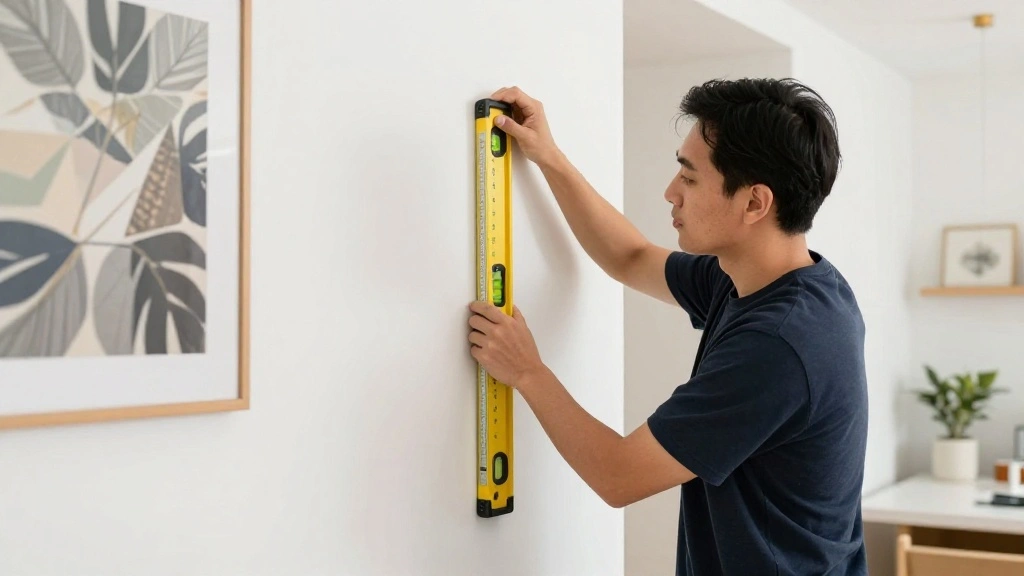
Step 3: Locate Wall Studs
Before you attach anything to the wall, it’s essential to locate the wall studs. Studs provide the strongest support for heavy decor.
1. Use a stud finder to locate the studs in the wall.
2. Mark the stud locations lightly with a pencil.
3. Double-check with a level to ensure markings are straight.
Pro Tip: If you don’t have a stud finder, knock on the wall and listen for a solid sound, indicating a stud.
Why this matters: Hanging heavy items on studs prevents damage and ensures stability. Time estimate for this step: 10-15 minutes.
Step 3: Locate Wall Studs
Editor’s Choice
Franklin Sensors Prosensor M210 Stud Finder With 13-Sensors, Wood & Meta…

URASISTO 3-Piece Spirit Level Set, 12″, 20″, 40″ Level Set with Magnetic…

BIC Xtra-Smooth Mechanical Pencils with Erasers, Medium Point (0.7mm), 1…
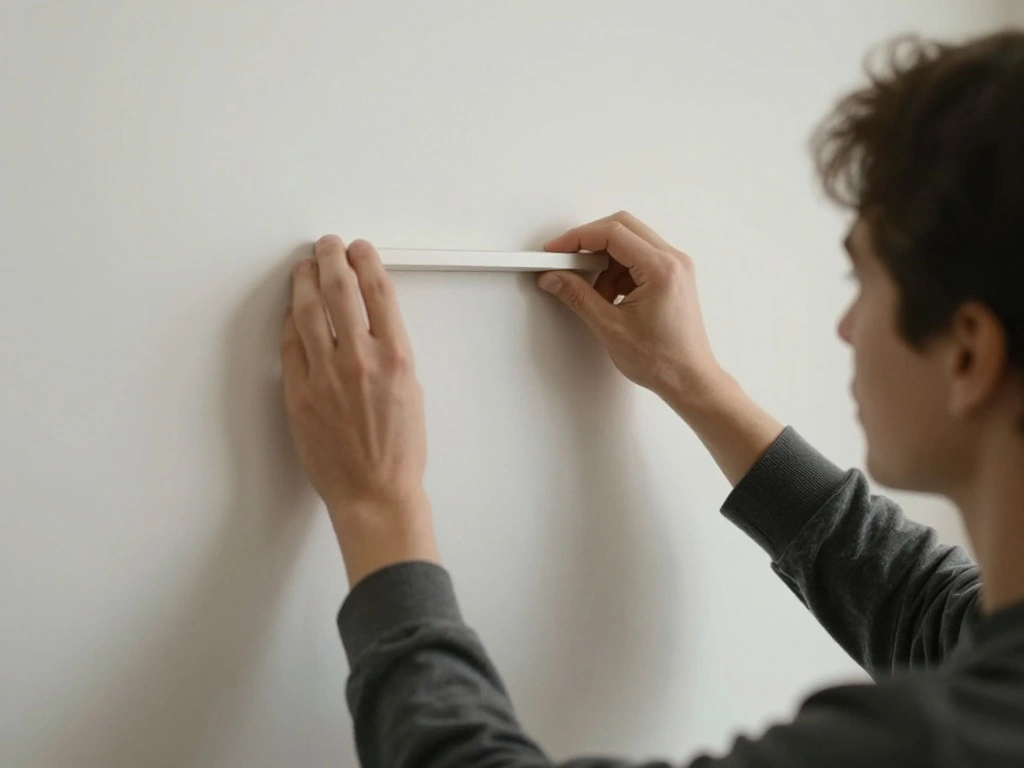
Step 4: Prepare the Wall for Hanging
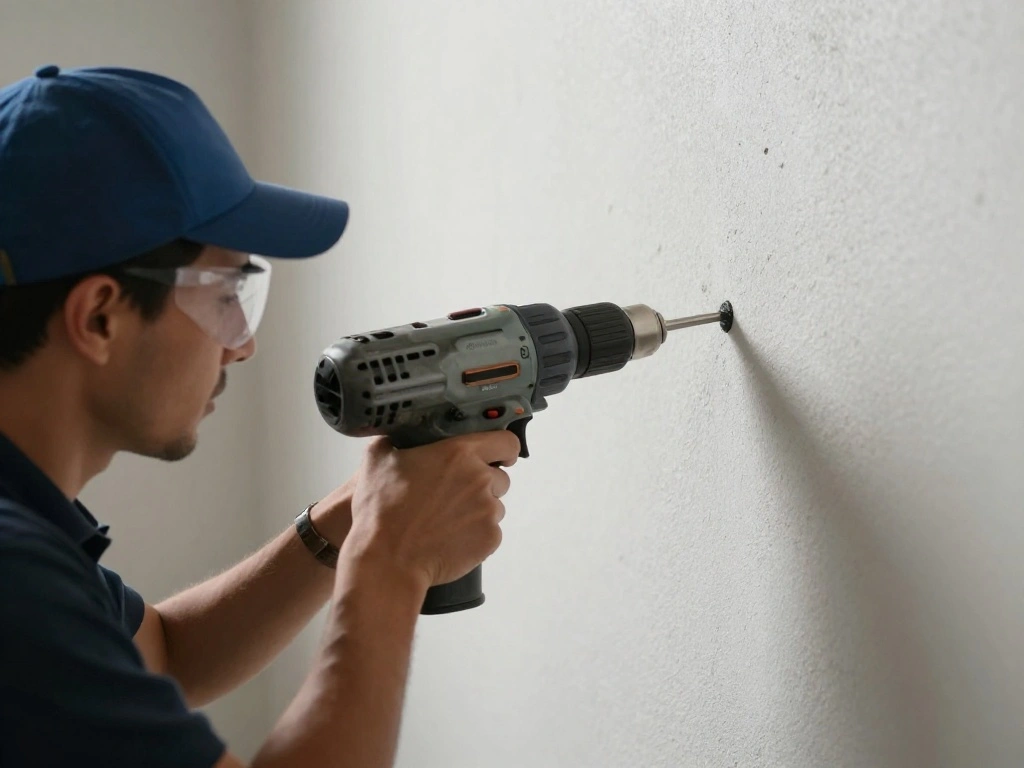
With your stud locations marked, it’s time to prepare the wall for hanging your decor.
1. If using wall anchors, drill holes at your marked stud locations.
2. For adhesive hooks, clean the wall surface with rubbing alcohol and let it dry.
3. Follow the instructions for your specific wall anchors or hooks for installation.
Warning: Avoid drilling too deep to prevent damaging wires or pipes behind the wall.
Why this matters: Proper preparation ensures that your decor hangs securely and looks great. Time estimate for this step: 15-20 minutes.
Step 4: Prepare the Wall for Hanging
Editor’s Choice

Command Large Utility Hooks, 7-Hooks, 12-Strips, Organize Damage-Free
TOGGLER SNAPTOGGLE Drywall Anchor with Included Bolts for 1/4-20 Fastene…

Franklin Sensors Prosensor M210 Stud Finder With 13-Sensors, Wood & Meta…
Step 5: Hang Your Decor
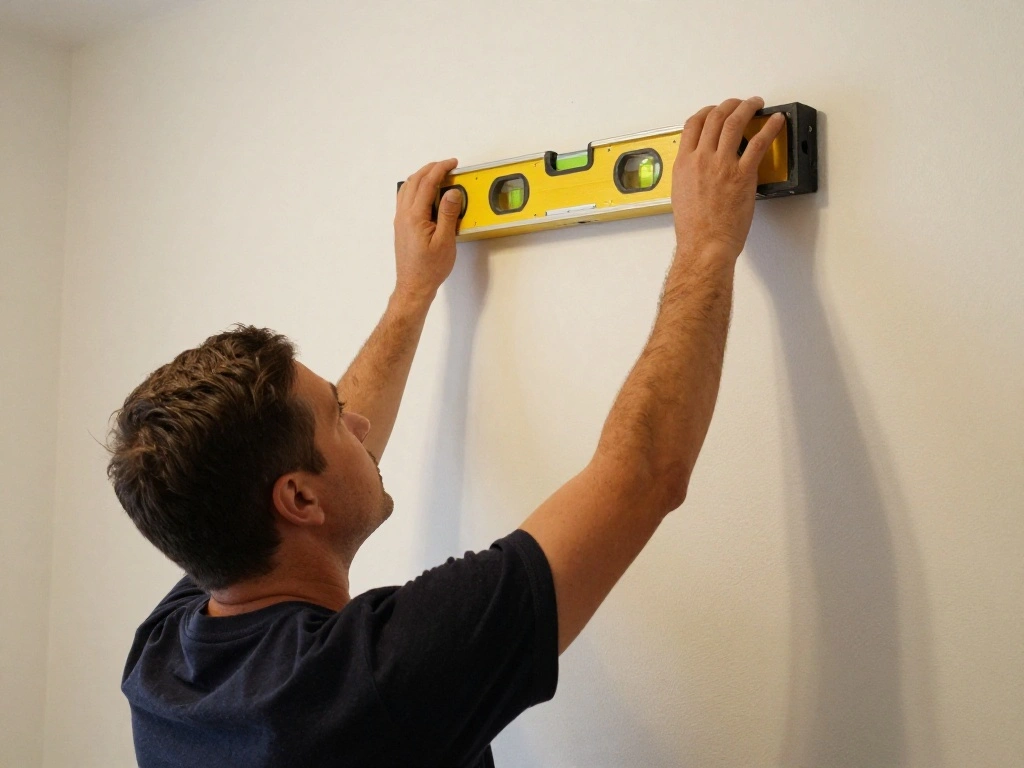
Now comes the exciting part—hanging your heavy decor! This step will bring your vision to life.
1. Lift the decor and align it with the installed hardware.
2. Depending on your method, either place it on the hooks or secure it to the wall anchors.
3. Use a level to check that it is straight before fully securing it.
Pro Tip: Have a friend assist you for larger items to ensure safety and accuracy.
Why this matters: Proper installation ensures your decor is not only visually appealing but also secure. Time estimate for this step: 20-30 minutes.
Step 5: Hang Your Decor
Editor’s Choice
TOGGLER SNAPTOGGLE Drywall Anchor with Included Bolts for 1/4-20 Fastene…
Command 15 lb Large Picture Hanging Strips 14 Pairs (28 Strips), Damage-…

Motovera Self Leveling Laser Level 100ft, Green Cross Line with Tripod, …
Step 6: Make Final Adjustments
After hanging your decor, it’s time to make any final adjustments to ensure everything looks perfect.
1. Step back and evaluate the placement from different angles.
2. If necessary, adjust the decor slightly to achieve the desired look.
3. Tighten any screws or secure any hooks to ensure stability.
Warning: Avoid pulling too hard on the decor to prevent it from coming loose.
Why this matters: Small adjustments can make a significant difference in the overall appearance. Time estimate for this step: 10-15 minutes.
Step 6: Make Final Adjustments
Editor’s Choice

Command 20 lb XL 8 Pairs Heavyweight Picture Hanging Strips (16 Strips),…
Stud Finder Wall Scanner – 5 in 1 Stud Finder Tool w/Smart Chip and HD L…

Ougourim Furniture Anchors (10 Packs) Anti Tip Furniture Anchors for Bab…
Step 7: Clean Up and Enjoy

With your decor hung and adjusted, it’s time to clean up your workspace and enjoy your new look!
1. Remove any tape or marks from the wall.
2. Store your tools and leftover materials in their designated places.
3. Step back and admire your work—take a moment to appreciate your accomplishment!
Pro Tip: Consider adding complementary decor around your new piece for a cohesive look.
Why this matters: A clean space enhances the overall aesthetic and makes your decor the focal point. Time estimate for this step: 10 minutes.
Step 7: Clean Up and Enjoy
Editor’s Choice
15 lb Large Picture Hanging Strips 14 Pairs (28 Strips), Damage-Free Han…

KURUI 180Pcs Self Drilling Drywall Anchors with Screws Kit, Fixion Tools…
Franklin Sensors Prosensor M210 Stud Finder With 13-Sensors, Wood & Meta…
Pro Tips
- Tip for Heavy Items: Use multiple anchors for very heavy decor to distribute the weight evenly.
- Tip for Adhesive Hooks: Choose heavy-duty adhesive hooks rated for the weight of your decor.
- Tip for Measuring: Always measure twice before making any marks to avoid mistakes.
- Tip for Wall Types: Different wall types (drywall, plaster, etc.) may require different hanging methods; know your wall!
- Tip for Kids’ Rooms: Use removable adhesive hooks for decor that may need to be changed often.
Pro Tips
Editor’s Choice
Stud Finder Wall Scanner – 5 in 1 Stud Finder Tool w/Smart Chip and HD L…

3M Claw 15 lb. Drywall Picture Hanger with Spot Markers, Heavyweight Han…
Adhesive Wall Hooks for Hanging Heavy Duty 50 lbs Large Hooks for Walls …
Common Mistakes to Avoid
Warning: Hanging without checking for studs can lead to damage. Always find the studs first.
Warning: Using too small anchors can result in falling decor. Ensure anchors are rated for the weight.
Warning: Not cleaning the wall before applying adhesive hooks can cause them to fail. Always clean the area first.
Common Mistakes to Avoid
Editor’s Choice
Stud Finder Wall Scanner – 5 in 1 Stud Finder Tool w/Smart Chip and HD L…

10Pcs Heavy Duty Picture Hangers with Nails, Kinxuanda Professional Pict…
TOGGLER SNAPTOGGLE Drywall Anchor with Included Bolts for 1/4-20 Fastene…
Troubleshooting Section
Problem: My decor keeps falling off the wall.
Solution: Check if you used the appropriate anchors or hooks. If not, replace them with stronger options.
Problem: There are visible holes in the wall.
Solution: Fill the holes with spackling paste and repaint if necessary.
Problem: My decor is crooked.
Solution: Use a level to readjust and ensure it is straight.
Troubleshooting Section
Editor’s Choice

KURUI Wall Anchors Kit for Hanging Wall Art Decor, 160Pcs Drywall Anchor…
Motovera Self Leveling Laser Level 100ft, Green Cross Line with Tripod, …

DAP Fast ‘N Final Lightweight Spackling, White, 8 Oz (7079812140)
Variations/Alternative Methods
1. French Cleat Method: This method provides a secure way to hang heavy items on the wall. It involves two interlocking pieces of wood, one on the wall and one on the decor.
2. Picture Hanging Strips: For lighter decor, consider using picture hanging strips that allow for easy removal and repositioning without wall damage.
Variations/Alternative Methods
Editor’s Choice
CrimsonMark 120Pcs #8 Self Drilling Drywall Anchors and Screws kit #8 x …

FURWEY French Cleat, Picture and Mirror Hanger, Aluminum French Cleat, H…
Command 15 lb Large Picture Hanging Strips 14 Pairs (28 Strips), Damage-…
FAQs
What if I don’t have a stud finder?
You can knock on the wall to find studs, listening for a solid sound, or use a magnet to locate screws or nails in the wall.
How long should I wait before hanging anything?
If you’ve used adhesive hooks, wait at least 24 hours for maximum adhesion before hanging items.
Is it safe to hang heavy items in a rented space?
Yes, just be sure to use removable hooks or patch any holes before leaving.
FAQs
Editor’s Choice

100 Pack Ceiling Hooks Adhesive Removable Transparent Wall Hanger with H…

Upgraded 100 Pcs Self Drilling Drywall Anchors with Screws Kit, Zinc Pla…
Stud Finder Wall Scanner – 5 in 1 Stud Finder Tool w/Smart Chip and HD L…
Conclusion
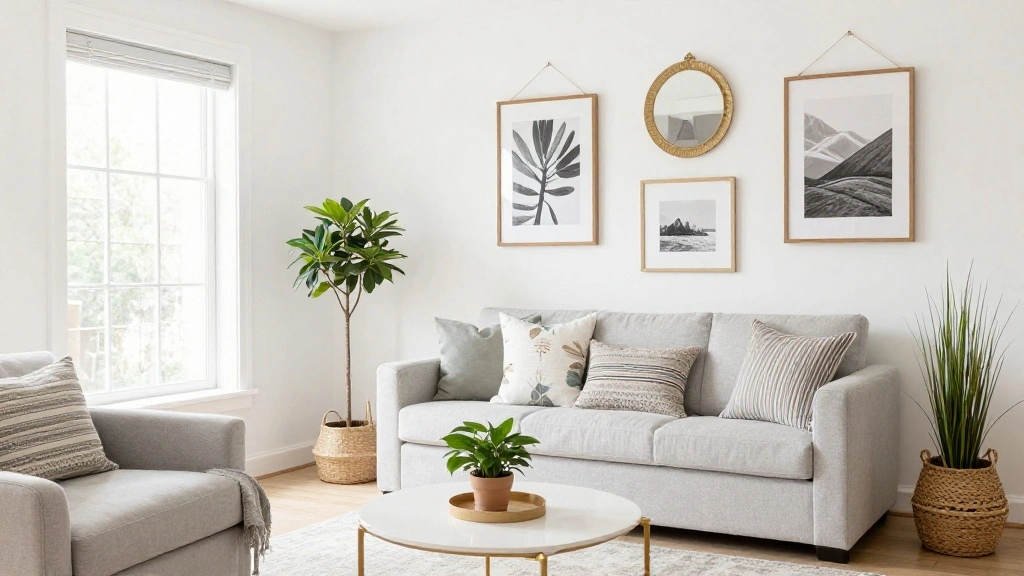
Congratulations on successfully hanging your heavy decor without damaging your walls! You’ve transformed your space and created a beautiful display.
As a next step, consider arranging complementary items around your decor to enhance the overall aesthetic. Explore more DIY projects to continue personalizing your space.
Remember, with the right tools and techniques, you can confidently create the home environment you’ve always envisioned!