
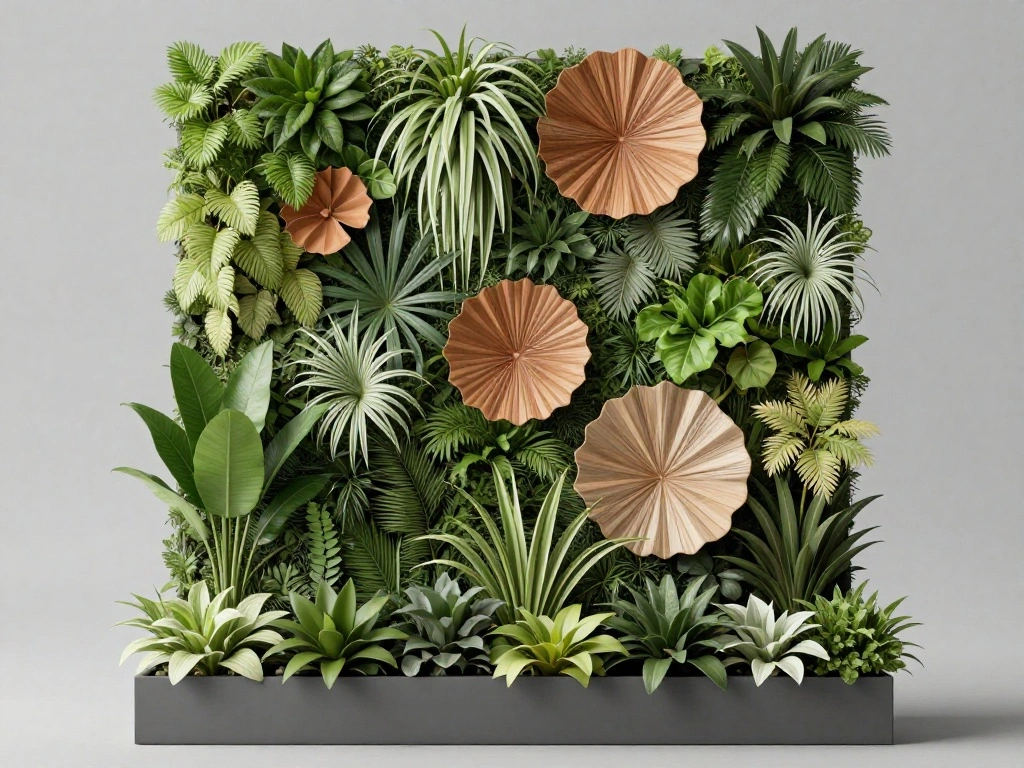
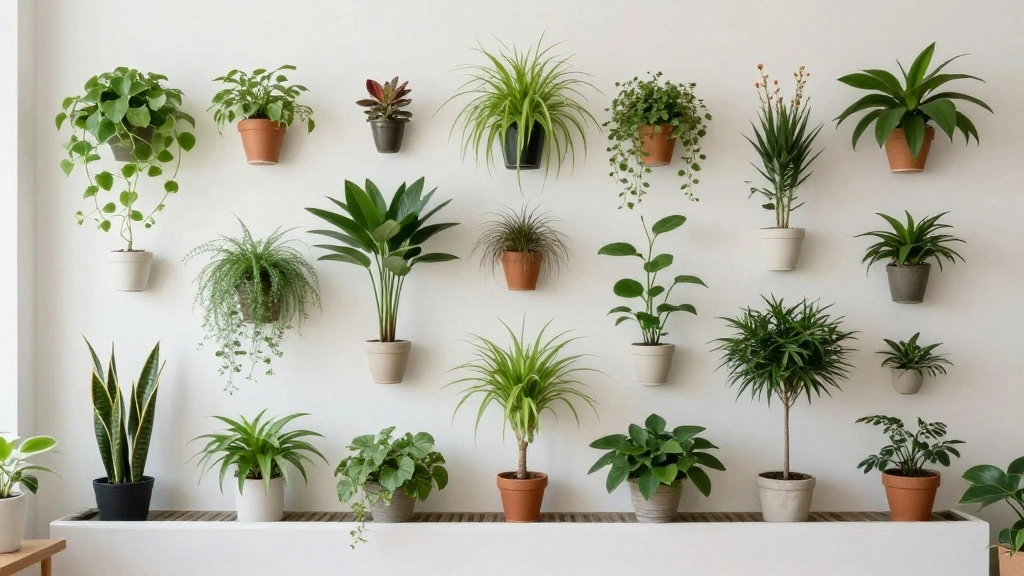
Are you tired of staring at blank walls in your rental and itching for a touch of nature? Living in a rental often means dealing with limitations on how you can decorate your space. But don’t worry! A vertical plant wall is a fantastic solution that not only beautifies your living area but also breathes life into it. With a vertical plant wall, you can transform a dull corner into a vibrant oasis without damaging your rental property.
In this guide, you’ll learn how to create your very own vertical plant wall using simple, rental-friendly methods. By the end, you will have a stunning display of greenery that enhances your space and improves air quality. This guide covers everything from selecting the right plants to assembling the wall, ensuring you have all the tools and knowledge you need.
With a beginner skill level and an estimated time of just 2-3 hours, you’ll soon find yourself enjoying the serene beauty of your new vertical garden. Let’s dive in!
TL;DR Summary
- Transform your dull rental walls into a beautiful vertical plant wall.
- Learn about essential materials and tools needed for the project.
- Follow step-by-step instructions, perfect for beginners.
- Enjoy a fresh and inviting atmosphere in just 2-3 hours!
TL;DR Summary
Editor’s Choice

2 Pack Easy-to-Assemble Staghorn Fern Mounting Kit,Wall Planter for Indo…
Prerequisites/Materials Needed
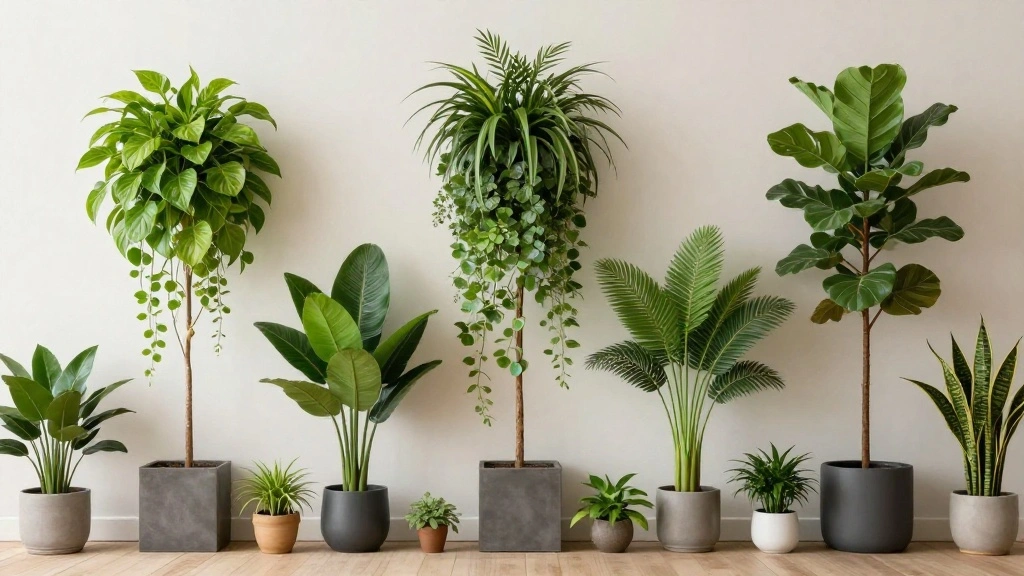
- Plants: 4-6 small to medium-sized plants (like pothos, ferns, or succulents)
- Wall-mounted planter: 1 vertical planter or wall grid
- Potting soil: 1 bag (depending on plant size)
- Drill with wall anchors: 1 set
- Measuring tape: 1
- Level: 1
- Watering can: Optional but helpful
Prerequisites/Materials Needed
Editor’s Choice

Miracle-Gro Indoor Potting Mix for All Plants, Use with Houseplants and …

Make Good PlantPod Luxe – Self-Watering Wall Planters (Set of 6) – Easy …

Power Drill Cordless: DEKOPRO Cordless Drill 20V Electric Power Drills S…
Skill Level & Time Estimate
Skill Level: beginner
Time Estimate: 2-3 hours
Breakdown:
– Planning and preparation: 30 minutes
– Assembling the planter: 1 hour
– Planting and watering: 1 hour
Skill Level & Time Estimate
Editor’s Choice

Fake Hanging Plant Decor Indoor, Eucalyptus Artificial Faux Plants in Wa…

Burpee, 9 Quarts | Premium Organic Potting Natural Soil Mix Food Ideal f…
Step 1: Choose the Right Location
Start by selecting the perfect spot for your vertical plant wall. Consider areas that receive adequate sunlight for the plants you choose. You may want to follow these steps:
- Identify a wall that gets indirect sunlight.
- Ensure there’s enough space to accommodate the planter and plants.
- Avoid walls with moisture issues or that are too close to heating vents.
Pro Tip: If you have a wall with a good view, that’s a perfect choice!
Why this matters: The location affects plant health and aesthetic appeal. Taking the time to choose wisely will pay off later in your project.
Estimated time: 15 minutes.
Step 1: Choose the Right Location
Editor’s Choice

Maotong Adjustable Window Planter Box Brackets 4 Pack, Heavy Duty Wall M…

MOONSOUND Self Watering Globes for Plants – 10pcs Automatic Watering Bul…

Ogrmar 36 Pockets Vertical Wall Garden Planter Plant Grow Bag for Flower…
Step 2: Gather Your Materials
Now that you have your location, gather all the necessary materials from the checklist provided earlier. Follow these sub-steps:
- Collect all plants and ensure they are healthy.
- Get the wall-mounted planter or grid.
- Have your tools ready: drill, measuring tape, and level.
Pro Tip: Opt for plants that thrive in similar light conditions to simplify care.
Why this matters: Having everything in one place streamlines the building process and prevents interruptions.
Estimated time: 30 minutes.
Step 2: Gather Your Materials
Editor’s Choice
Make Good PlantPod Luxe – Self-Watering Wall Planters (Set of 6) – Easy …

DEWALT Drill Bit Set, 3-Flats Shank,14-Piece, 135 Degree Split Point, fo…

CRAFTSMAN 25-Ft Tape Measure with Fraction Markings, Retractable, Self-L…
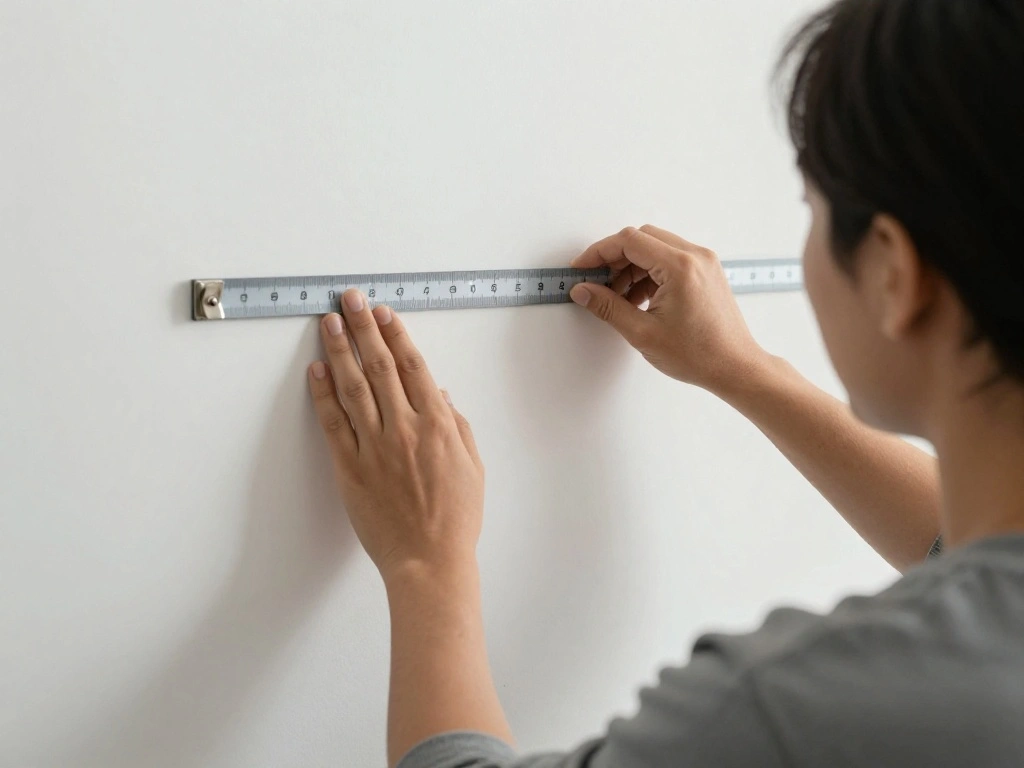
Step 3: Measure and Mark the Wall
Next, it’s time to prepare the wall for installation. Accurate measurements ensure your vertical plant wall looks balanced and professional. Follow these steps:
- Measure the width of the planter and mark the center on the wall.
- Determine the height you want for the planter and mark that point.
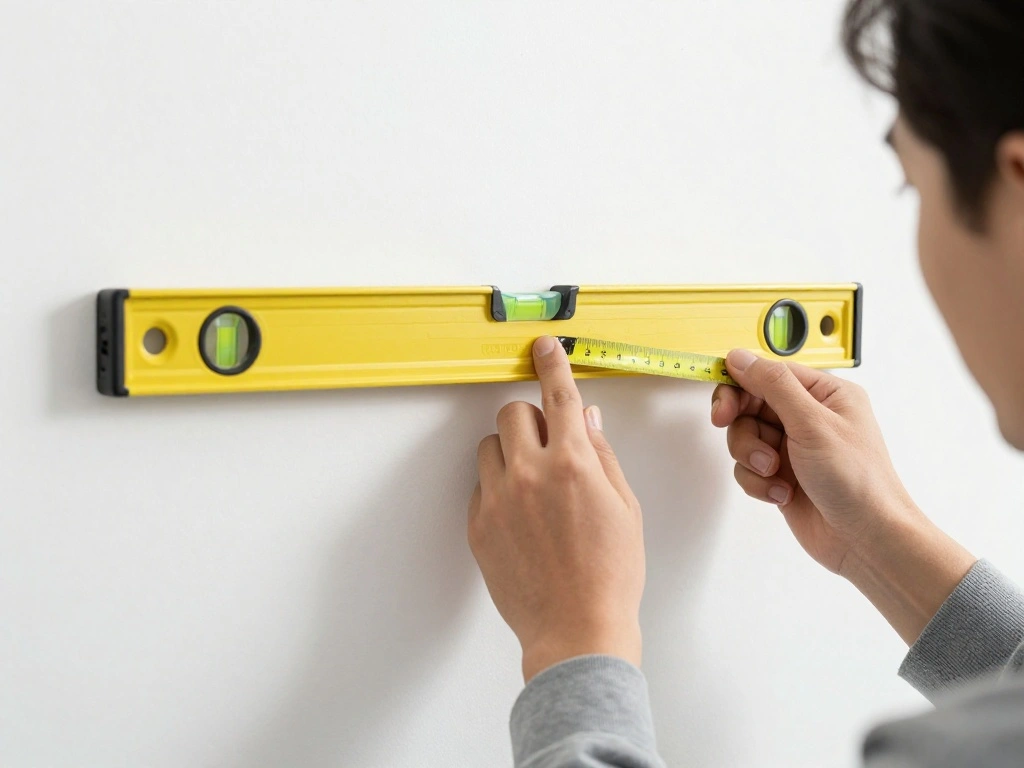
- Use a level to draw a straight line where the bottom of the planter will sit.
Warning: Double-check your measurements to avoid misalignment.
Why this matters: Proper measurements are crucial for ensuring your planter sits evenly and securely.
Estimated time: 15 minutes.
Step 3: Measure and Mark the Wall
Editor’s Choice
CRAFTSMAN 25-Ft Tape Measure with Fraction Markings, Retractable, Self-L…

Keyhole Companion Picture Hanging Marking Tool, Keyhole Slot & Sawtooth …

CIGMAN 3D Laser Level with Tripod,Remote Control,Compact Design,4000mAh …
Step 4: Install the Wall Planter
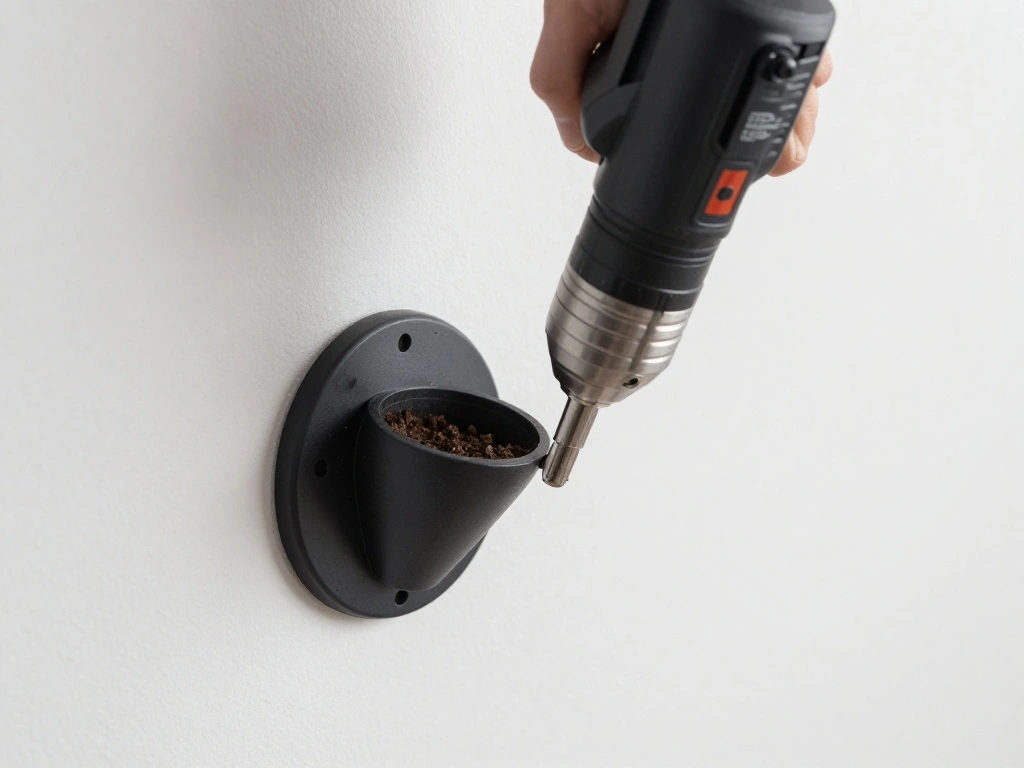
Now, it’s time to install the wall planter. This step is essential for securing your plants in place. Follow these sub-steps:
- Drill holes at the marked points for wall anchors.
- Insert the wall anchors into the holes.
- Align the planter with the anchors and use screws to secure it to the wall.
Warning: Make sure the planter is firmly attached before proceeding to the next step.
Why this matters: Proper installation ensures your plants stay secure and don’t fall, preventing damage to your wall or plants.
Estimated time: 30 minutes.
Step 4: Install the Wall Planter
Editor’s Choice
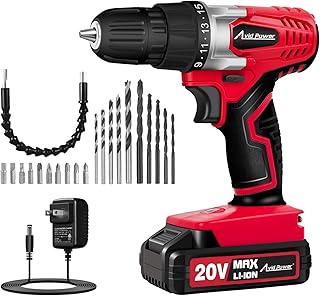
AVID POWER 20V Cordless Drill Set for Home DIY & Beginner Projects – Lig…

Zinc Self-Drilling Drywall Anchors with Screws Kit, 25 Heavy Duty Metal …
Make Good PlantPod Luxe – Self-Watering Wall Planters (Set of 6) – Easy …
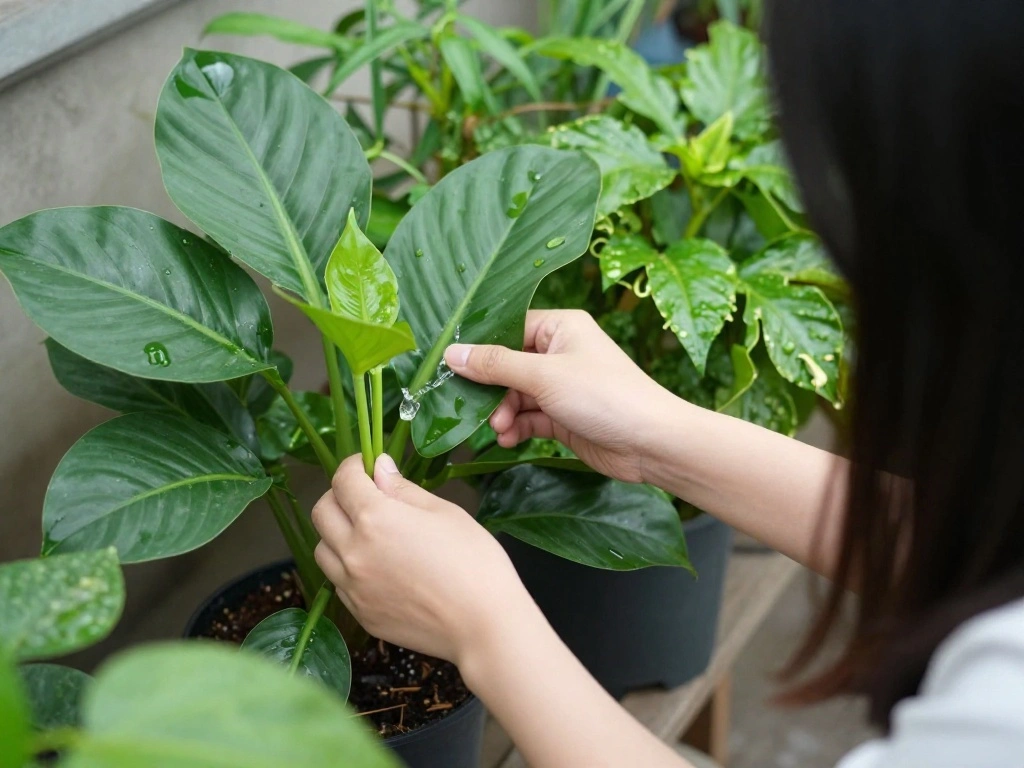
Step 5: Prepare the Plants
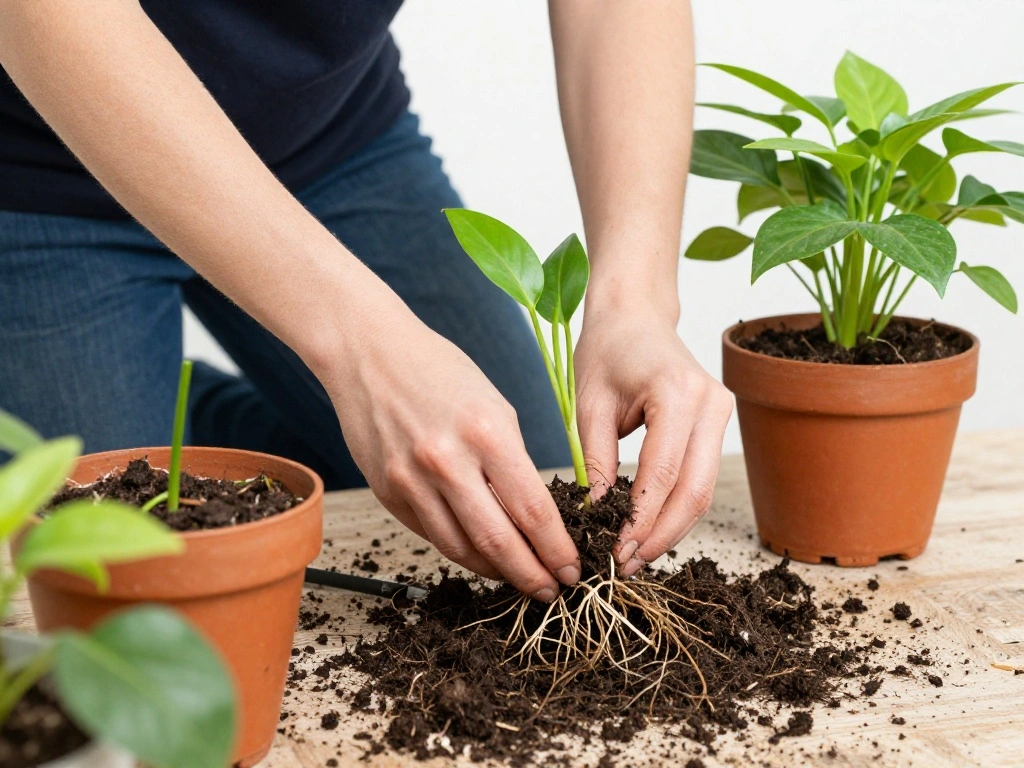
Before placing the plants in the wall planter, prepare them to ensure they thrive. Follow these steps:
- Remove each plant from its original pot.
- Gently loosen the roots if they are tightly bound.
- Add potting soil to the planter, filling it halfway.
Pro Tip: Water the plants a day before to reduce stress when transplanting.
Why this matters: Healthy plants will establish themselves better in their new environment, leading to growth and longevity.
Estimated time: 20 minutes.
Step 5: Prepare the Plants
Editor’s Choice

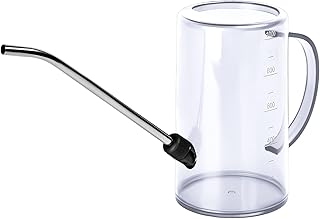
Watering Can for Indoor and Outdoor Plants – Long Spout Water Can for Ga…
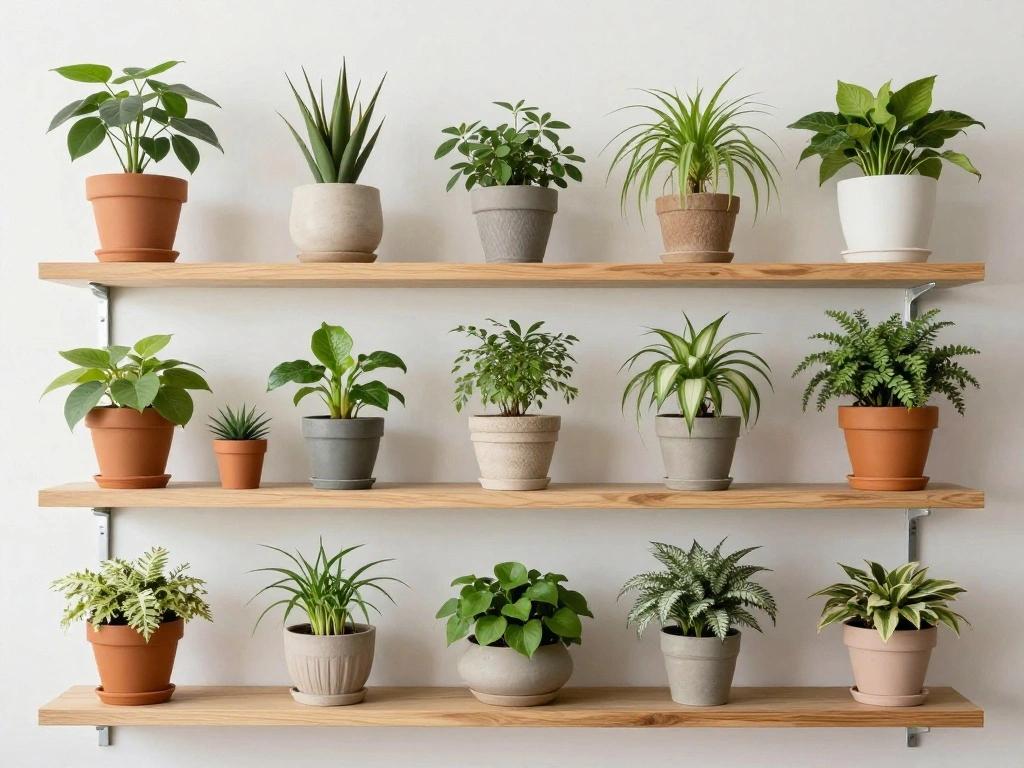
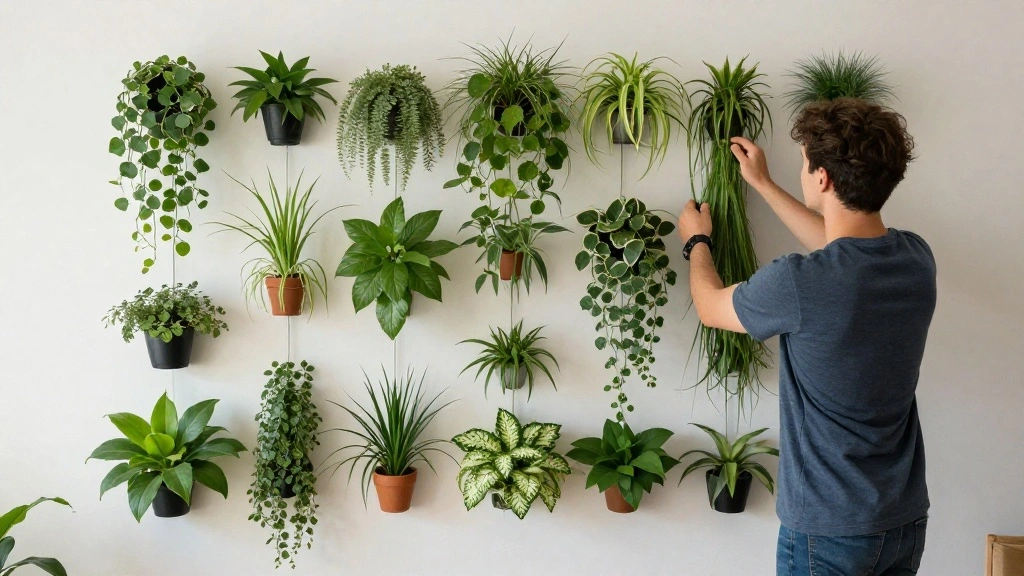
Step 6: Plant in the Planter
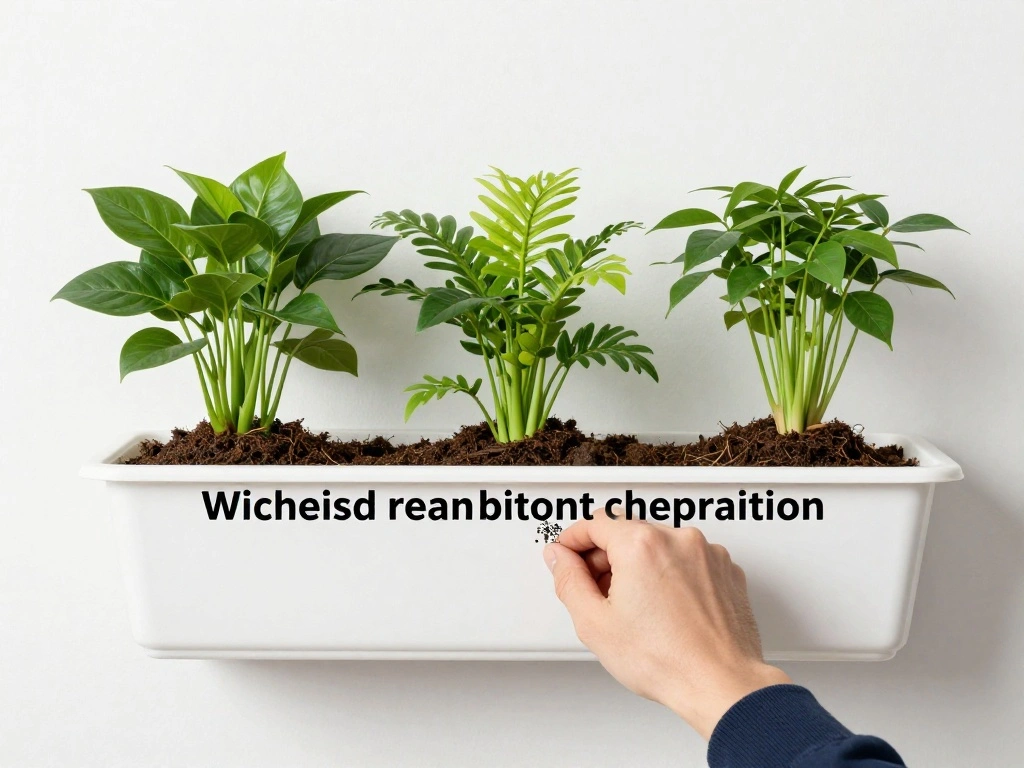
Now it’s time to plant! Follow these steps to ensure each plant is properly placed:
- Add plants to the planter, spacing them evenly.
- Fill in with potting soil around the roots.
- Gently press down to secure the plants.
Pro Tip: Mix in slow-release fertilizer in the soil for better growth.
Why this matters: Proper planting ensures that your plants have enough room to grow and thrive in their new home.
Estimated time: 30 minutes.
Step 6: Plant in the Planter
Editor’s Choice

We the Wild Enrich Powder- Organic Slow Release Plant Food, Good for All…

Heavy Duty Gardening Tools – Gardening Gifts for Women, Men, Mom, Dad – …
Burpee, 9 Quarts | Premium Organic Potting Natural Soil Mix Food Ideal f…
Step 7: Water the Plants

After planting, it’s crucial to water your new vertical garden. Follow these steps:
- Using a watering can, give each plant a good drink.
- Ensure water drains properly to avoid root rot.
- Monitor the soil moisture over the coming days.
Pro Tip: Consider installing a drip irrigation system for easier maintenance.
Why this matters: Adequate watering helps plants establish roots, promoting healthy growth.
Estimated time: 15 minutes.
Step 7: Water the Plants
Editor’s Choice
Watering Can for Indoor and Outdoor Plants – Long Spout Water Can for Ga…

Drip Irrigation System, 2026-Upgrade 100Ft 1/4″ Garden Watering System w…

XLUX Long Probe Deep Use Soil Moisture Meter, Water Monitor Indicator Se…
Step 8: Add Decorative Elements (Optional)
To personalize your vertical plant wall, consider adding decorative elements. Follow these steps:
- Choose decorative pots or accents to place among the plants.
- Hang small garden art or hangers on the wall.
- Ensure any additions do not crowd the plants.
Pro Tip: Use colors and materials that complement your home decor.
Why this matters: Decorative elements enhance the visual appeal of your plant wall, making it a focal point in your space.
Estimated time: 30 minutes.
Step 8: Add Decorative Elements (Optional)
Editor’s Choice

SwinDuck 4 inch Plant Pots, 28 Pack Small Plastic Planters with Drainage…

Wall Planters for Indoor Plants, 3 Pack Wall Mounted Plant Holder, Metal…

Riverside Designs Wacky Sun Metal Wall Art Indoor/Outdoor Decor – 18″ Bl…
Step 9: Maintain Your Vertical Garden
Once your vertical plant wall is complete, regular maintenance is key to its longevity. Follow these steps:
- Check soil moisture weekly and water as needed.
- Prune dead leaves or overgrown plants regularly.
- Fertilize every few months to encourage growth.
Pro Tip: Set reminders for watering and maintenance tasks to stay on top of it.
Why this matters: Regular care keeps your plants healthy and vibrant, ensuring they thrive for years to come.
Estimated time: 10 minutes weekly.
Step 9: Maintain Your Vertical Garden
Editor’s Choice
XLUX Long Probe Deep Use Soil Moisture Meter, Water Monitor Indicator Se…

Fiskars Bypass Pruning Shears, 5/8″ Cut Capacity Gardening Scissors, Sel…

Miracle-Gro Indoor Plant Food for All Plants, Liquid Plant Food for Hous…
Step 10: Enjoy Your New Space!
Finally, take a moment to appreciate your hard work! Enjoy the beauty and freshness your vertical plant wall brings to your rental. Follow these steps:
- Stand back and admire your work.
- Invite friends over to showcase your new decor.
- Consider documenting the progress for social media!
Pro Tip: Take before and after photos to see how far you’ve come.
Why this matters: Celebrating your achievement boosts motivation for future projects and enhances your enjoyment of your living space.
Estimated time: 10 minutes.
Step 10: Enjoy Your New Space!
Editor’s Choice

AILIN YELOKIE 2 Pack Premium Forged Wall Hook, Sturdy Hanging Plant Brac…
Ogrmar 36 Pockets Vertical Wall Garden Planter Plant Grow Bag for Flower…

17-Piece Succulent Plant Care Tool Set, 26″ and 39.4″ Plant Transplantin…
Pro Tips
- Plant Selection: Choose plants that thrive in your home’s lighting conditions.
- Watering Schedule: Establish a routine to keep plants healthy.
- Fertilizer Use: Use organic fertilizers for better plant growth.
- Spacing: Allow enough space between plants to avoid overcrowding.
- Vertical Space: Utilize different heights for visual interest.
Pro Tips
Editor’s Choice

Watering Can for Indoor Plants, 35 oz/1000 ml Metal Stainless Steel Pot …

Miracle-Gro Organic Plant Food – Use with Indoor or Outdoor Plants, Orga…
Ogrmar 36 Pockets Vertical Wall Garden Planter Plant Grow Bag for Flower…
Common Mistakes to Avoid
Warning: Overwatering can lead to root rot. Always check soil moisture before watering.
Warning: Choosing the wrong plants can lead to poor growth. Ensure you select plants that match your light conditions.
Warning: Skipping the leveling process can result in an unbalanced display. Always use a level when installing.
Warning: Not securing the planter can cause it to fall. Double-check the installation before adding plants.
Warning: Overcrowding plants can stifle growth. Keep adequate spacing between each plant.
Common Mistakes to Avoid
Editor’s Choice

3Pcs Circular Bubble Level Bullseye Degree Marked Surface Round Spirit L…

Sustee Aquameter, Set of 5, Plant Soil Moisture Sensor (Green, Small)

Urban Botanics: An Indoor Plant Guide for Modern Gardeners
Troubleshooting Section
Problem: Plants are wilting.
Solution: Check for underwatering or overwatering issues. Adjust your watering schedule accordingly.
Problem: Soil is too compact.
Solution: Loosen the soil gently with a fork to improve aeration.
Problem: Plants are not growing.
Solution: Ensure they receive adequate light and nutrients. Consider moving them to a brighter location or adding fertilizer.
Problem: Wall planter is falling off.
Solution: Recheck installation and add more screws or anchors if necessary.
Problem: Pests are appearing on plants.
Solution: Inspect for pests regularly and use organic pest control methods as needed.
Troubleshooting Section
Editor’s Choice
XLUX Long Probe Deep Use Soil Moisture Meter, Water Monitor Indicator Se…

Walensee Lawn Aerator Spike Metal Manual Dethatching Soil Aerating Lawn …

Miracle-Gro Water Soluble All Purpose Plant Food – Fertilizer For All In…
Variations/Alternative Methods
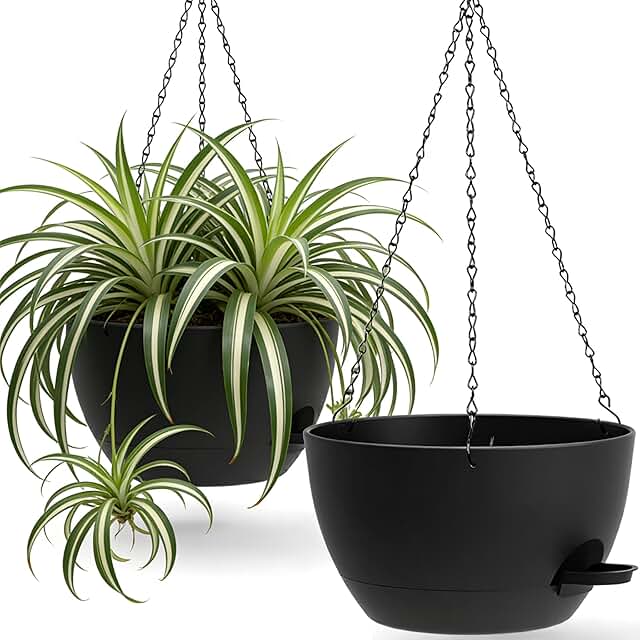
Consider these alternative methods for your vertical garden:
- Hanging Planters: Use hanging pots instead of a wall-mounted planter for more flexibility. Great for renters!
- Fabric Planters: Use a fabric vertical garden made from felt for a lightweight option. This can easily be removed when you move.
- Magnetic Planters: Use magnetic pots on a metal wall for a modern look. Easy to rearrange!
Variations/Alternative Methods
Editor’s Choice

Adnee 4 Pcs 16 Inch Fabric Planter Basket Liner-Felt Flower Pot Liners-H…

Magnetic Plant Pot – Unique Window Planter for Succulents, Indoor & Outd…
UOUZ 13 Inch 2 Pack Large Self Watering Hanging Planters for Indoor Outd…
FAQs
What if I don’t have enough light for plants? Consider using low-light plants, such as snake plants or pothos, which thrive in lower light conditions.
How long should I wait to water after planting? Water the plants right after planting and then check the soil every few days to establish a good routine.
Is it safe to drill into the wall? Yes, as long as you use wall anchors and follow proper installation techniques to avoid damaging the wall.
What if I want to change the plants later? Simply remove the plants carefully, replace them with new ones, and refresh the soil as needed.
Can I use artificial plants? Yes, artificial plants are a great alternative if you prefer low maintenance!
FAQs
Editor’s Choice

KURUI 140Pcs #8 Self Drilling Drywall Anchors with Screws Kit, Heavy Dut…
Plastic Watering Can – with Long Spout – 1/4 Gallon – 34 Oz – White

Essential Houseplant Collection (4PK) Live Plants Indoor Plants Live Hou…
Conclusion
Congratulations on creating your vertical plant wall! You’ve transformed your space into a beautiful, green haven that not only looks great but also improves air quality. Now that you’ve completed this project, consider exploring other home decor ideas or even expanding your indoor garden.
Share your achievement with friends and family, and inspire them to create their own vertical gardens. Your new oasis is more than just a decor piece; it’s a source of joy and tranquility in your rental home.