

Are you tired of your small kitchen feeling cluttered and chaotic? A disorganized kitchen not only makes cooking a hassle but can also impact your overall mood and productivity. With limited space, it’s crucial to optimize every inch of your kitchen for efficiency and ease of use. Luckily, organizing your kitchen doesn’t have to be an overwhelming task. By following a structured approach, you can transform your kitchen into a functional and inviting space.
In this guide, you will learn how to systematically declutter, arrange, and optimize your small kitchen. You’ll achieve a well-organized kitchen that maximizes storage, improves workflow, and reflects your personal style. By the end of this guide, you’ll know how to categorize kitchen items, utilize vertical space, and create designated zones for cooking, prep, and storage.
This guide is designed for beginners and will take approximately 2-3 hours to complete. Get ready to take control of your kitchen and make it a space you love to cook in!
TL;DR Summary
- Declutter your kitchen by removing unused items.
- Utilize vertical space with shelves and hooks.
- Create designated zones for cooking, prep, and storage.
- Use clear containers and labels for easy identification.
TL;DR Summary
Editor’s Choice

Brother P-Touch PT-N10 Personal Handheld Label Maker, Portable and Print…

Sterilite 4 Pack Ultra Latching Box, Storage Bins with Lids, Clear Plast…

BAYKA Floating Shelves Set of 2, 22.5 inches Farmhouse Rustic Wood Wall …
Prerequisites/Materials Needed
- Cleaning Supplies: 1 all-purpose cleaner, 1 sponge, 1 microfiber cloth
- Storage Solutions: 3-5 stackable containers, 1 spice rack, 1 utensil holder
- Organization Tools: 1 set of labels, 1 corkboard or pegboard, 1 wall-mounted shelf
- Miscellaneous: 1 donation box for unused items
Prerequisites/Materials Needed
Editor’s Choice

YFXCVSL 4 Tier Plastic Storage Bins with Lid 23QT, Stackable Storage Con…

BAYKA Floating Shelves for Wall, Wall Mounted Rustic Wood Shelves for Ba…
Skill Level & Time Estimate
Skill Level: beginner
Total time estimate: 2-3 hours
Step 1: Declutter Your Kitchen
Start by removing every item from your kitchen. This includes everything from utensils to appliances. Once you have everything out, sort items into three categories: keep, donate, and discard.
- Empty all cabinets and drawers.
- Group similar items together.
- Evaluate each item’s necessity and condition.
Warning: Be honest about what you use regularly. Keeping unnecessary items will only create clutter.
Why this matters: Decluttering is the first step in creating a functional kitchen. It allows you to see what you have and what you truly need.
Time estimate: 30-45 minutes.
Step 1: Declutter Your Kitchen
Editor’s Choice

SpaceAid Bamboo Drawer Dividers with Inserts and Labels, Kitchen Adjusta…

Brady M211 Portable Bluetooth Monochrome Label Printer, Yellow/Black

Clear Plastic Storage Bins for Kitchen Organization or Pantry Organizers…
Step 2: Clean Surfaces
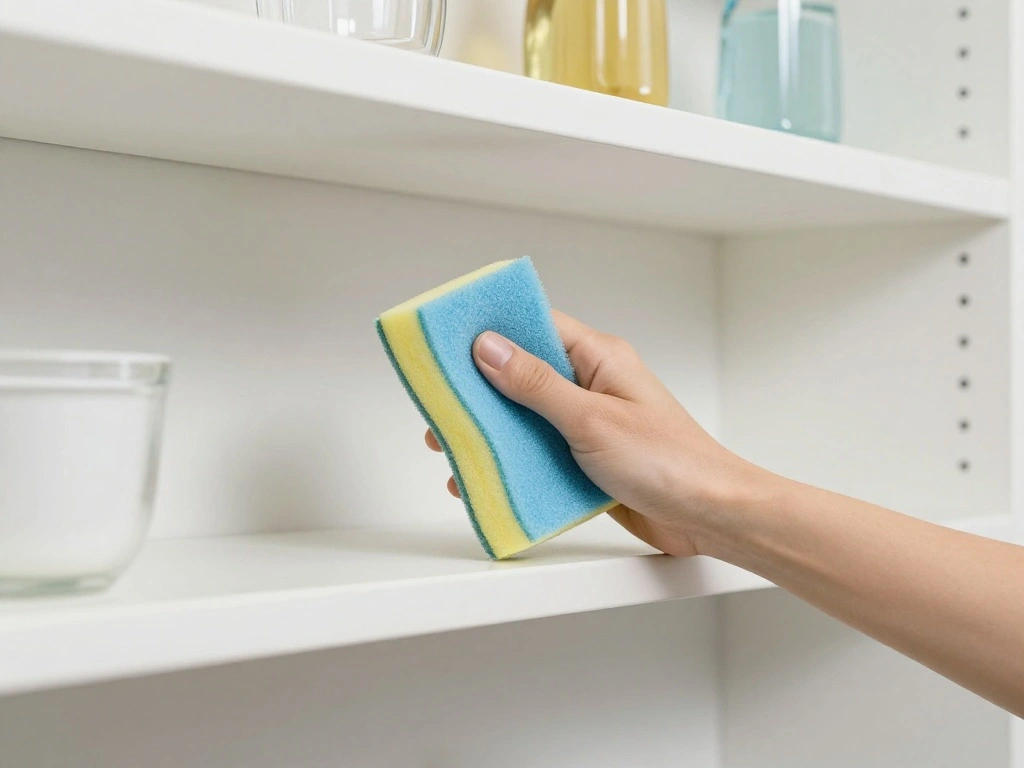
Once your kitchen is decluttered, thoroughly clean all surfaces. This includes countertops, shelves, and inside cabinets. Use an all-purpose cleaner for effective results.
- Wipe down all surfaces with the cleaner and sponge.
- Pay special attention to areas that may have accumulated grime.
- Rinse and dry surfaces with a microfiber cloth.
Pro Tip: Cleaning before organizing ensures you start with a fresh space.
Why this matters: A clean kitchen is essential for hygiene and provides a blank slate for organizing.
Time estimate: 30 minutes.
Step 2: Clean Surfaces
Editor’s Choice

Scotch-Brite Zero Scratch Scrub Sponge, 6 Kitchen Sponges for Cleaning A…

USANOOKS Microfiber Cleaning Cloth Grey – 12 Pcs (12.5″x12.5″) – High Pe…

Lysol All Purpose Cleaner Spray, Multi-Purpose Disinfecting Spray, Kitch…
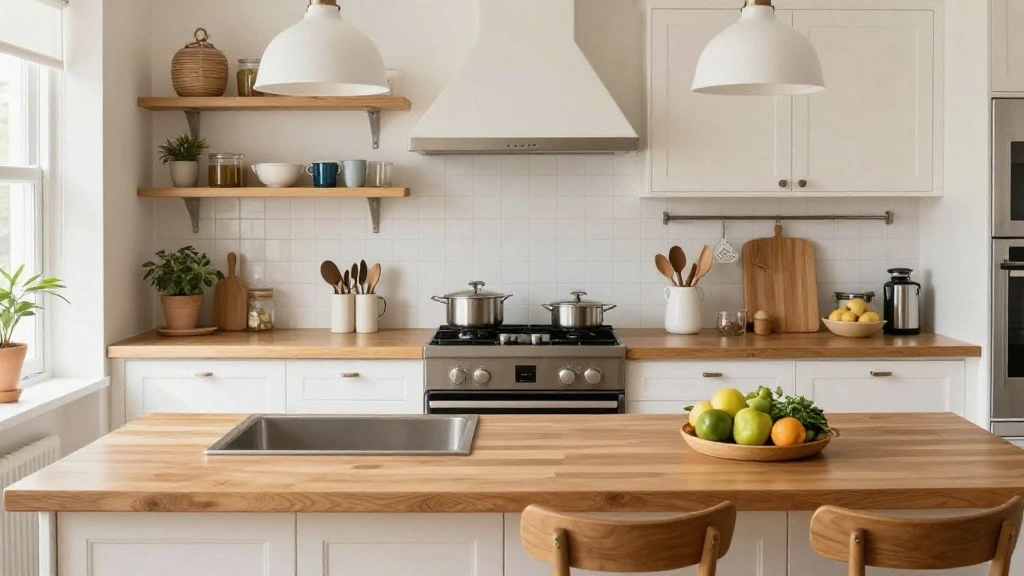
Step 3: Plan Your Layout

Before placing items back, plan your kitchen layout. Identify where each zone will be: cooking, prep, and storage.
- Designate areas for cooking utensils, pots, and pans.
- Allocate space for food prep and cutting boards.
- Determine storage for pantry items and appliances.
Pro Tip: Consider the workflow from prep to cooking to cleaning when planning your layout.
Why this matters: A well-planned layout enhances efficiency and makes cooking more enjoyable.
Time estimate: 20 minutes.
Step 3: Plan Your Layout
Editor’s Choice
Modern Innovations 16 Inch Stainless Steel Magnetic Knife Bar with Multi…

Airtight Food Storage Containers with Lids, Vtopmart 24 pcs Plastic Kitc…

SONGMICS Cabinet Organizer Shelf, Set of 2 Kitchen Counter Shelves, Kitc…
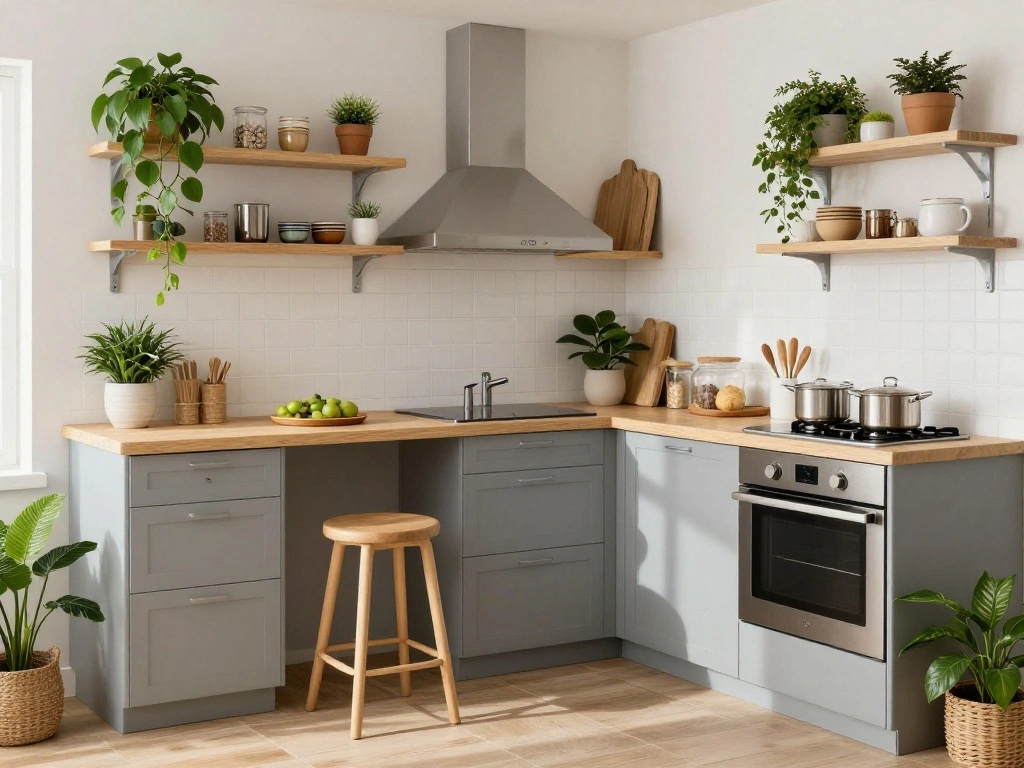
Step 4: Utilize Vertical Space
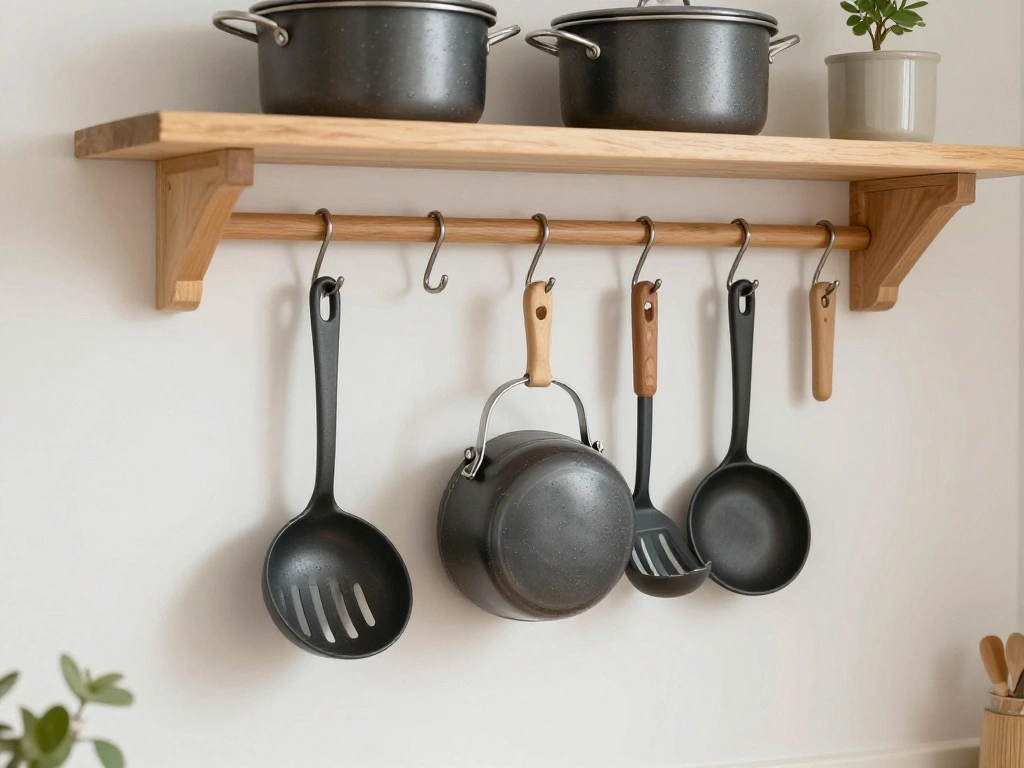
In a small kitchen, maximizing vertical space is crucial. Install shelves, hooks, and racks to store items off the countertops.
- Install a wall-mounted shelf for frequently used items.
- Use hooks for pots and pans.
- Consider a pegboard for utensils and tools.
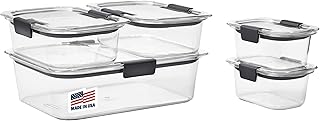
Pro Tip: Use clear containers for easy visibility and access to pantry items.
Why this matters: Using vertical space frees up counter space and keeps your kitchen looking organized.
Time estimate: 30-45 minutes.
Step 4: Utilize Vertical Space
Editor’s Choice

ESFUN 18 Pack 4 inch Heavy Duty S Hooks Pan Pot Holder Rack Hooks S Shap…
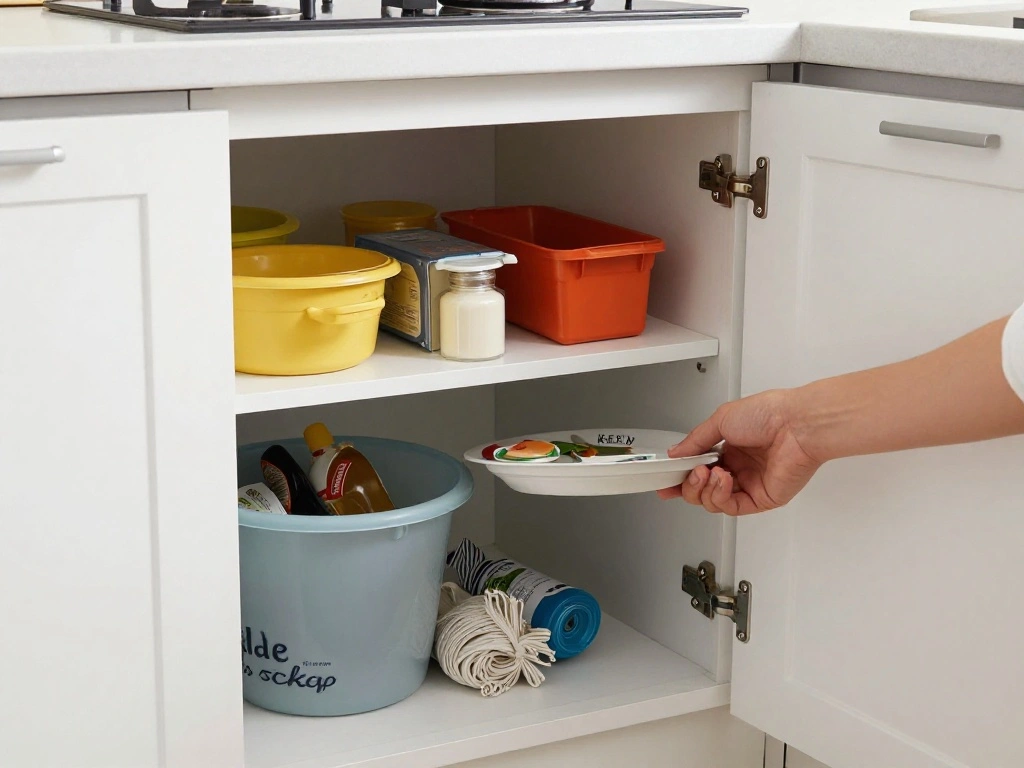
Step 5: Organize Cabinets and Drawers
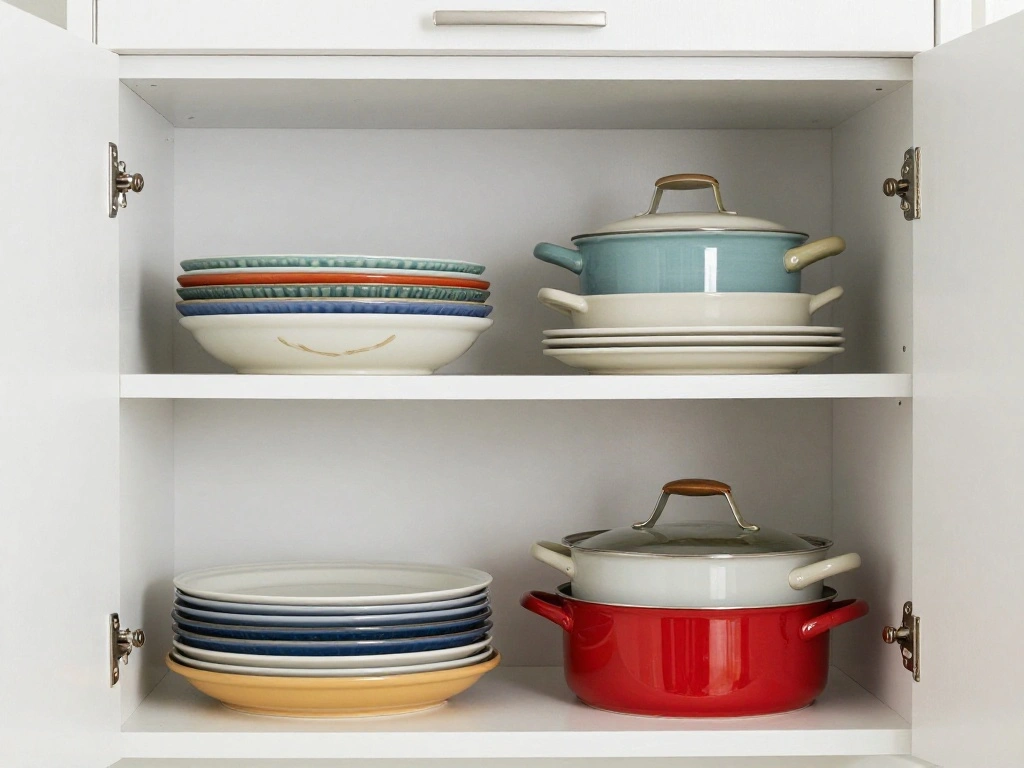
Now that you have a layout and vertical space utilized, return items to cabinets and drawers according to your plan.
- Store pots and pans in the cooking area.
- Place utensils and cutting boards in the prep zone.
- Organize pantry items in the storage area.
Warning: Avoid overstuffing cabinets, as this can lead to disorganization and difficulty finding items.
Why this matters: Organized cabinets make it easier to find what you need quickly.
Time estimate: 30 minutes.
Step 5: Organize Cabinets and Drawers
Editor’s Choice

MUDEELA Pots and Pans Organizer Rack for under Cabinet, Expandable 11.81…
Step 6: Label Everything

Labeling can greatly enhance your kitchen organization. Use labels on containers, shelves, and drawers to identify contents clearly.
- Label food storage containers with their contents and expiration dates.
- Designate areas in cabinets with labels for easy identification.
- Use a uniform labeling system for a cohesive look.
Pro Tip: Use a label maker for a professional appearance or handwritten labels for a personal touch.
Why this matters: Labels reduce the time spent searching for items and help maintain organization.
Time estimate: 20 minutes.
Step 6: Label Everything
Editor’s Choice

Liuruiyu 78oz Glass Food Storage Jars with Airtight Clamp Lids, 3 Pack W…

Post-it Labeling & Cover-Up Tape, 1 Roll, 1 in x 700 in (658)

DYMO LetraTag 100H Silver Handheld Label Maker & LT Label Tapes, Thermal…
Step 7: Create a Cleaning Station
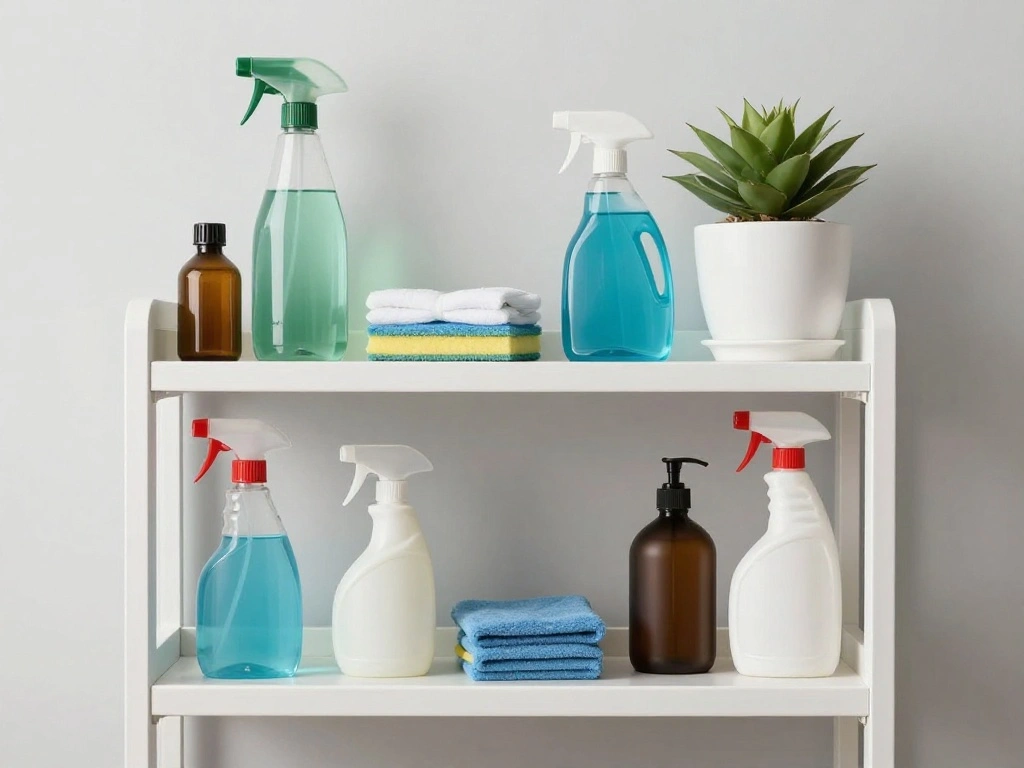
Designate a specific spot for your cleaning supplies to keep them accessible yet out of the way. This can streamline your kitchen maintenance.
- Choose a cabinet or a shelf for cleaning supplies.
- Use a caddy or basket to keep supplies together.
- Ensure that frequently used items are easy to grab.
Pro Tip: Store cleaning supplies high if you have children for safety.
Why this matters: Keeping cleaning supplies organized promotes regular maintenance of your kitchen.
Time estimate: 15 minutes.
Step 7: Create a Cleaning Station
Editor’s Choice
![[12-Pack] Invisible Baby Proofing Cabinet Locks - No Drill Child Safety ...](https://m.media-amazon.com/images/I/61WJagt+jEL._AC_UL320_.jpg)
[12-Pack] Invisible Baby Proofing Cabinet Locks – No Drill Child Safety …

Large Cleaning Supplies Caddy Portable Shower Basket Supply Organizer wi…

CADUKE Counter Shelf Organizer Set of 2 Kitchen Cabinet Shelves Expandab…
Step 8: Maintain Your Organization

After organizing, it’s essential to maintain the new layout. Set aside time weekly to evaluate and tidy up your kitchen.
- Spend 5-10 minutes daily putting items back in their designated spaces.
- Once a week, do a quick sweep to declutter any new items.
- Reassess organizational systems every few months to make necessary adjustments.
Pro Tip: Establish a routine for maintaining organization to prevent clutter from building up again.
Why this matters: Regular maintenance ensures your kitchen remains functional and pleasant to work in.
Time estimate: 10 minutes weekly.
Step 8: Maintain Your Organization
Editor’s Choice

Lifewit Expandable Silverware Organizer, Plastic Utensil Tray for Kitche…
Sterilite 4 Pack Ultra Latching Box, Storage Bins with Lids, Clear Plast…

SUPVAN E11 Bluetooth Label Maker Machine with 4 Tapes, Support Keyboard …
Step 9: Personalize Your Space
Now that your kitchen is organized, consider adding personal touches to make it feel like home. This can include decor, plants, or art.
- Choose a few decorative items that reflect your style.
- Add plants for a touch of greenery and freshness.
- Consider a bulletin board for recipes or notes.
Pro Tip: Keep decor simple to avoid cluttering your kitchen.
Why this matters: Personalizing your kitchen creates a warm and inviting atmosphere.
Time estimate: 30 minutes.
Step 9: Personalize Your Space
Editor’s Choice

Der Rose 3 Pack Mini Potted Fake Plants Artificial Plastic Eucalyptus Pl…

U Brands Cork Bulletin Board, 18″ x 24″ Inches, Light Birch Wood Frame (…

Deveosa Kitchen Wall Art Decor – 4 Pieces Colorful Spices And Spoon Kitc…
Step 10: Celebrate Your Accomplishment

Take a moment to appreciate the hard work you’ve put into organizing your kitchen. Acknowledge how much easier cooking and cleaning will be.
- Enjoy a meal in your newly organized kitchen.
- Invite friends or family to showcase your work.
- Take ‘before and after’ photos to document your progress.
Pro Tip: Set a date to revisit your kitchen organization in a few months to ensure it’s still working for you.
Why this matters: Celebrating your efforts reinforces the positive changes you’ve made and motivates ongoing organization.
Time estimate: 15 minutes.
Step 10: Celebrate Your Accomplishment
Editor’s Choice
Tiawudi 12 Pack Plastic Storage Bins, Multi-Use Organizer Bins, Pantry O…

HuggieGems Metal 4 Pack Magnetic Spice Storage Rack Organizer for Refrig…

Moforoco White 9-Tier Over The Door Pantry Organizer, Pantry Organizatio…
Pro Tips
- Use Clear Containers: They allow you to see contents easily and keep food fresh.
- Over-the-Door Organizers: Utilize the back of cabinet doors for extra storage.
- Magnetic Spice Racks: Save counter space by using magnetic containers on the fridge.
- Drawer Dividers: Keep utensils and tools neat with dividers in drawers.
- Regular Purges: Schedule regular times to reevaluate your kitchen items.
Pro Tips
Editor’s Choice

JARLINK Over The Door Organizer Storage, 5 Shelf Hanging Door Organizer …

Bekith 20 Pack Magnetic Spice Jars, Magnetic Spice Containers for Refrig…
Rubbermaid Brilliance Food Storage Containers, Set of 5 (10 Pieces), BPA…
Common Mistakes to Avoid
Warning: Not Measuring Space: Failing to measure can lead to purchasing items that don’t fit. Always measure before buying storage solutions.
Warning: Ignoring Vertical Space: Underutilizing walls can waste valuable storage. Use shelves and hooks to maximize this area.
Warning: Overcrowding Cabinets: Stuffing cabinets can make it hard to find items. Keep only what you use regularly.
Common Mistakes to Avoid
Editor’s Choice

HI NINGER Expandable adjustable stackable kitchen organizer,Spice Racks,…

Kitchen Utensil Hanger, Wall Mout Kitchen Utensil Holder Organizer Rack …

DEWALT Atomic Compact Series 30 ft. Tape Measure (DWHT38130S)
Troubleshooting Section
Problem: I can’t find space for all my items.
Solution: Reassess your decluttering process; remove more items if necessary. Consider additional vertical storage solutions.
Problem: My kitchen feels cluttered again.
Solution: Schedule regular tidying time and stick to it. Evaluate what isn’t working in your organization.
Problem: Labels keep falling off.
Solution: Ensure you use strong adhesive labels or a label maker for durability.
Troubleshooting Section
Editor’s Choice

Delamu Over the Door Pantry Organizer, 6-Tier Metal Pantry Door Organiza…

Nelko Label Maker Machine with Tape, P21 Bluetooth Label Printer, Wirele…

yazi 5 Pack Stackable Closet Storage Box,Closet Shelf Organizer and Stor…
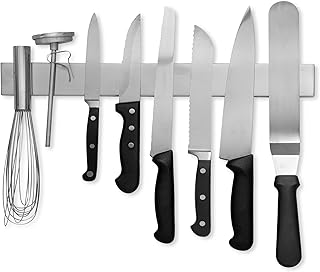
Variations/Alternative Methods
If traditional storage isn’t working for you, consider these alternatives:
- Rolling Carts: Use a rolling cart for flexible storage that can be moved as needed.
- Magnetic Strips: Install magnetic strips to hold knives and tools, saving drawer space.
- Drawer Organizers: Use customizable drawer organizers for a tailored fit to your utensils.
Variations/Alternative Methods
Editor’s Choice
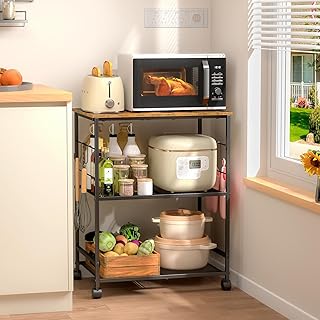
ThreeHio Rolling Kitchen Microwave Cart, 3 Tier Microwave Table Stand wi…

Drawer Divider Adjustable DIY Storage Organizer Separator for Tidying Cl…

MagMaster | Magnetic Tool Holder – Strong Clip-On Belt Magnet Holster fo…
FAQs
What if I don’t have enough storage containers? Consider using repurposed jars or baskets for storage while you gradually acquire what you need.
How long should I spend organizing my kitchen? Aim for a few hours over a weekend to focus on each step thoroughly.
Is it safe to store cleaning supplies under the sink? Yes, but ensure they are out of reach of children and pets.
FAQs
Editor’s Choice

ElegantArray 8-Tier Pantry Door Oragnizer, Over The Door Pantry Organize…

EOENVIVS Plastic Storage Bins with Lids 6 Pack, 7 Quart Storage Containe…
HuggieGems Metal 4 Pack Magnetic Spice Storage Rack Organizer for Refrig…
Conclusion
Congratulations on transforming your small kitchen into an organized and functional space! You’ve successfully decluttered, cleaned, and arranged your kitchen to enhance your cooking experience. With ongoing maintenance and personal touches, your kitchen will remain a delightful place to work.
As you move forward, consider exploring additional resources on meal prep, kitchen design, or even cooking classes to further enhance your culinary journey. Enjoy your beautifully organized kitchen and happy cooking!