
Living in a small space can be challenging, especially when it comes to maximizing functionality without sacrificing comfort. As the demand for compact living solutions grows, many are seeking ways to make the most of their limited square footage. A DIY Murphy bed offers a practical and stylish solution, allowing you to transform any room into a sleeping space when needed, while freeing up valuable floor area during the day.
In this guide, you will learn how to build your own Murphy bed, designed specifically for small spaces. By the end, you’ll have a beautiful, functional piece of furniture that folds away when not in use, making your living area feel larger and more open. This project is aimed at those with an intermediate skill level and will take approximately 4-6 hours to complete.
Prepare to roll up your sleeves and dive into this rewarding DIY venture! Not only will you gain practical woodworking skills, but you’ll also create a personalized solution that fits seamlessly into your home. Let’s get started!
TL;DR Summary
- Build a DIY Murphy bed to maximize space in small rooms.
- This project requires intermediate skills and takes 4-6 hours.
- Follow step-by-step instructions for a functional and stylish bed.
- Use our tips and troubleshooting section to navigate common issues.
TL;DR Summary
Editor’s Choice

Wilding Wallbeds Murphy Bed Mechanism Hardware Kit (Universal Size Fits …

Birch Edge Banding 3/4 Inch x 50 FT Roll, UV Prefinished Ready-to-Use Su…
Prerequisites/Materials Needed
- Wood: 3/4″ plywood (4×8 sheet), 1×4 boards (for the frame)
- Hardware: Murphy bed hardware kit, screws, hinges, brackets
- Tools: Drill, saw, measuring tape, screwdriver, sander
- Optional: paint or stain for finishing
- Safety gear: gloves, eye protection
Prerequisites/Materials Needed
Editor’s Choice

Happybuy Murphy Mounting Wall Springs Mechanism Heavy Duty Support Hardw…

MIMYTH Mini Table Saw for Crafts, Multifunctional Portable Table Saws Ad…

Power Drill Cordless: DEKOPRO Cordless Drill 20V Electric Power Drills S…
Skill Level & Time Estimate
Skill Level: Intermediate
Total time estimate: 4-6 hours
Breakdown of time by major steps:
- Planning and measuring: 1 hour
- Cutting wood: 1-2 hours
- Assembling frame: 1-2 hours
- Mounting hardware and final assembly: 1 hour
Skill Level & Time Estimate
Editor’s Choice

Create-A-Bed Queen Size Deluxe Murphy Bed Kit, Vertical

The Complete Book of Woodworking: Step-by-Step Guide to Essential Woodwo…

Baltic Birch Plywood 8 x 12 x 1/2 Inch – 12 mm Craft Wood, Pack of 2 B/B…
Step 1: Plan Your Murphy Bed Design

Start by planning your Murphy bed design. This step is crucial because it ensures you have the right dimensions and style for your space.
- Measure the space where you want to install the bed. Ensure you have enough height and width for the bed to fold down comfortably.
- Decide on the bed size: Twin, Full, or Queen. Make sure your chosen size fits within your measured space.
- Sketch a simple design, noting where the frame and mattress will go.
Pro Tip: Consider additional features, like shelves or lighting, that you can integrate into your design.
Why this matters: A well-thought-out plan sets the foundation for a successful build. Time estimate: 1 hour.
Step 1: Plan Your Murphy Bed Design
Editor’s Choice

EGOHOME Full Size Memory Foam Mattress, 8 Inch Bed Mattress in A Box wit…
Step 2: Gather Your Materials

Once you have your design, it’s time to gather all the materials needed for the build.
- Go to your local hardware store and purchase the plywood, 1×4 boards, and other hardware specified in your checklist.
- Ensure you have all the necessary tools ready, including a drill, saw, and measuring tape.
- Double-check that you have the right safety gear to protect yourself while working.
Warning: Don’t forget to account for potential mistakes; buy a little extra material just in case.
Why this matters: Having everything on hand makes the building process smoother and prevents delays. Time estimate: 30 minutes.
Step 2: Gather Your Materials
Editor’s Choice

FastCap PSSR-16 16 Foot Pro Carpenter Standard Reverse Measuring Tape

BEVTEE Birch Edge Banding 3/4 Inch x 50 ft Wood Veneer Roll Pre-glued, F…
Power Drill Cordless: DEKOPRO Cordless Drill 20V Electric Power Drills S…
Step 3: Cut the Wood to Size

With your materials at hand, it’s time to cut the wood according to your design measurements.
- Using your saw, carefully cut the plywood and 1×4 boards to the specified dimensions from your design.
- Sand all cut edges to prevent splinters and ensure a smooth finish.
- Label each piece of wood to keep everything organized for assembly.
Warning: Always wear safety goggles and gloves while cutting and sanding wood.
Why this matters: Precise cuts ensure that your Murphy bed will fit together correctly. Time estimate: 1-2 hours.
Step 3: Cut the Wood to Size
Editor’s Choice

NoCry Clear Safety Glasses for Men and Women with Anti-Fog and Scratch R…

SKIL 5” Random Orbital Sander with Cyclonic Dust Box & 3pc Sanding She…
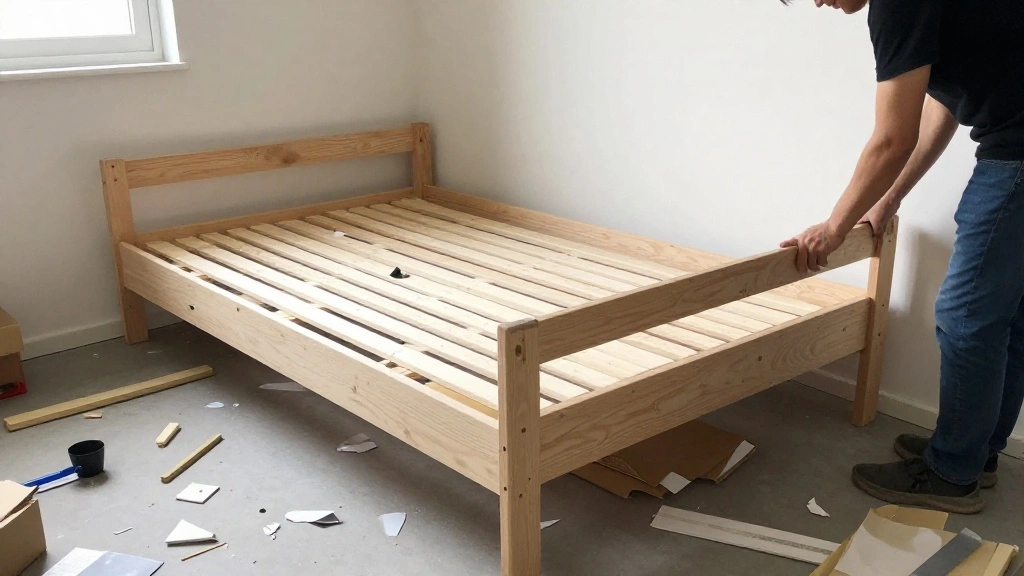
Step 4: Assemble the Frame

Now it’s time to assemble the frame of your Murphy bed. This step is critical for stability and functionality.
- Lay out the cut pieces according to your design.
- Use your drill to attach the 1×4 boards together, creating the frame structure.
- Secure the plywood to the frame, ensuring it is flush with the edges.
Pro Tip: Use wood glue in addition to screws for extra durability.
Why this matters: A sturdy frame ensures that the bed will safely support weight when in use. Time estimate: 1-2 hours.
Step 4: Assemble the Frame
Editor’s Choice

Gorilla Wood Glue, 8 oz., Water Resistant PVA Wood Glue for Indoor & Out…
Step 5: Install the Murphy Bed Hardware
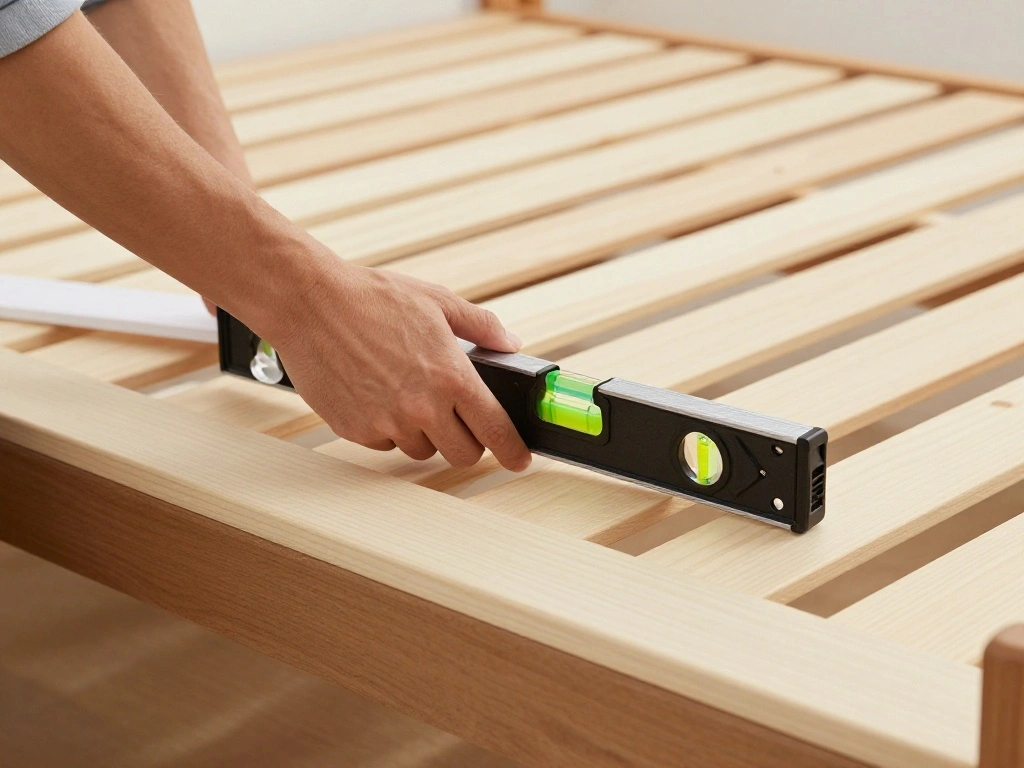
This step involves installing the Murphy bed hardware that allows the bed to fold up and down easily.
- Attach the hinges to the bed frame according to the manufacturer’s instructions.
- Secure the mounting brackets to the wall, ensuring they are level and properly spaced.
- Carefully mount the bed onto the brackets, checking that it swings freely without obstruction.
Warning: Ensure that the wall brackets are anchored into studs for maximum stability.
Why this matters: Proper installation of hardware is essential for the bed’s functionality and safety. Time estimate: 1 hour.
Step 5: Install the Murphy Bed Hardware
Editor’s Choice

Ougourim Furniture Anchors (10 Packs) Anti Tip Furniture Anchors for Bab…

Furniture Leveler 12pcs Kit Size Variety | Multi-Purpose Rubber Shim for…
Step 6: Finishing Touches and Testing

Finally, it’s time to add the finishing touches and test your new Murphy bed.
- Paint or stain the wood to match your décor if desired. Allow it to dry completely.
- Place the mattress on the bed frame and test the folding mechanism. Ensure it opens and closes smoothly.
- Check all screws and fixtures to make sure everything is secure.
Pro Tip: Add a mattress cover for extra comfort and protection.
Why this matters: Finishing touches enhance the aesthetics and functionality of your Murphy bed. Time estimate: 1 hour.
Step 6: Finishing Touches and Testing
Editor’s Choice

Rust-Oleum Black Abyss Chalked All-in-One Ultra Matte Paint | One Coat C…

Quilted Fitted Mattress Pad, Queen Mattress Protector Topper with Deep P…

170PCS Cam Locks for Furniture,3-in-1 Eccentric Hardware Wheels,Furnitur…
Pro Tips
- Tip for Space Optimization: Consider adding shelves or storage under the Murphy bed for additional functionality.
- Tip for Aesthetic Appeal: Use decorative paint or patterned fabric on the bed to make it a stylish feature of your room.
- Tip for Easy Access: Install a pull-down handle on the bed for easier opening and closing.
- Tip for Safety: Ensure the bed is anchored securely to the wall to prevent tipping.
- Tip for Maintenance: Regularly check and tighten screws and hardware to maintain stability.
Pro Tips
Editor’s Choice
Create-A-Bed Queen Size Deluxe Murphy Bed Kit, Vertical

42pcs Felt Fabric Sheet 4″x4″ Assorted Color DIY Craft Squares Nonwoven …

Zinc Self-Drilling Drywall Anchors with Screws Kit, 25 Heavy Duty Metal …
Common Mistakes to Avoid
Warning: Skipping measurements can lead to a bed that doesn’t fit the space correctly. Use a tape measure every time you cut.
Warning: Using low-quality materials can compromise safety. Always choose high-grade wood and hardware.
Warning: Not anchoring the bed to wall studs can cause it to collapse. Always secure your bed properly.
Warning: Forgetting to sand edges can create splinters. Take the time to sand all cut edges thoroughly.
Warning: Underestimating the weight of the mattress can lead to failure. Make sure your bed frame is designed to hold the mattress weight safely.
Common Mistakes to Avoid
Editor’s Choice

Balsa Wood Sheet, 5 Pack Plywood Sheets, Basswood Sheets 12X12X1/16 Inch…

KURUI 180Pcs Self Drilling Drywall Anchors with Screws Kit, Fixion Tools…

CRAFTSMAN 25-Ft Tape Measure with Fraction Markings, Retractable, Self-L…
Troubleshooting Section
Problem: The bed doesn’t fold down easily.
Solution: Check the hinges for proper installation and make sure they are lubricated.
Problem: The bed is unstable.
Solution: Ensure all screws are tightened and the hardware is mounted into wall studs.
Problem: The mattress slides off the bed.
Solution: Consider adding a mattress retainer or side rails.
Problem: The bed frame creaks.
Solution: Tighten screws and apply wood glue to joints for added stability.
Problem: The bed frame is too heavy to lift.
Solution: Reassess the materials used and consider lighter options or a different hardware kit.
Troubleshooting Section
Editor’s Choice

Mattress Slide Stopper to Keep Mattress from Sliding Extra Thick Mattres…

Door Hinge Lubricant 1 oz Needle Oiler, Upgraded Squeaky Door Hinge Lubr…

2 Pcs 80 Degree Bench Seat Hinge Foldable Lifting Bracket Heavy Duty Bla…
Variations/Alternative Methods
- Fold-Down Desk Bed: Combine a Murphy bed with a fold-down desk for a dual-purpose solution. Ideal for home offices.
- Sliding Murphy Bed: Instead of folding down, use a sliding mechanism to pull the bed out from a cabinet. This can save even more space.
- Custom Cabinets: Build a Murphy bed into custom cabinetry for a seamless look. This provides additional storage options.
Variations/Alternative Methods
Editor’s Choice

Custom Pocket Cabinet Door Hardware Kits, Smooth & Quiet Gliding,Sturdy …

30 Set Crib Screws Replacement Set,Bed Frame Bolts and Nuts Kit,Hex Sock…
Create-A-Bed Queen Size Deluxe Murphy Bed Kit, Vertical
FAQs
- What if I don’t have enough wall space? You can build a sliding Murphy bed that pulls out from a cabinet instead of folding down.
- How long should I let paint or stain dry? Typically, allow at least 24 hours for a full cure, but follow the manufacturer’s instructions.
- Is it safe to mount the bed alone? It’s best to have a helper when mounting to ensure safety and accuracy.
- What if I want to change the mattress type? Make sure to check the weight limits of your Murphy bed frame before switching to a heavier mattress.
- Can I add lighting to my Murphy bed? Yes! Consider adding LED strip lights for functionality and ambiance.
FAQs
Editor’s Choice
Create-A-Bed Queen Size Deluxe Murphy Bed Kit, Vertical
Gorilla Wood Glue, 8 oz., Water Resistant PVA Wood Glue for Indoor & Out…
Conclusion
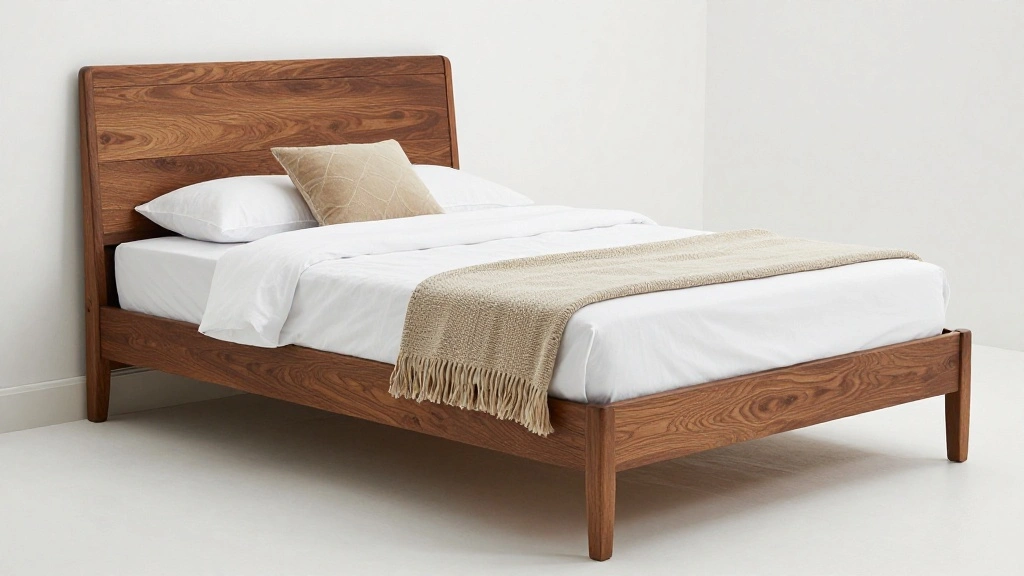
Congratulations on building your very own DIY Murphy bed! You’ve successfully created a functional piece of furniture that optimizes your small space. Not only did you enhance your living area, but you also gained valuable skills in woodworking and design.
Now that your Murphy bed is complete, consider exploring other DIY projects that can further enhance your home, like custom shelving or a foldable dining table. Your creativity is the limit! Remember, every project you tackle adds to your home and your confidence as a DIYer. Enjoy your new space-saving bed!