
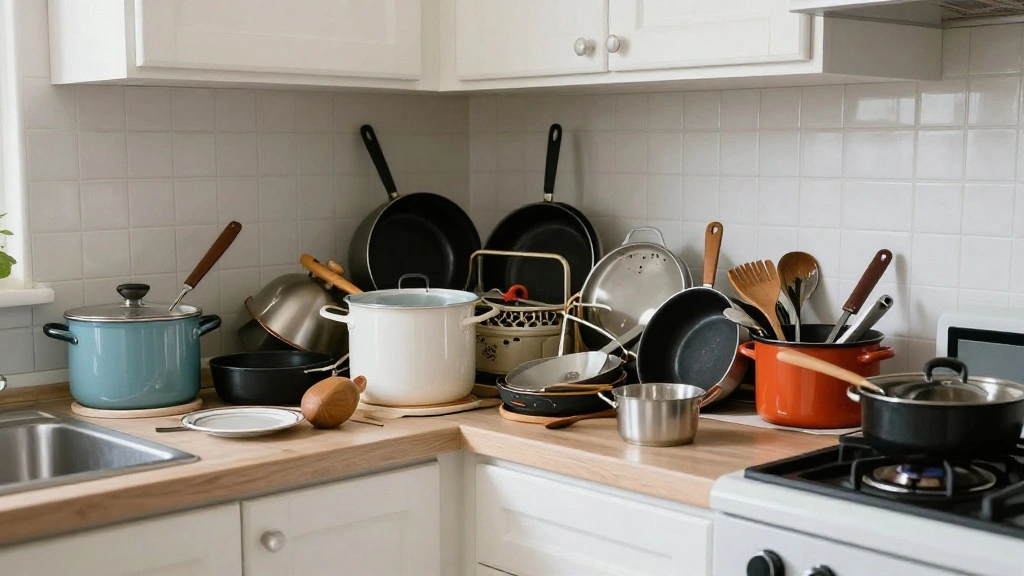
Living in a small kitchen can be a challenge, especially when it comes to storing pots and pans. Without proper organization, these essential cooking tools can clutter your limited counter space and kitchen cabinets, creating a feeling of chaos. The urgency to find a solution is real, as a disorganized kitchen can lead to stress and hinder your cooking experience.
This guide will walk you through the steps to effectively store your pots and pans, maximizing your space and making them easily accessible. By the end of this article, you will have a clear plan on how to utilize vertical space, incorporate storage solutions, and keep your kitchen tidy.
You’ll learn specific techniques to declutter your kitchen, recommendations for storage solutions, and tips to make the most out of your space. This guide is designed for a beginner level and will take approximately 1-2 hours to complete, depending on your kitchen size and the current organization of your pots and pans.
Are you ready to transform your small kitchen into a more organized and functional space? Let’s get started!
TL;DR Summary
- Assess your kitchen space to identify storage opportunities.
- Utilize vertical storage options like shelves and pot racks.
- Keep frequently used pots and pans within easy reach.
- Use drawer organizers to separate smaller cookware items.
TL;DR Summary
Editor’s Choice

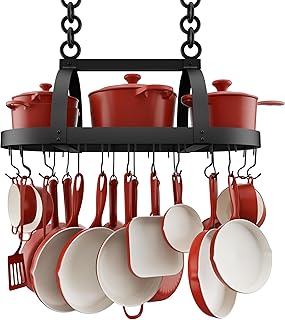
KES 48 Inch Large Hanging Pot Rack, Heavy Duty Oval Pot and Pan Hanging …

Pipishell Bamboo Expandable Silverware Drawer Organizer, Adjustable Kitc…

LAMU Pots and Pans Organizer for under Cabinet, 6-Tier Heavy Duty Pan Po…
Prerequisites/Materials Needed
- Storage solutions:
- Pot rack or wall-mounted hooks
- Drawer dividers
- Cabinet shelves (if needed)
- Organization tools:
- Labels (optional)
- Measuring tape
- Cleaning supplies
Prerequisites/Materials Needed
Editor’s Choice

2 Pack Expandable Cabinet Countertop Shelves, Stackable Shelves Organize…
Pipishell Bamboo Expandable Silverware Drawer Organizer, Adjustable Kitc…

VOPEAK 30″ Pot Rack Wall Mounted with 6 Detachable Pot Lid Holders,12 Ad…
Skill Level & Time Estimate
Skill Level: beginner
Total time estimate: 1-2 hours
Breakdown:
- Assessing space: 15-30 minutes
- Clearing out existing storage: 30 minutes
- Installing storage solutions: 30-60 minutes
Skill Level & Time Estimate
Editor’s Choice
KES 48 Inch Large Hanging Pot Rack, Heavy Duty Oval Pot and Pan Hanging …
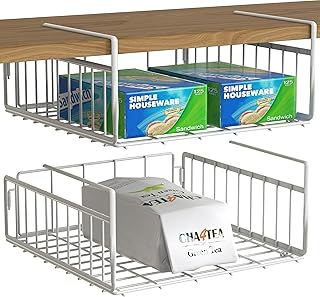
Simple Houseware Under Shelf Basket, White – 2-Pack Space-Saving Stora…
Step 1: Assess Your Kitchen Space

Begin by examining your kitchen layout to identify where you can store pots and pans. Start with these sub-steps:
- Look at available cabinet space and check for any unused areas.
- Consider vertical spaces, including walls and above cabinets, for potential storage solutions.
- Make a note of any empty nooks or corners that can be transformed into storage areas.
Pro Tip: Use a measuring tape to measure these spaces accurately, so your storage solutions fit perfectly.
Why this matters: Assessing your kitchen helps you make informed decisions on storage options, ensuring you maximize every inch of space.
Time estimate: 15-30 minutes.
Step 1: Assess Your Kitchen Space
Editor’s Choice

BOYAN Pot and Pan Protectors, Set of 12 and 3 Different Size, Cookware P…
KES 48 Inch Large Hanging Pot Rack, Heavy Duty Oval Pot and Pan Hanging …
Step 2: Declutter Your Pots and Pans
Next, you need to declutter your pots and pans. Follow these steps to streamline your collection:
- Take all pots and pans out of their storage spots.
- Inspect each item for damage or wear; consider donating or recycling any that you no longer use.
- Group similar items together (e.g., frying pans, saucepans) to see what you have and need.
Warning: Be cautious when handling heavy pots, as they can cause injury if dropped.
Why this matters: Decluttering allows you to keep only the essentials, making it easier to organize and find what you need.
Time estimate: 30 minutes.
Step 2: Declutter Your Pots and Pans
Editor’s Choice

Cuisinel Heavy Duty Pots and Pans Organizer Rack – 12.2″-Inch Tall – 5 T…

CAROTE 19pcs Pots and Pans Set, Nonstick Cookware Set Detachable Handle,…
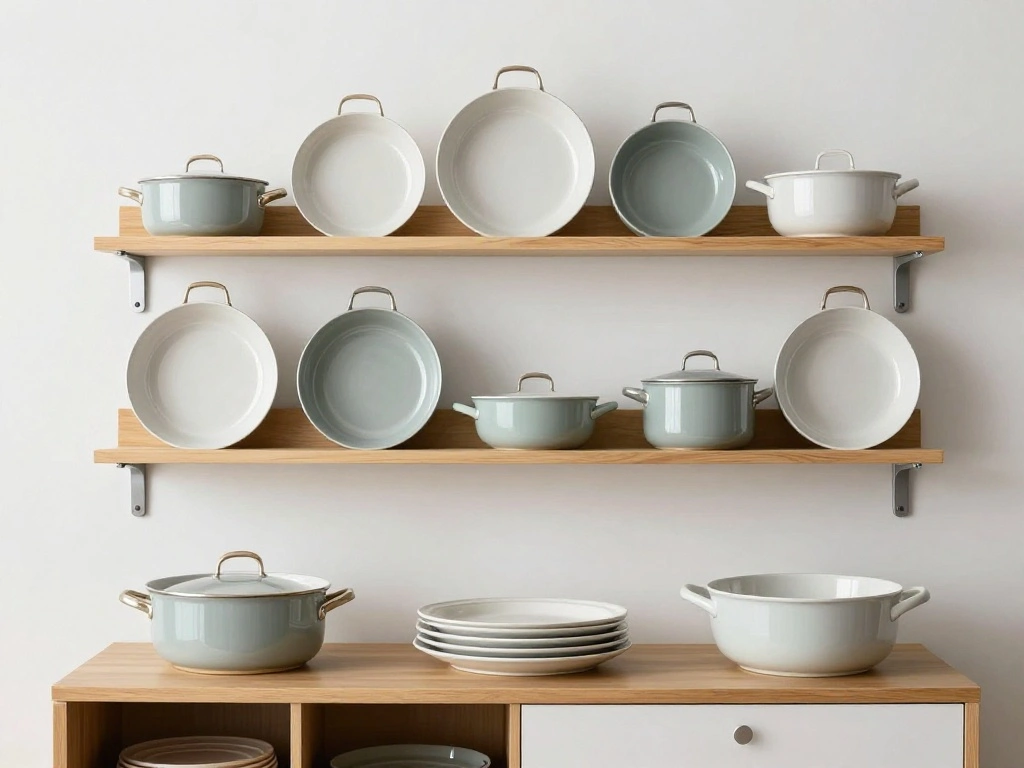
Step 3: Choose Storage Solutions

With your pots and pans decluttered, it’s time to choose storage solutions. Follow these steps:
- Consider wall-mounted pot racks or hooks for easy access and display.
- Look for drawer dividers to keep smaller items organized.
- Evaluate stackable shelves to maximize cabinet space.
Pro Tip: Opt for a pot rack that complements your kitchen decor for a stylish touch.
Why this matters: Selecting the right storage solution ensures that your pots and pans are accessible and organized, which enhances your cooking efficiency.
Time estimate: 20-30 minutes.
Step 3: Choose Storage Solutions
Editor’s Choice

KES 30-Inch Kitchen Pan Pot Rack Wall Mounted Hanging Storage Organizer …

Set of 2 Expandable Kitchen Cabinet Shelves Organizers, Stackable Adjust…

Lifewit Drawer Dividers for Clothes, 3.2″ High 10.5″-16.5″ Expandable Dr…
Step 4: Install Your Storage Solutions
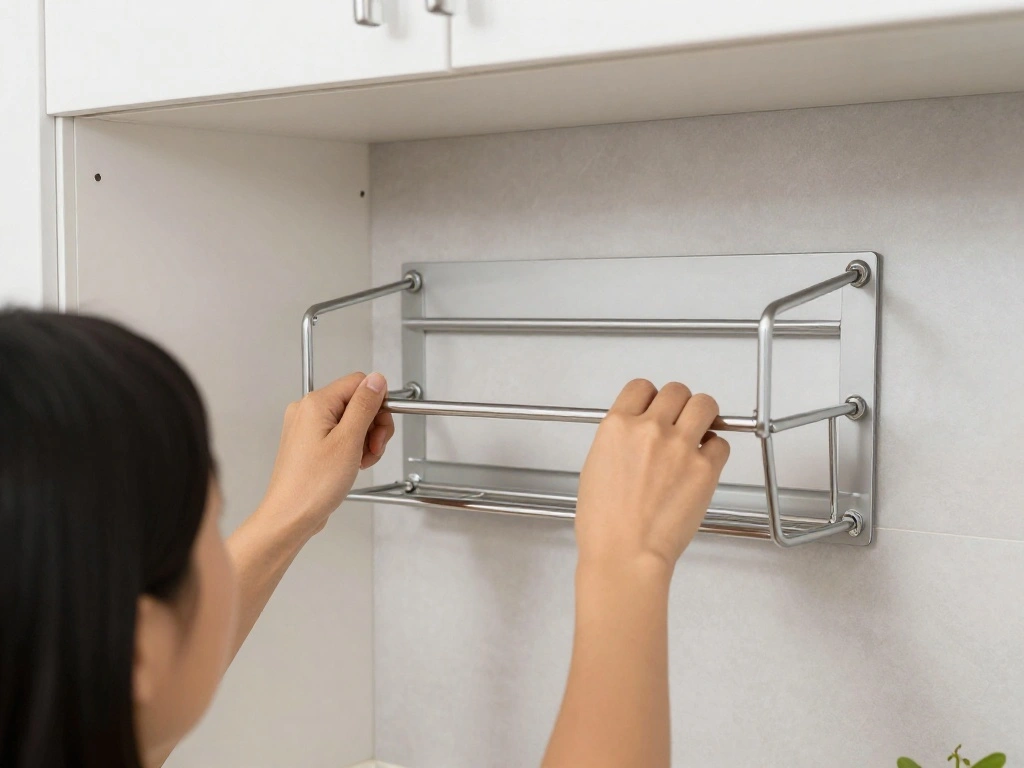
Now that you have your storage solutions ready, it’s time to install them. Follow these steps:
- Use a drill or screwdriver to mount the pot rack on the wall, ensuring it’s level and securely attached.
- Place drawer dividers inside your cabinets to organize smaller pots and lids.
- If using shelves, install them at a height that’s easy to reach.
Warning: Always check for electrical wiring or plumbing behind walls before drilling.
Why this matters: Proper installation ensures the safety and durability of your storage solutions, allowing you to store pots and pans securely.
Time estimate: 30-60 minutes.
Step 4: Install Your Storage Solutions
Editor’s Choice

Sakugi Storage Shelves – 5 Tier Shelf Organizer, Heavy Duty Garage Shelv…
KES 30-Inch Kitchen Pan Pot Rack Wall Mounted Hanging Storage Organizer …
Lifewit Drawer Dividers for Clothes, 3.2″ High 10.5″-16.5″ Expandable Dr…
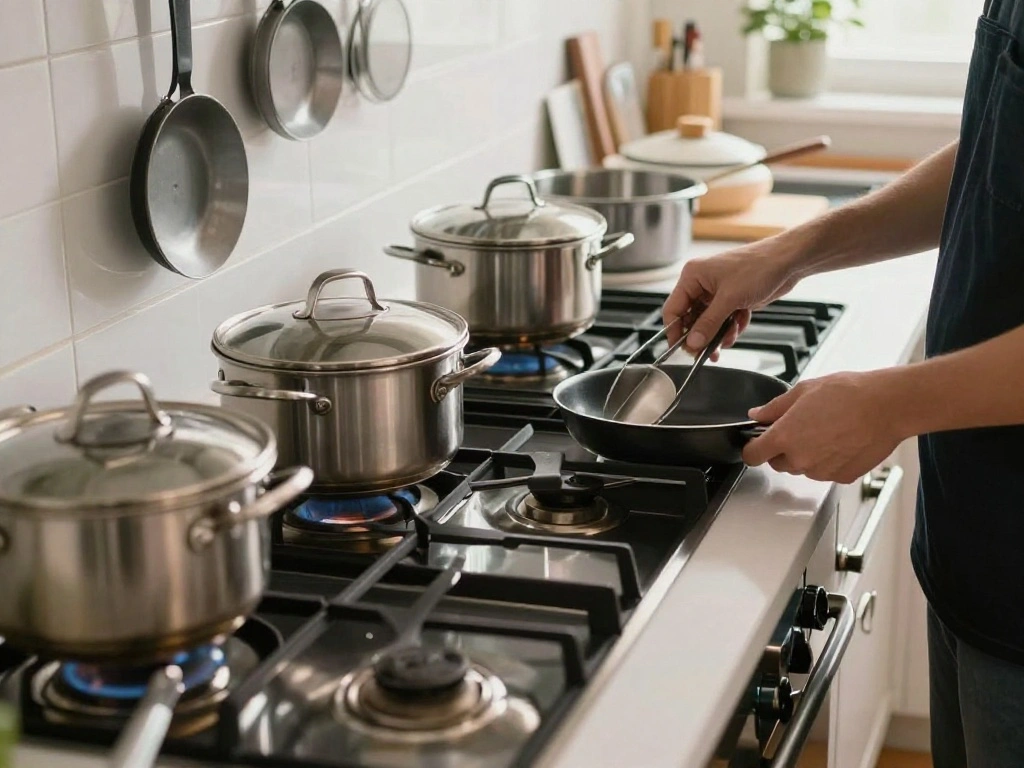
Step 5: Organize Your Pots and Pans
With your storage solutions installed, it’s time to organize your pots and pans effectively. Do the following:
- Hang pots and pans on the rack, starting with the heaviest and most frequently used items.
- Place lids in a separate drawer or on a shelf to keep them accessible.
- Stack smaller pots inside larger ones, adding dividers if necessary to prevent scratches.
Pro Tip: Label your storage spaces to make finding items easier.
Why this matters: A well-organized system allows for quick access to your cooking tools, making meal prep more efficient.
Time estimate: 30 minutes.
Step 6: Maintain Your Organized Space
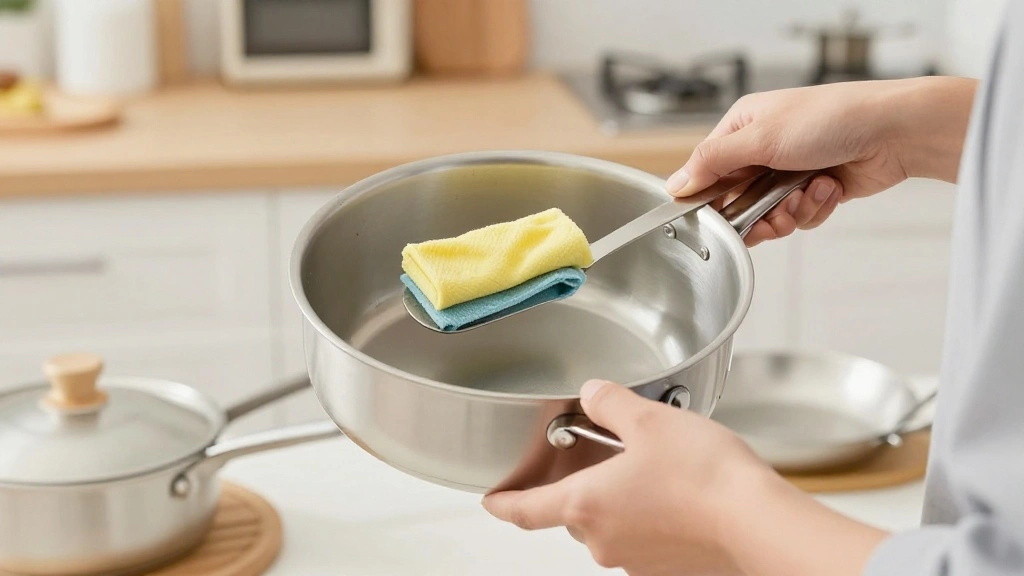
Lastly, maintaining your organized pots and pans storage is key. Follow these steps:
- Regularly check your pots and pans to ensure they are in good condition.
- Clean your storage areas every few months to prevent buildup of dust and grease.
- Reassess your organization every season to adapt to new items or changes in your cooking habits.
Warning: Don’t overload shelves or racks to avoid accidents.
Why this matters: Maintaining your organization keeps your kitchen functioning smoothly and prevents clutter from building up again.
Time estimate: 15-20 minutes.
Step 6: Maintain Your Organized Space
Editor’s Choice
LAMU Pots and Pans Organizer for under Cabinet, 6-Tier Heavy Duty Pan Po…
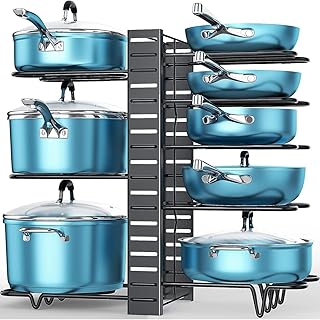
ORDORA Pots and Pans Organizer for Cabinet 16.61 Height, 8 Tier Pot Orga…
Pro Tips
- Label Everything: Use labels for drawers and shelves to easily identify where things belong.
- Use Hooks for Lids: Hang lids on hooks inside cabinet doors to save space.
- Consider Magnetic Strips: Use magnetic strips to store metal lids or utensils vertically.
- Rotate Your Collection: Keep pots and pans you use frequently at eye level for easy access.
- Invest in Non-Stick Mats: Place non-stick mats in drawers to prevent sliding and scratching.
Pro Tips
Editor’s Choice

HuggieGems Metal 4 Pack Magnetic Spice Storage Rack Organizer for Refrig…

SONGMICS Cabinet Organizer Shelf, Set of 2 Kitchen Counter Shelves, Kitc…

Toplife Pot Lids Organizer Rack for Cabinet and Countertop, 7+ Pan Lids …
Common Mistakes to Avoid
Warning: Avoid overcrowding your storage areas. Too many items can lead to accidents and damage.
Warning: Don’t ignore the maintenance of your kitchen organization. Neglect can lead to clutter returning.
Warning: Avoid using heavy-duty racks for lightweight pots. This can cause instability and accidents.
Common Mistakes to Avoid
Editor’s Choice
KES Ceiling Pot Rack 34-Inch Hanging Pot Rack for Kitchen Oval Pot and P…
LAMU Pots and Pans Organizer for under Cabinet, 6-Tier Heavy Duty Pan Po…
Troubleshooting Section
Problem: Pots and pans keep sliding around in drawers.
Solution: Use drawer dividers or non-slip mats to keep them in place.
Problem: Too many pots for available space.
Solution: Consider donating or recycling pots you rarely use and opting for stackable options.
Problem: Difficulty accessing high shelves.
Solution: Use a step stool or consider lowering the storage height.
Troubleshooting Section
Editor’s Choice

GORILLA GRIP powerGRIP Drawer Shelf and Cabinet Liner, Thick Strong Hold…

ukeetap Extra Large Expandable Silverware Organizer, BPA-Free Food-Safe …

Step Stool with Handle for Adults Step stools with Handle for Elderly fo…
Variations/Alternative Methods
Consider these alternatives for storing pots and pans:
- Under-Sink Storage: Use the space under the sink for storing less frequently used pots.
- Rolling Carts: A rolling cart can serve as additional storage and can be moved as needed.
- Cabinet Door Storage: Use the inside of cabinet doors for storing smaller items or lids.
Variations/Alternative Methods
Editor’s Choice
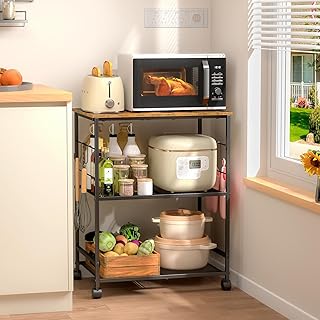
ThreeHio Rolling Kitchen Microwave Cart, 3 Tier Microwave Table Stand wi…
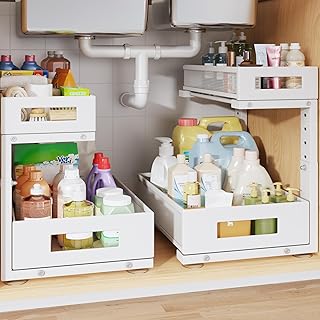
2-Pack Under Sink Storage Organizer, Large 2-Tier Elegant Mesh Pull Out …

2 Pack Cabinet Door Organizer, Adhesive Wall Mounted Organizer Bins, Cle…
FAQs
- What if I don’t have enough cabinet space? Consider vertical storage options or using a pot rack.
- How long should I keep pots and pans? Replace them if they show significant damage or wear.
- Is it safe to hang heavy pots? Yes, as long as you use sturdy hooks and ensure they are securely mounted.
- What if I have a lot of lids? Use a lid organizer or hang them on hooks.
- How can I prevent scratching? Stack pots with protective mats or use a lid organizer.
FAQs
Editor’s Choice
ORDORA Pots and Pans Organizer for Cabinet 16.61 Height, 8 Tier Pot Orga…

Lifewit Kitchen Cabinet Organizer for Food Contanier Lid, Lid Holder wit…

OROPY 23 Inch Wall Mounted Pot Rack Storage Shelf with 2 Tier Hanging Ra…
Conclusion
Congratulations! You’ve successfully transformed the way you store pots and pans in your small kitchen. By assessing your space, decluttering, and implementing smart storage solutions, you’ve created a more organized and efficient cooking environment.
Now that your kitchen is tidy, consider exploring other areas for organization, like pantry items or utensils. With a little ongoing maintenance, your kitchen can remain a functional and enjoyable space for cooking and entertaining. Embrace your newfound organization and enjoy your cooking adventures!