
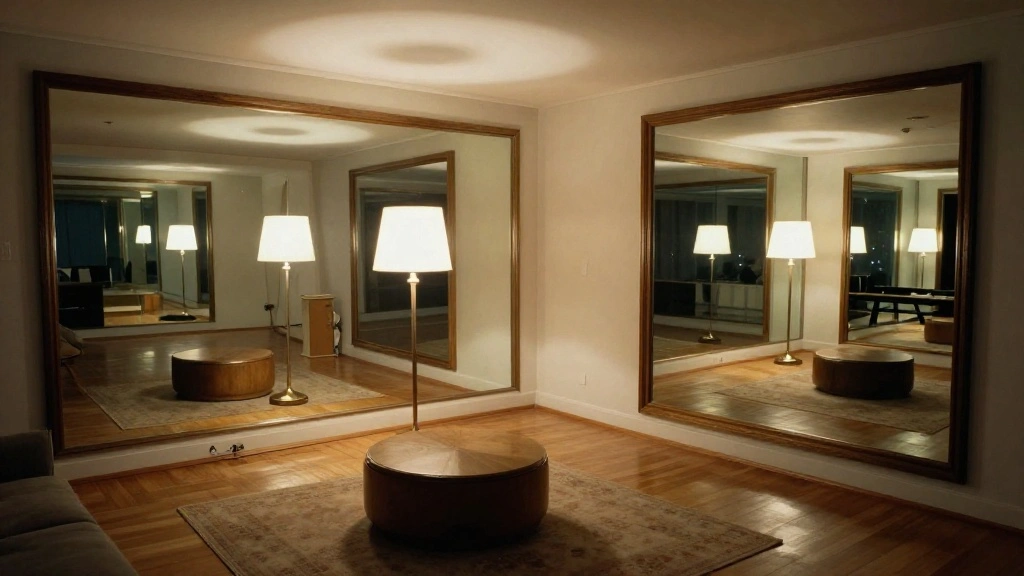
Do you feel like your room is cramped and cluttered? Small spaces can feel stifling and uncomfortable, especially in today’s fast-paced world where we crave openness and light. If you want to create an illusion of a larger area, mirrors can be your best friends. They not only reflect light but also create depth, making a room feel expansive.
In this guide, you will discover how to strategically place mirrors to enhance your living space. You will learn specific techniques, such as choosing the right mirror size, positioning it correctly, and using it to complement your decor. By the end of this article, you’ll be equipped with the knowledge to transform your room into a more spacious and inviting environment.
This project is beginner-friendly and should take you about 1-2 hours to complete, depending on your room size and how many mirrors you choose to use. Let’s get started and unlock the potential of your space!
TL;DR Summary
- Choose the right mirrors: Select mirrors that match your room’s style and size.
- Strategic placement: Position mirrors across from windows or light sources to maximize reflection.
- Create depth: Use multiple mirrors to add layers and visual interest.
- Avoid clutter: Keep the area around mirrors clean to maintain the illusion of space.
TL;DR Summary
Editor’s Choice
VooBang Large Full Length Mirror 78″ x 35″ – Shatterproof Huge Floor Ful…

12Pack Acrylic Flexible Mirror Sheets,12×12 Inch Self-Adhesive Mirror Ti…

HARRITPURE 56″x21″Full Length Mirror Arch Floor Mirrors with Aluminum Al…
Prerequisites/Materials Needed
- Mirrors (2-3 depending on your room size)
- Measuring tape
- Level
- Wall anchors or adhesive strips (if not using hooks)
- Clean cloth for mirror cleaning
- Pencil for marking positions
Prerequisites/Materials Needed
Editor’s Choice

Digital Caliper, Sangabery 0-6 inches Caliper with Large LCD Screen, Aut…

24×36 Inch Brushed Nickel Bathroom Mirror, Framed Rectangle Mirror with …

Heavy Duty Metal Rod Level Vial GPS Pole Level Green Bubble for 25mm 32m…
Skill Level & Time Estimate
Skill Level: beginner
Total time estimate: 1-2 hours
Breakdown:
- Choosing mirrors: 15-30 minutes
- Measuring and marking: 20 minutes
- Hanging mirrors: 30-60 minutes
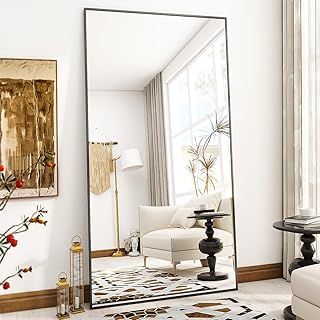
Step 1: Choose the Right Mirrors

Select mirrors that complement your room’s style. Consider the size and shape:
- Assess your wall space to determine the size you need.
- Choose between full-length, round, or square mirrors based on your decor.
- Consider decorative frames that match your room’s aesthetic.
Pro Tip: Large mirrors can create a more dramatic effect, while smaller ones work well in clusters.
Why this matters: The right mirrors enhance your room’s overall design and maximize the space’s potential.
Time estimate: 15-30 minutes.
Step 1: Choose the Right Mirrors
Editor’s Choice

Sunniry Black Round Mirror, Round Mirror 24 inch, Black Circle Mirrors M…

Full Length 47″x24″ Beveled Gold Mirror for Wall, Gold Traditional Art D…

Plymor 6″ Square, 3mm Thick Beveled Glass Mirror
Step 2: Measure Your Space
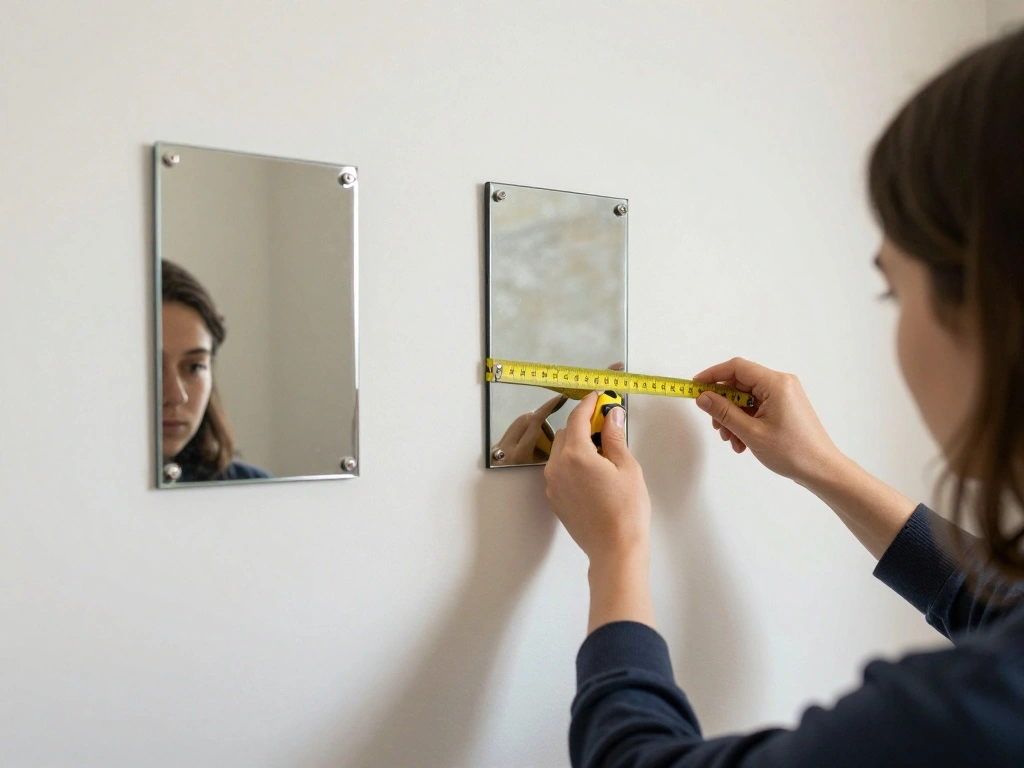
Before hanging your mirrors, you need accurate measurements:
- Use a measuring tape to find the height and width of the wall.
- Determine the best height for your mirrors, typically eye level (5 feet for average height).
- Mark spots on the wall where you plan to place the mirrors.
Warning: Ensure the measurements are accurate to avoid misplacement.
Why this matters: Proper measurements prevent errors and ensure your mirrors fit well in the designated space.
Time estimate: 20 minutes.
Step 2: Measure Your Space
Editor’s Choice

Torpedo Level Magnetic, Firecore 9 Inch Shockproof Small Leveler Tool wi…
Digital Caliper, Sangabery 0-6 inches Caliper with Large LCD Screen, Aut…

22 Sets of Mirror Holder Clips Kit,Crystal Clear Plastic Mirror Clip,Mir…
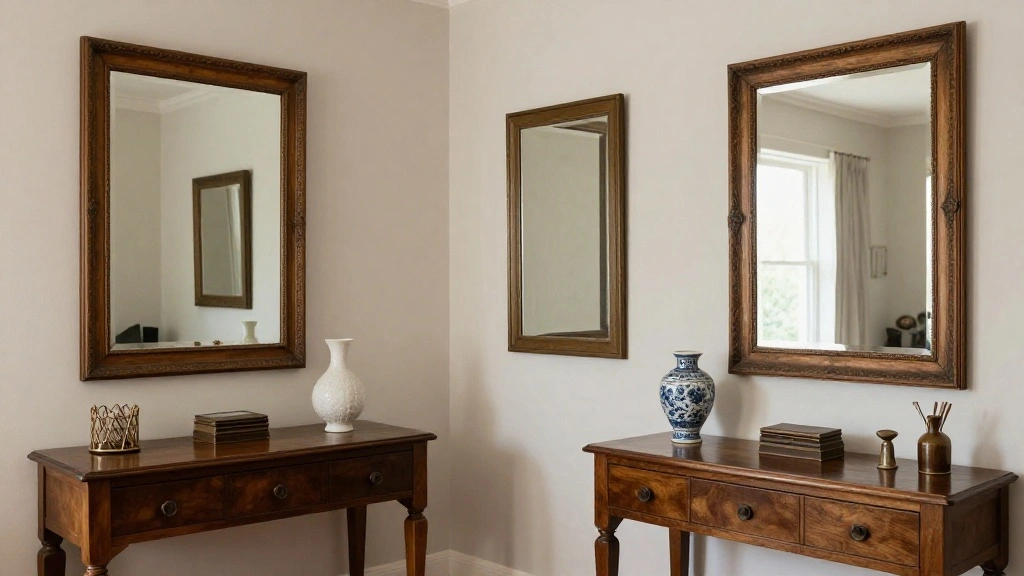
Step 3: Determine Placement
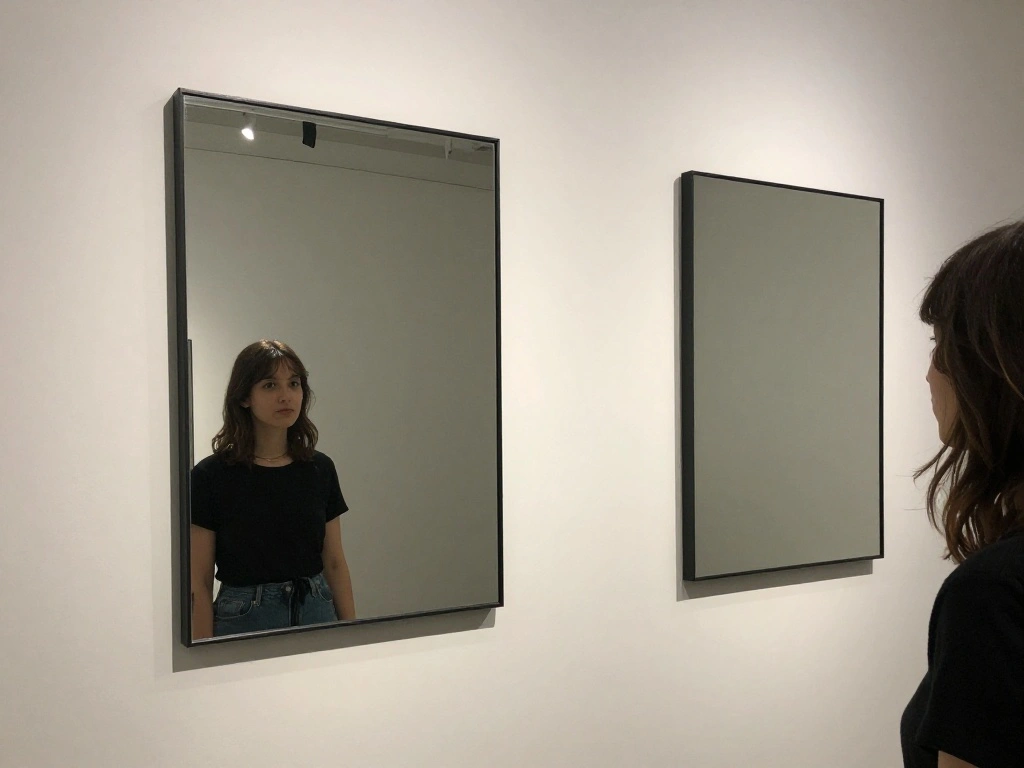
Strategically decide where to place each mirror:
- Identify the best wall for reflection, preferably opposite windows to maximize light.
- Consider placing mirrors in areas that need more depth, like narrow hallways.
- Visualize how the mirrors will reflect light and views.
Pro Tip: Place a tall mirror beside a piece of furniture to create a sense of height.
Why this matters: Thoughtful placement amplifies the effect of the mirrors, ensuring they enhance the room’s openness.
Time estimate: 15-20 minutes.
Step 3: Determine Placement
Editor’s Choice

Sweetcrispy 24″x36″ Arched Black Bathroom Mirrors for Wall, Bathroom Mir…

Antok Arched Full Length Mirror, 71″x28″ Floor Mirror with Carved Frame,…

LOAAO 24X32 LED Bathroom Mirror with Lights, Anti-Fog, Dimmable, Backlit…
Step 4: Prepare for Hanging
Get ready to hang your mirrors securely:
- Gather your tools: level, wall anchors, and adhesive strips.
- If using hooks, mark where they will go based on your measurements.
- For heavier mirrors, install wall anchors for added support.
Warning: Ensure anchors are correctly installed to avoid mirrors falling.
Why this matters: Proper preparation ensures that your mirrors are safely hung and aligned.
Time estimate: 15-20 minutes.
Step 4: Prepare for Hanging
Editor’s Choice

Digital Angle Finder with Electronic Laser – 4-side Strong Magnetic Angl…

TOGGLER SNAPTOGGLE Drywall Anchor with Included Bolts for 1/4-20 Fastene…

Scotch Extreme Mounting Strips, Double-Sided Heavy Duty Tape, 8 Strips, …
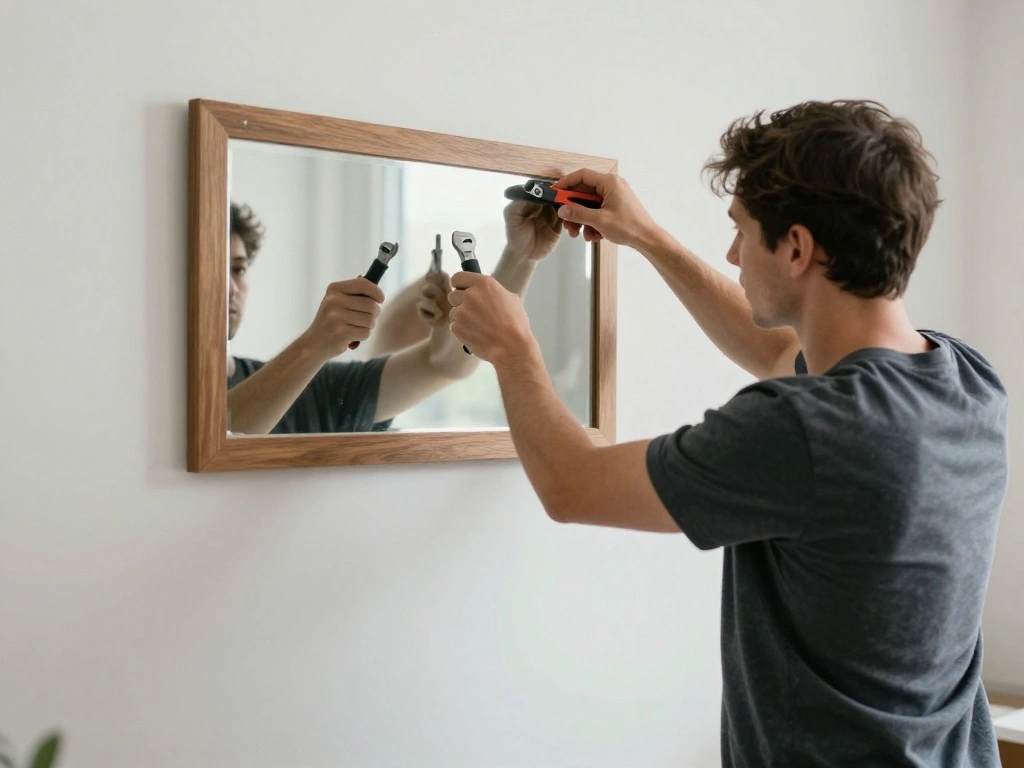
Step 5: Hang the Mirrors

Now, it’s time to hang your mirrors:
- Start with the largest mirror first and hang it at the marked spot.
- Use a level to ensure it is straight.
- Securely fix the mirror in place, checking for stability.
Pro Tip: Get help from a friend to hold the mirror while you secure it.
Why this matters: Correctly hanging mirrors creates a polished look and prevents accidents.
Time estimate: 30-60 minutes.
Step 5: Hang the Mirrors
Editor’s Choice

Franklin Sensors Prosensor M210 Stud Finder With 13-Sensors, Wood & Meta…
Heavy Duty Metal Rod Level Vial GPS Pole Level Green Bubble for 25mm 32m…
22 Sets of Mirror Holder Clips Kit,Crystal Clear Plastic Mirror Clip,Mir…
Step 6: Style Around the Mirrors
Enhance the area around your mirrors for a cohesive look:
- Add decorative elements like plants or art near the mirrors.
- Keep the surrounding area clutter-free to maintain the illusion of space.
- Consider using additional small mirrors in clusters for a chic effect.
Pro Tip: Use mirrors to reflect beautiful views or artwork to draw the eye.
Why this matters: Styling around mirrors amplifies their effect and creates a beautiful focal point.
Time estimate: 20-30 minutes.
Step 6: Style Around the Mirrors
Editor’s Choice

Botanical Floral Canvas Wall Art Modern Flower Poster Print Gallery Wrap…

LOAAO Black Metal Framed Bathroom Mirror for Wall, 22X30 Inch Rounded Re…

Easy to Grow Houseplants (Pack of 6), Live House Plants in Containers, G…
Pro Tips
- Tip Name: Use mirrors that have a frame similar to your furniture for consistency.
- Tip Name: Experiment with different shapes and sizes for a more dynamic look.
- Tip Name: Use wall-mounted mirrors in smaller spaces to save floor space.
- Tip Name: Consider mirrored furniture for added reflection.
- Tip Name: Use decorative wall stickers to create the illusion of additional mirrors.
Pro Tips
Editor’s Choice

Welllink 8Inch XL Extendable Mirror for Bathroom, Space-Saving Screw Mou…
VooBang Large Full Length Mirror 78″ x 35″ – Shatterproof Huge Floor Ful…
Common Mistakes to Avoid
Warning: Hanging mirrors too high can diminish their effect.
Fix: Hang mirrors at eye level for best results.
Warning: Overcrowding mirrors can create visual chaos.
Fix: Keep surrounding decor minimal to maintain space illusion.
Warning: Ignoring reflections can lead to unwanted views.
Fix: Always consider what each mirror reflects.
Warning: Not using wall anchors can lead to accidents with heavy mirrors.
Fix: Always secure heavy mirrors properly.
Warning: Forgetting to clean mirrors can dull their effect.
Fix: Regularly clean mirrors to keep them bright and reflective.
Common Mistakes to Avoid
Editor’s Choice

8×10In Framed Neutral Abstract Canvas Wall Art Set of 2, Black Minimali…
22 Sets of Mirror Holder Clips Kit,Crystal Clear Plastic Mirror Clip,Mir…
Sweetcrispy 24″x36″ Arched Black Bathroom Mirrors for Wall, Bathroom Mir…
Troubleshooting Section
Problem: Mirrors not reflecting enough light.
Solution: Adjust their position to face light sources.
Problem: Mirrors appear crooked.
Solution: Use a level to re-align them.
Problem: Mirrors are too small for the wall.
Solution: Consider larger mirrors or a cluster of smaller ones.
Problem: Mirrors create unwanted reflections.
Solution: Change their angle or position.
Problem: The area feels cluttered.
Solution: Remove excess decor around mirrors.
Troubleshooting Section
Editor’s Choice

2026 Creative Wall Hanging Tool with Level, Picture Hanging Leveling Too…
VooBang Large Full Length Mirror 78″ x 35″ – Shatterproof Huge Floor Ful…
Variations/Alternative Methods
1. Mirrored Panels: Use large mirrored panels for maximum effect.
Pros: Create a seamless look.
Cons: Can be expensive and difficult to install.
2. Mirrored Furniture: Incorporate furniture with reflective surfaces.
Pros: Adds functionality and style.
Cons: Can be harder to maintain.
3. DIY Mirror Art: Create your own mirror art with smaller pieces.
Pros: Unique and customizable.
Cons: Requires more effort and creativity.
Variations/Alternative Methods
Editor’s Choice

Thyle 6 Pcs Painting Compact Mirror DIY Painting Pocket Portable Folding…

Fab Glass and Mirror Large Gym Mirror for Home Gym 48×72 – Full Length U…
FAQs
What if I don’t have enough wall space? Consider hanging mirrors on doors or using mirrored furniture to maximize reflections.
How long should I wait to adjust my mirrors? Allow a few days for your eyes to adjust to the new arrangement before making changes.
Is it safe to hang mirrors in a bathroom? Yes, just ensure they are secured properly and are made for humid environments.
What if I want to create a gallery wall? Mix mirrors with artwork for a stunning gallery wall effect.
Can I use adhesive strips instead of hooks? Yes, but ensure they are rated for the weight of your mirrors.
FAQs
Editor’s Choice

IKIFLY Mirrored Coffee Table with 2 Tiers, 2 in 1 Rectangle Coffee Table…

APHUIME Deluxe Large Fogless Shower Mirror, Fogless Shaving Mirror(7.48 …
Conclusion

Congratulations! You’ve transformed your space by strategically placing mirrors to create a more open and inviting environment. With a little creativity and effort, you’ve maximized the potential of your room.
Now that you’ve learned how to use mirrors effectively, consider exploring other decor methods to further enhance your living space. Whether it’s adding light fixtures or experimenting with color, the possibilities are endless. Keep pushing the boundaries of your design!