
Feeling frustrated with your dull rental bathroom? You’re not alone! Many renters find themselves stuck with outdated spaces that lack personality and style. A bathroom makeover can feel daunting, especially when you can’t make permanent changes. But don’t despair—there are plenty of ways to enhance your bathroom’s appeal without breaking the lease or the bank.
This guide will show you how to transform your rental bathroom into a chic and cozy space that you love. You’ll learn ten simple, budget-friendly steps you can take, from adding decorative elements to clever storage solutions. By the end of this guide, you’ll have a bathroom that reflects your style and makes you feel at home.
Whether you have just a few hours to spare or are looking for weekend projects, this guide is designed for beginner DIYers and should take about 2-4 hours to complete. Let’s dive in and start creating the bathroom of your dreams!
TL;DR Summary
- Transform your rental bathroom without renovations using easy, budget-friendly tips.
- Learn how to add decorative elements, utilize smart storage, and make minor adjustments for a fresh look.
- Follow our 10-step guide designed for beginners, taking approximately 2-4 hours to complete.
- Feel accomplished and enjoy your new stylish bathroom space!
TL;DR Summary
Editor’s Choice

Peryiter 3 Pcs Modern Minimalist Wall Decor Abstract Metal Wall Art Meta…

SVBright Abstract Women Shower Curtain 60Wx72L Inch Modern Black White M…

DECRAFTS Seagrass Storage Basket with Lid Rectangular Small Woven Shelf …
Prerequisites/Materials Needed
- Paint (optional, for small updates)
- Wall art or framed prints
- Shower curtain
- Bathroom accessories (soap dispenser, toothbrush holder, etc.)
- Plants (real or artificial)
- Storage bins or baskets
- Non-slip bath mat
- New towels
Prerequisites/Materials Needed
Editor’s Choice
SVBright Abstract Women Shower Curtain 60Wx72L Inch Modern Black White M…

DONFENTHY 3 Pieces Inspirational Pink Floral Wall Decor Wooden Hanging W…
Bathroom Rugs Non Slip 24″x16″, Absorbent Bath Mats Quick Dry, Shaggy Mi…
Skill Level & Time Estimate
Skill Level: beginner
Total Time Estimate: 2-4 hours
Breakdown of time by major steps:
- Planning and shopping: 1-2 hours
- Implementation: 1-2 hours
Skill Level & Time Estimate
Editor’s Choice
CERBIOR Bathroom Accessories Set 6 Piece Bamboo Bath Ensemble Includes S…

15.7″ X 118″ Black Silk Wallpaper Embossed Self Adhesive Peel and Stick …

Clean Healthy Living Heavy Duty PEVA Tan Shower Curtain Liner with Magne…
Step 1: Declutter Your Space
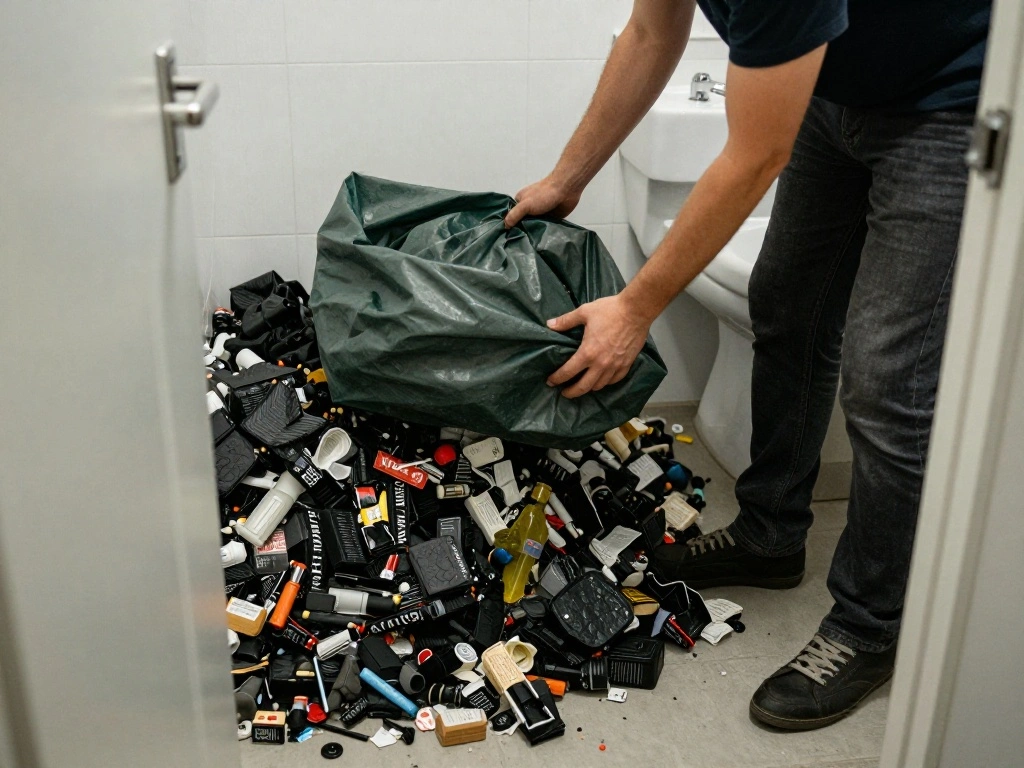
Start by removing any unnecessary items from your bathroom. This will create a clean slate for your makeover. Follow these sub-steps:
- Take everything out of cabinets and drawers.
- Sort items into keep, donate, and discard piles.
- Wipe down surfaces before returning items.
Pro Tip: Consider using drawer organizers to keep your essentials tidy. Why this matters: A decluttered space feels larger and more welcoming.
Time estimate: 20-30 minutes.
Step 1: Declutter Your Space
Editor’s Choice

upsimples Acrylic Shelves for Bathroom Storage, 15″ Floating Shelves Wal…

IRIS USA 32 Qt Stackable Plastic Storage Bins with Lids, 4 Pack – BPA-Fr…

Vtopmart 25 PCS Clear Plastic Drawer Organizers Set, 4-Size Versatile Ba…
Step 2: Add a Fresh Coat of Paint
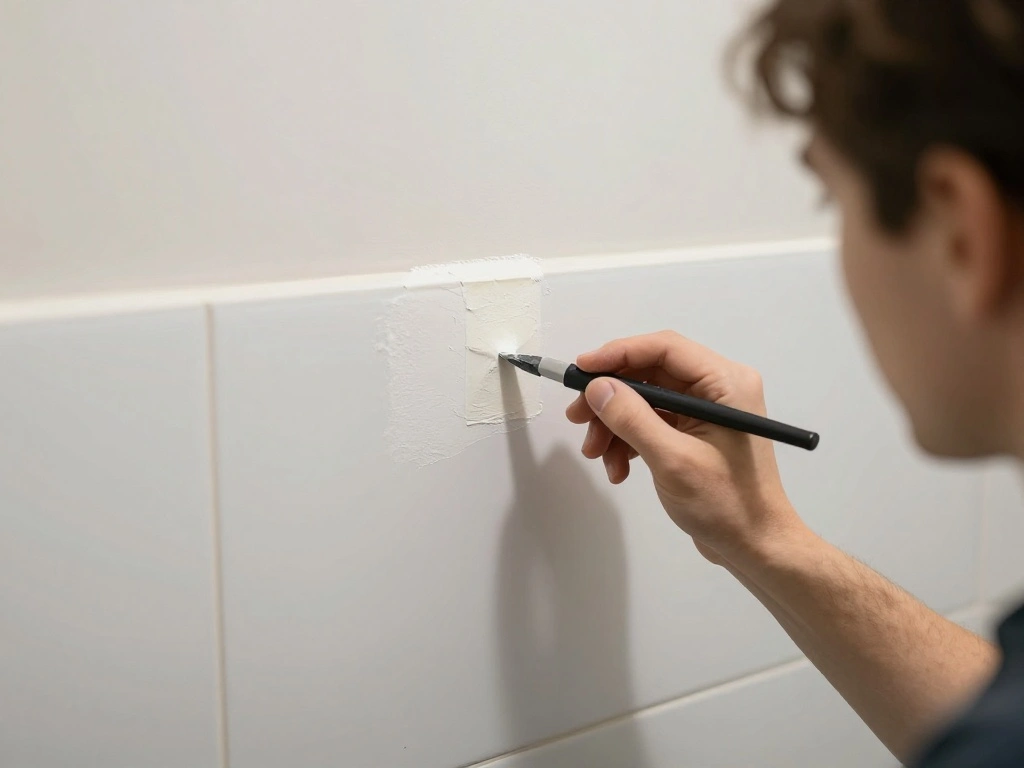
If your landlord allows it, consider painting your bathroom. A fresh coat of paint can dramatically improve the look. Here’s how to do it:
- Select a color that complements your style—lighter colors can make the space feel bigger.
- Purchase paint suitable for high-moisture areas.
- Use painter’s tape to protect edges and surfaces.
Warning: Always check with your landlord before painting. Why this matters: Paint can instantly update the look of your bathroom.
Time estimate: 1-2 hours (plus drying time).
Step 2: Add a Fresh Coat of Paint
Editor’s Choice

Zinsser 02774 PERMA-WHITE Mold & Mildew Proof Interior Paint, Quart, Egg…

VOOMEY Paint Roller Kit with Extension Pole – 9 Inch Paint Roller with T…

4 Rolls Premium Painters Tape, Blue Tape, Masking Tape, Paint Tape for M…
Step 3: Replace Hardware
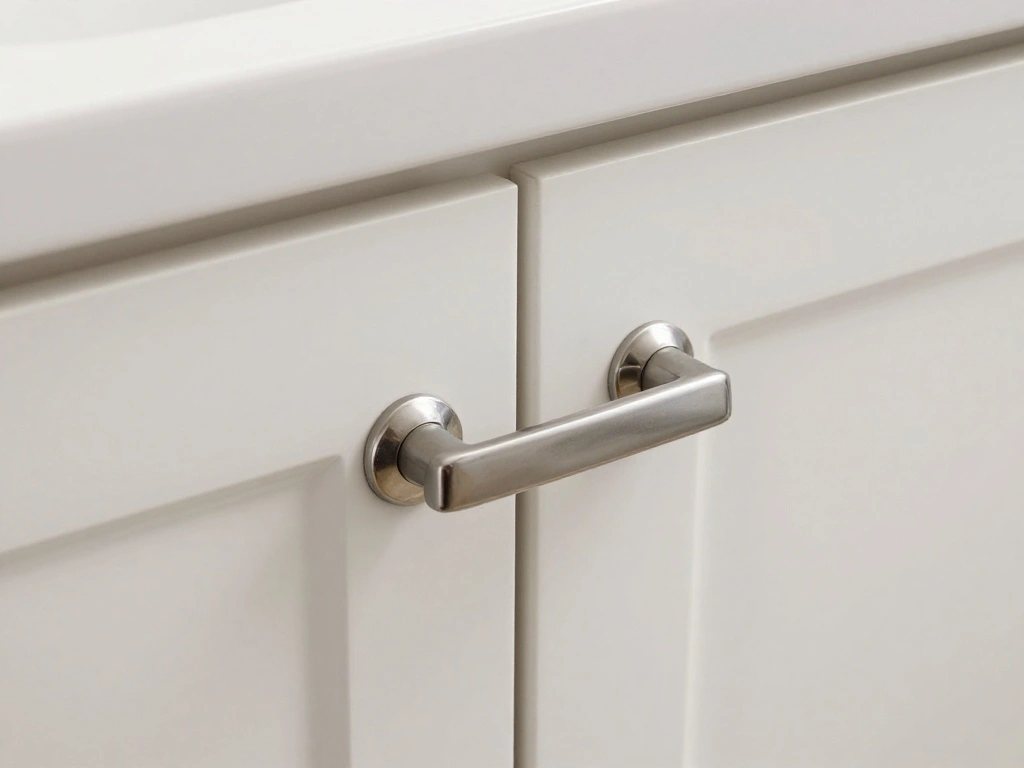
Swapping out old hardware for new can make a significant difference. Follow these steps:
- Choose new knobs, handles, and faucets that fit your style.
- Use a screwdriver to remove old hardware.
- Install new pieces by following the manufacturer’s instructions.
Pro Tip: Look for unique or vintage hardware to add character. Why this matters: New hardware can enhance the overall aesthetic of your bathroom.
Time estimate: 30-60 minutes.
Step 3: Replace Hardware
Editor’s Choice

Ravinte 30 Pack | 5 Inch Cabinet Pulls Matte Black Stainless Steel Kitch…

Antique White Pumpkin Knobs 2 Pack Ceramic Cabinet Knobs Vintage Drawer …

Ryuwanku Bathroom Faucet Matte Black Modern Waterfall Bathroom Sink Fauc…
Step 4: Update Your Shower Curtain
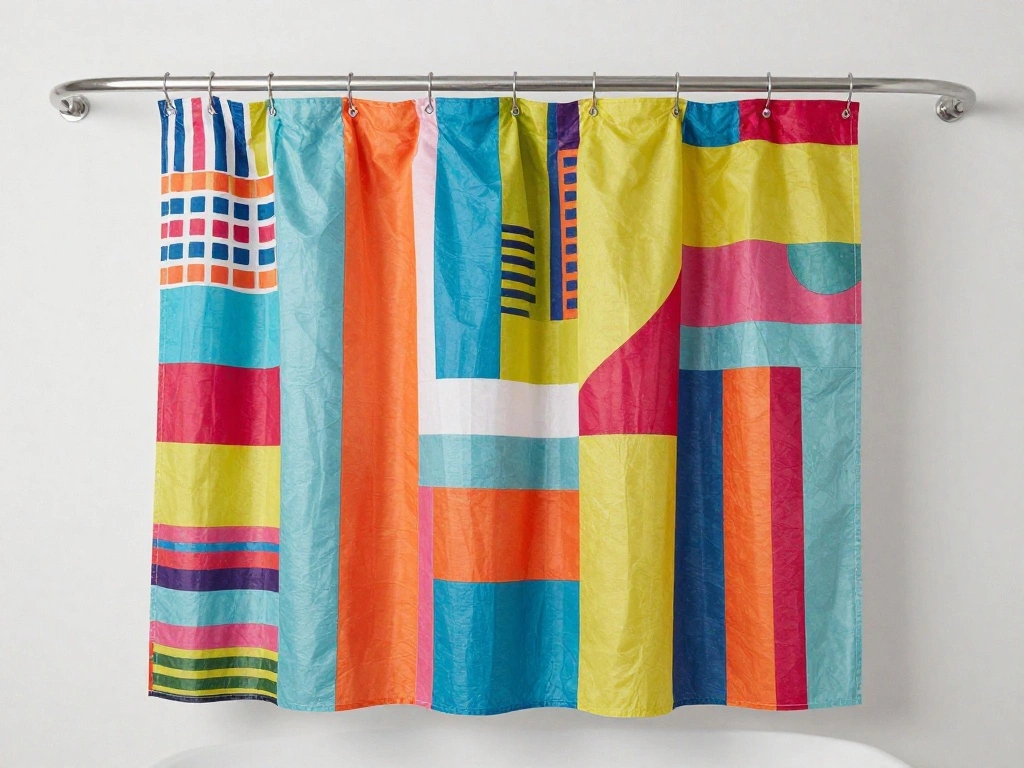
A new shower curtain can set the tone for your bathroom’s decor. Here’s how to choose and install it:
- Select a shower curtain that complements your color scheme.
- Remove the old curtain and rod.
- Install the new rod and hang your new curtain.
Pro Tip: Choose a fabric curtain for a softer look or a vinyl one for easy cleaning. Why this matters: A fresh shower curtain is an easy way to refresh the space.
Time estimate: 20-30 minutes.
Step 4: Update Your Shower Curtain
Editor’s Choice

Gold Shower Curtain Rod 34-66 Inches(2.8-5.5ft) Never Rust Adjustable Sh…

DRASTAR Tampon Holder for Bathroom, Pink Lady Stuff Box for Bathroom Acc…
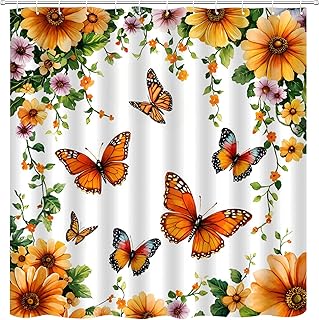
Butterfly Floral Shower Curtain Spring Flowers Blossom Garden Elegant Wo…
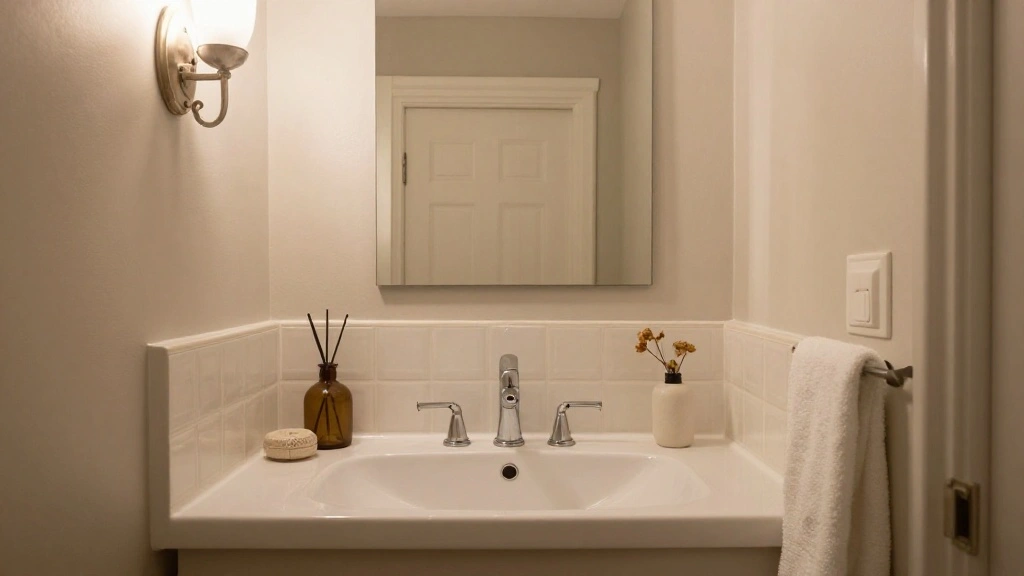
Step 5: Introduce Decorative Elements
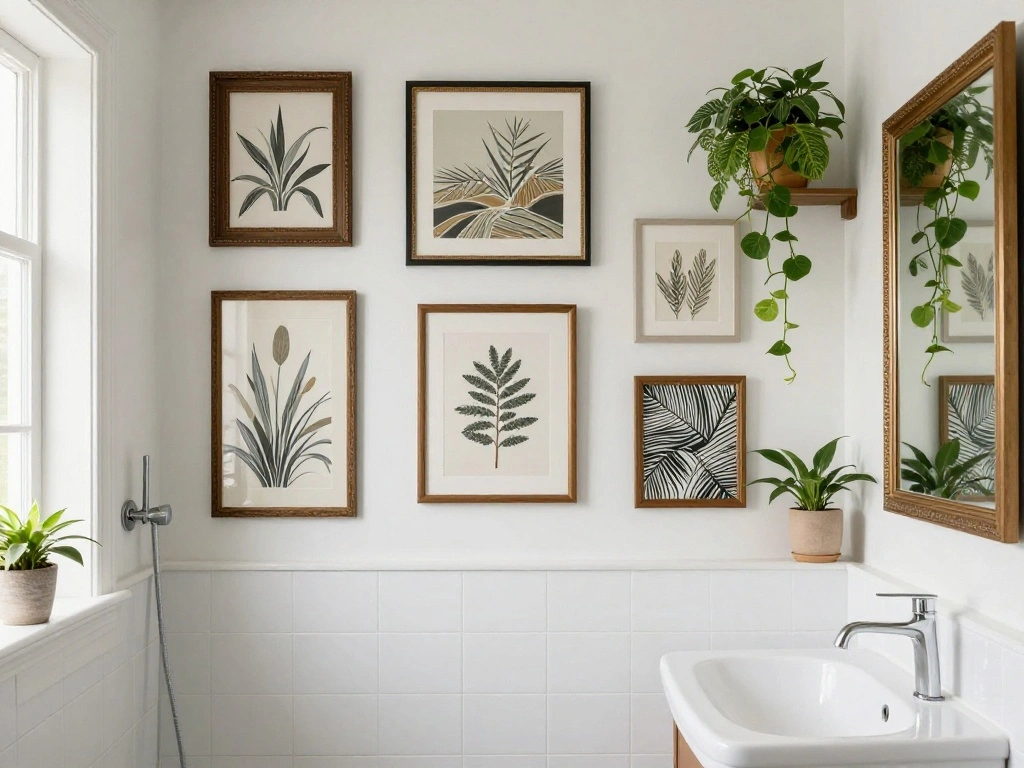
Adding decor can make your bathroom feel like a personal sanctuary. Follow these steps:
- Choose wall art, such as framed prints or shelves with decor.
- Add a few plants, real or artificial, for a touch of nature.
- Include decorative towels and accessories that match your theme.
Pro Tip: Use adhesive hooks for hanging decor without damaging walls. Why this matters: Decor gives your bathroom character and warmth.
Time estimate: 30-45 minutes.
Step 5: Introduce Decorative Elements
Editor’s Choice
Purple Flower Jewelry Dish Glass Ring Holder Dish Jewelry Tray Cute Vani…
Step 6: Optimize Storage Solutions
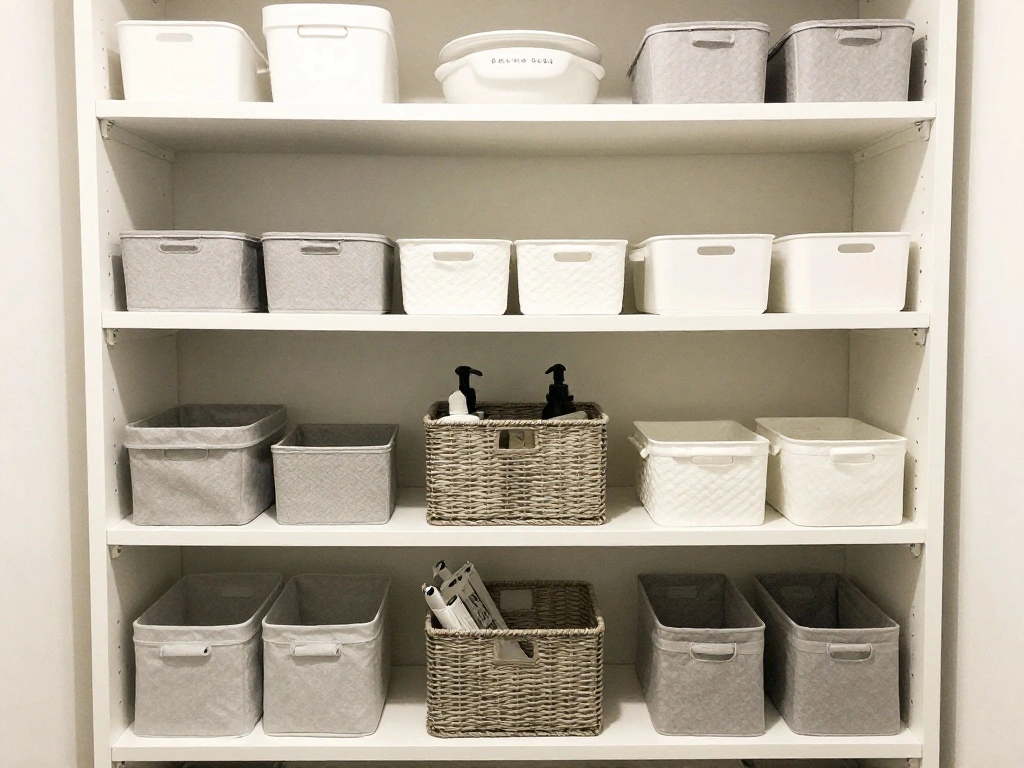
Smart storage is key to a functional bathroom. Here’s how to improve your storage:
- Use bins and baskets to organize toiletries.
- Install shelves above the toilet for extra storage.
- Consider a cart on wheels for mobility and flexibility.
Pro Tip: Label bins to easily find what you need. Why this matters: Organized spaces are easier to use and maintain.
Time estimate: 30-45 minutes.
Step 6: Optimize Storage Solutions
Editor’s Choice

HUUSMOT 6-Pack Small Pastel Plastic Storage Baskets, Collapsible Crates …
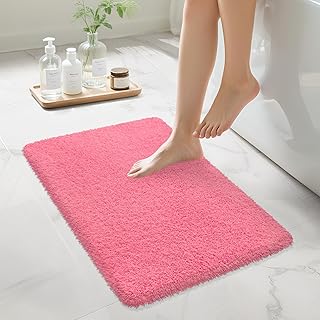
Step 7: Refresh Towels and Mats
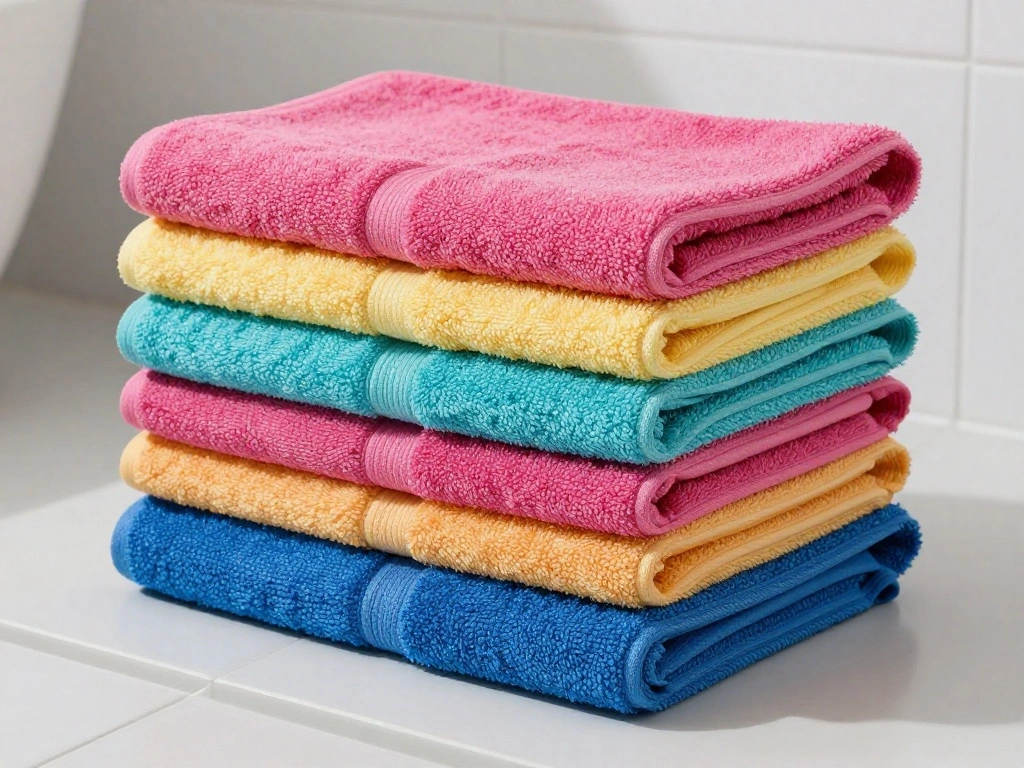
New towels and mats can add color and comfort. Follow these steps:
- Choose plush towels and a non-slip bath mat in coordinating colors.
- Remove old towels and mats, and replace them with the new ones.
- Store old linens or donate as needed.
Pro Tip: Use towel hooks for quick drying and easy access. Why this matters: Fresh textiles can enhance comfort and style.
Time estimate: 20-30 minutes.
Step 7: Refresh Towels and Mats
Editor’s Choice

Red Wall Hook Decorative Swivel Coat Rack Metal Hook with Wood Decor Dot…

Non-Slip Bath Tub Mat, 39×16 Inch Extra Large Shower Mat with Drain Hole…

Hooded Absorbent Fleece Robes for Women, Soft Plush Towel Bathrobe for W…
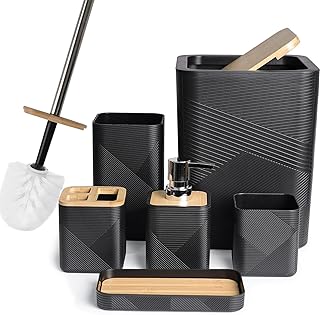
Step 8: Create a Spa-Like Atmosphere
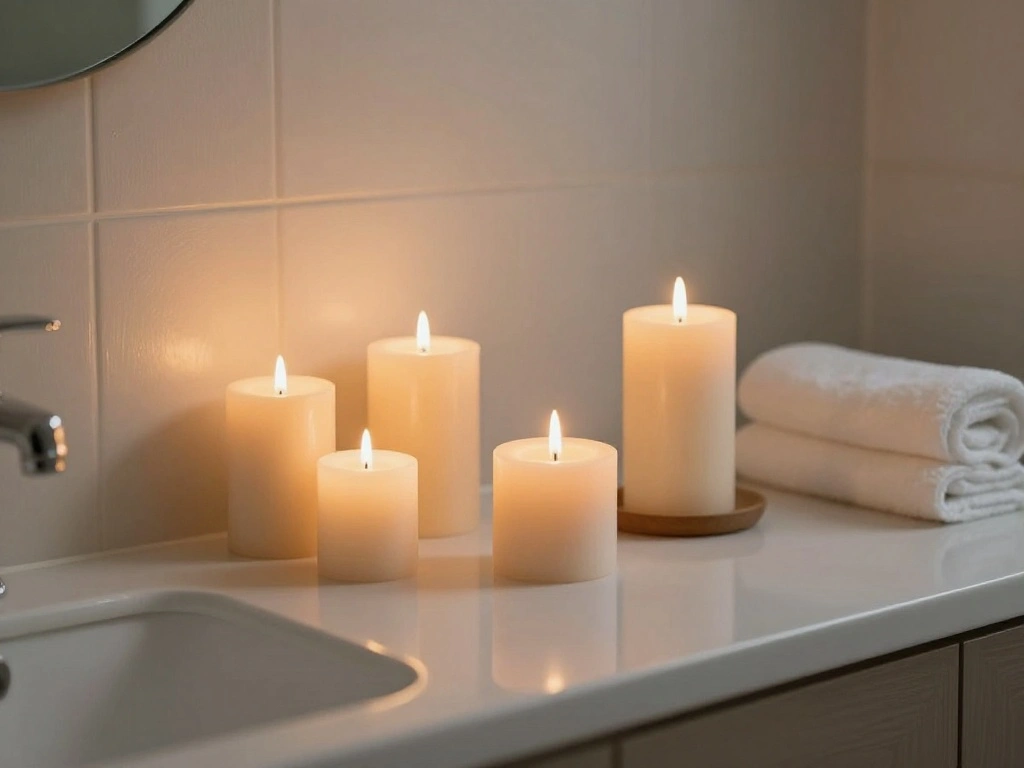
Transform your bathroom into a spa retreat. Here’s how:
- Add scented candles, diffusers, or essential oils for fragrance.
- Include soft lighting, such as under-shelf lights or dimmers.
- Play calming music or sounds while you relax in the space.
Pro Tip: Use battery-operated candles for safety. Why this matters: A calming environment makes your bathroom a place to unwind.
Time estimate: 30-45 minutes.
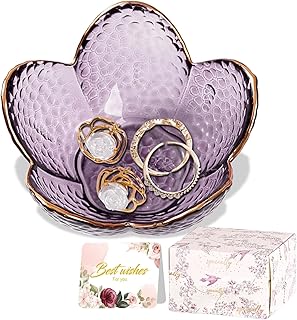
Step 9: Incorporate Personal Touches
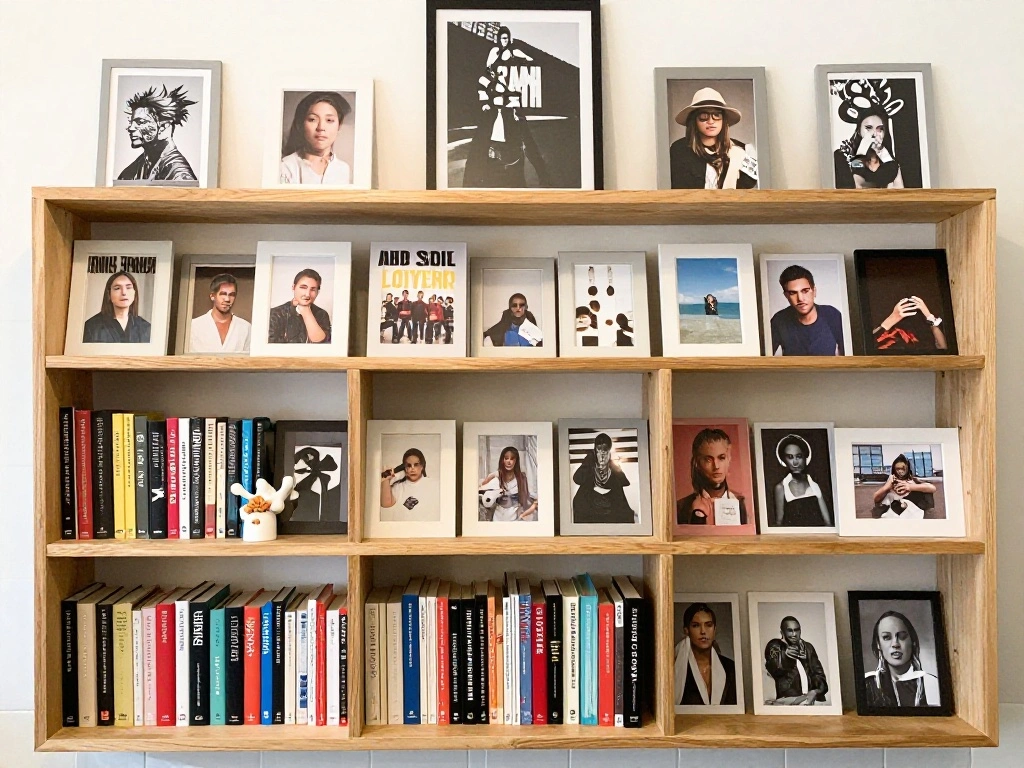
Make your bathroom truly yours with personal touches. Follow these steps:
- Add family photos in stylish frames.
- Include your favorite books or magazines on a shelf.
- Use a decorative tray to display items like perfumes or jewelry.
Pro Tip: Rotate decor items seasonally for freshness. Why this matters: Personal touches make the space feel like home.
Time estimate: 20-30 minutes.
Step 9: Incorporate Personal Touches
Editor’s Choice

Happy Retirement Photo Frame For Women, Inspirational Gifts For Birthday…

Dlfghos 3 Pieces Pulp Reading Women Figurine Thinker Statue Decor Modern…

African Sitting Woman Handled Tray Resin Statue Tribal Art Figurine, Mul…
Step 10: Final Touches and Review

Now that your makeover is almost complete, do a final review. Here’s what to do:
- Walk through the space and check for any missed areas.
- Adjust decor and arrangement for balance.
- Take a moment to enjoy your refreshed bathroom!
Pro Tip: Take before and after photos to celebrate your transformation. Why this matters: A final review ensures everything looks great and is functional.
Time estimate: 15-20 minutes.
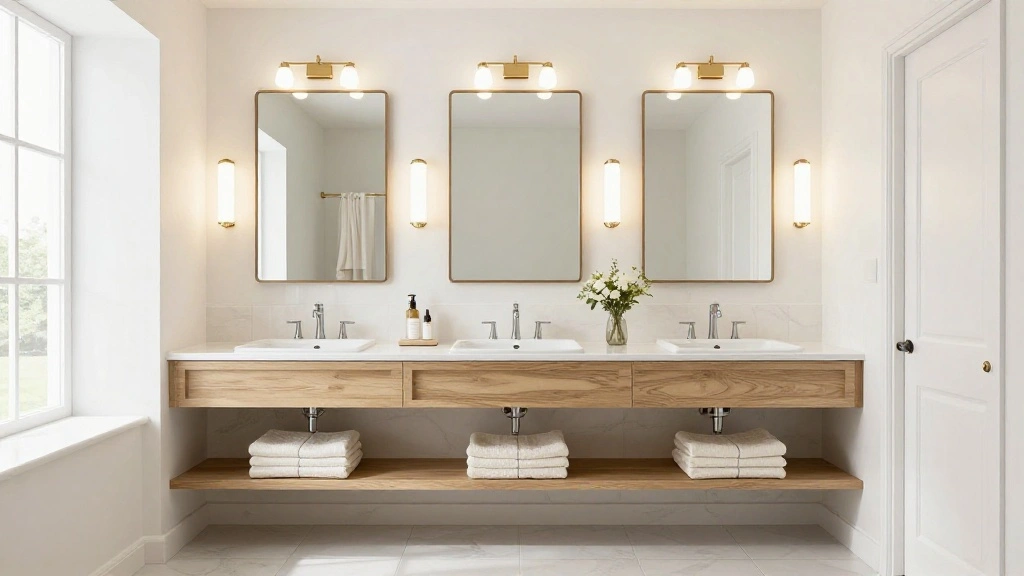
Pro Tips
- Color Coordination: Stick to a color palette of 2-3 colors to maintain a cohesive look.
- Lighting Matters: Good lighting can enhance your bathroom’s features; opt for warm lights.
- Maximize Vertical Space: Use wall-mounted shelves to save floor space.
- Accessorize Strategically: Choose accessories that serve a purpose and add style.
- Seasonal Changes: Update decor with the seasons for a fresh feel year-round.
Pro Tips
Editor’s Choice

G25 LED Globe Light Bulbs, 60W Equivalent, 5000K Daylight Bathroom, E26 …

BYFU 3 Tier Bathroom Storage Open Shelf, Freestanding Metal Corner Stora…

Clara Clark Bathroom Accessories Set – Bathroom Set, Bathroom Accessory …
Common Mistakes to Avoid
Warning: Avoid cluttering your bathroom with too many decorative items. This can make the space feel cramped. Focus on a few key pieces that add charm. Warning: Using harsh cleaning chemicals on surfaces can damage finishes. Stick to gentle, non-abrasive cleaners. Warning: Not checking with your landlord before making changes can lead to issues. Always confirm what’s allowed. Warning: Choosing the wrong size of storage bins can create more clutter. Measure your spaces first!
Troubleshooting Section
Problem: Paint is peeling or bubbling.
Solution: Ensure you applied a primer and used moisture-resistant paint. Remove bubbles and touch up as needed.
Problem: Decor looks cluttered.
Solution: Simplify by removing excess items and focusing on a few standout pieces.
Problem: Shower curtain is too short.
Solution: Look for longer options or use a shower liner to add length.
Problem: Plants keep dying.
Solution: Consider low-maintenance plants or high-quality faux options.
Problem: Fixtures are leaking.
Solution: Tighten connections or replace washers as needed.
Troubleshooting Section
Editor’s Choice

AmazerBath Extra Long Shower Curtain Liner, Clear, 84 Inches Long, 72×84…

qt Zinsser 276087 White Mold Killing Primer Water-Based Mold Killing Primer

Beautiful Storage Basket Set of 5 – Sturdy Cotton Rope Baskets for Shelv…
Variations/Alternative Methods
Method 1: Temporary Wallpaper – Use removable wallpaper for an instant style boost; great for renters. Method 2: Peel-and-Stick Tiles – Add flair to floors or walls with peel-and-stick tiles that are easy to install. Method 3: Fun Shower Curtain Alternatives – If you can’t change the curtain, consider adding a decorative liner or hooks for a fresh look. Each method has pros and cons; choose based on your style and the lease terms.
Variations/Alternative Methods
Editor’s Choice

HAOKHOME Modern Peel and Stick Wallpaper Cool Ladies Black/White/Red Lip…

Zahari Home Rose Vine Shower Hooks Set – Curtain Rings with Unique Desig…

Chinco 4 Pcs Women Funny Wall Art Bathroom Decor 9.84 x 3.94 x 0.2 Inch …
FAQs
What if I don’t have the budget for new decor? – Try DIY projects using items you already own or thrift store finds. How long should I wait after painting before using the bathroom? – Generally, 24 hours is a good rule, but check paint instructions for specifics. Is it safe to hang heavy items on the wall? – Ensure you use proper anchors and check wall material for safe installation. Can I use command strips for decor? – Yes, they are great for renters to avoid damage. What if my bathroom is too small for storage? – Consider vertical storage options to maximize space.
FAQs
Editor’s Choice

Black White Shower Curtain Abstract Woman Naked Nude Line Minimalist Sex…
Art3d 16 Sets Hook and Loop Tape Sticky Back,1 in.x 4 in. Double-Sided C…

DIY Removable Man Woman Washroom Toilet Bathroom WC Sign, OYEFLY Door Ac…
Conclusion
Congratulations on completing your rental bathroom makeover! You’ve transformed your space into a stylish and inviting area that reflects your personality. Now, take a moment to enjoy your hard work and consider sharing your transformation with friends or on social media!
For your next project, think about how you can enhance other areas of your home. Whether it’s sprucing up the living room or adding personality to your bedroom, your creativity can make any rental feel like home. Happy decorating!