

Feeling overwhelmed by clutter on your small desk? You’re not alone! Many people struggle to create an organized workspace that promotes productivity. A chaotic desk can lead to distractions, stress, and decreased efficiency. You need a solution that maximizes your limited space while keeping everything you need within reach.
In this guide, you will learn how to transform your small desk into a functional and organized haven. By following these steps, you will declutter your workspace, utilize vertical space, and create a system that allows for easy access to your essentials. You will accomplish a clean and inviting workspace that inspires focus and creativity.
This guide is designed for beginners and will take approximately 1-2 hours to complete. You will learn practical tips, tricks, and tools to make the most of your small desk. Let’s dive in and get started on your journey to a more organized workspace!
Difficulty Level: beginner
Time Estimate: 1-2 hours
[Screenshot: a cluttered desk before organizing]
TL;DR Summary
- Declutter your desk by removing unnecessary items.
- Utilize storage solutions like drawers and organizers.
- Incorporate vertical space with shelves or wall-mounted organizers.
- Establish a system for maintaining organization.
TL;DR Summary
Editor’s Choice

Lifewit Drawer Dividers for Clothes, 3.2″ High 10.5″-16.5″ Expandable Dr…

WALI Desk File Organizer, 4 Tier Desktop Paper Letter Tray Organizer wit…

2 Tier Individual Pull Out Cabinet Organizer 10½” W x 21½” D, Heavy Du…
Prerequisites/Materials Needed
- Storage Solutions: drawer organizers, baskets, or trays (1-3 depending on your needs)
- Vertical Organizers: wall-mounted shelves or pegboards (1-2)
- Cleaning Supplies: microfiber cloth, disinfectant spray (1 each)
- Labeling Tools: labels or a label maker (1)
Prerequisites/Materials Needed
Editor’s Choice

WOWBOX 25 PCS Clear Plastic Drawer Organizer Set, 4 Sizes Desk Drawer Di…

SUPVAN E11 Bluetooth Label Maker Machine with 4 Tapes, Support Keyboard …

2-Tier Desk Shelf, Expandable Under Desk Storage, Clamp on Desk Shelf, D…
Skill Level & Time Estimate
Skill Level: beginner
Total Time Estimate: 1-2 hours
Breakdown of time:
- Decluttering: 20-30 minutes
- Organizing: 30-60 minutes
- Final touches and maintenance setup: 10-20 minutes
Skill Level & Time Estimate
Editor’s Choice
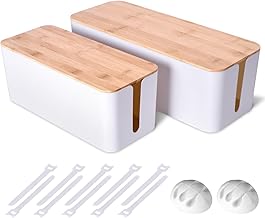
2 Pack Large Cable Management Box – Wooden Style Cord Organizer and Co…
Lifewit Drawer Dividers for Clothes, 3.2″ High 10.5″-16.5″ Expandable Dr…
WALI Desk File Organizer, 4 Tier Desktop Paper Letter Tray Organizer wit…
Step 1: Clear Your Desk
Start by removing everything from your desk. This step is crucial for assessing what you truly need and what can be discarded. Follow these sub-steps:
- Remove all items from your desk surface.
- Sort items into three categories: keep, discard, and donate.
- Clean the surface of the desk with a microfiber cloth.
Pro Tip: Take the time to wipe down your desk with disinfectant to create a fresh workspace.
Why this matters: Clearing your desk allows you to start with a blank slate, making it easier to organize and create a functional layout.
Time Estimate for this step: 20-30 minutes
Step 1: Clear Your Desk
Editor’s Choice
WALI Desk File Organizer, 4 Tier Desktop Paper Letter Tray Organizer wit…

USANOOKS Microfiber Cleaning Cloth Grey – 12 Pcs (12.5″x12.5″) – High Pe…
Step 2: Assess Your Needs

Next, evaluate what items you use daily and need on your desk. This step helps prioritize essential items and frees up space for only what is necessary. Follow these sub-steps:
- Identify your daily tasks and the items required for them.
- Limit your essential items to 5-7 key tools (e.g., laptop, notebook, pens).
- Consider digital alternatives for paper items, like using apps for notes instead of physical notebooks.
Warning: Avoid the temptation to keep too many items just because they are sentimental or rarely used.
Why this matters: Understanding your needs allows you to create a workspace that is efficient and tailored to your tasks.
Time Estimate for this step: 15-20 minutes
Step 2: Assess Your Needs
Editor’s Choice

LCD Writing Tablet for Adult: 6.5 Inch Full Screen Mini Digital Notepad …
WALI Desk File Organizer, 4 Tier Desktop Paper Letter Tray Organizer wit…
Step 3: Utilize Storage Solutions
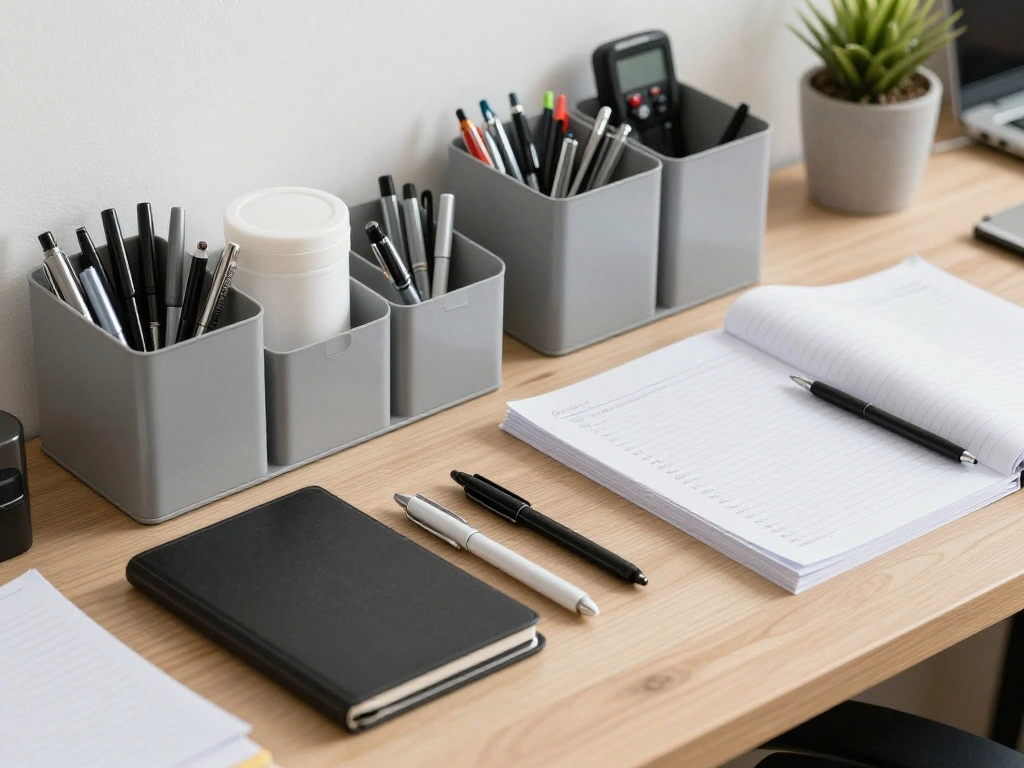
Now that you know what to keep, it’s time to find appropriate storage solutions. Organizing tools and supplies efficiently will maximize your desk space. Follow these sub-steps:
- Choose drawer organizers or trays to separate smaller items like pens and paper clips.
- Use baskets for larger items that don’t fit in drawers.
- Label each storage solution for easy identification.
Pro Tip: Consider using stackable organizers to save vertical space in your drawers.
Why this matters: Proper storage keeps your items organized and accessible, reducing clutter and increasing productivity.
Time Estimate for this step: 30-40 minutes
Step 3: Utilize Storage Solutions
Editor’s Choice

Nelko Label Maker Machine with Tape, P21 Bluetooth Label Printer, Wirele…

WOWBOX 6 Pack Clear Drawer Organizer Set, Acrylic Drawer Storage Trays, …

OIAHOMY 75L Large Woven Cotton Rope Storage Basket with Handle for Organ…
Step 4: Incorporate Vertical Space
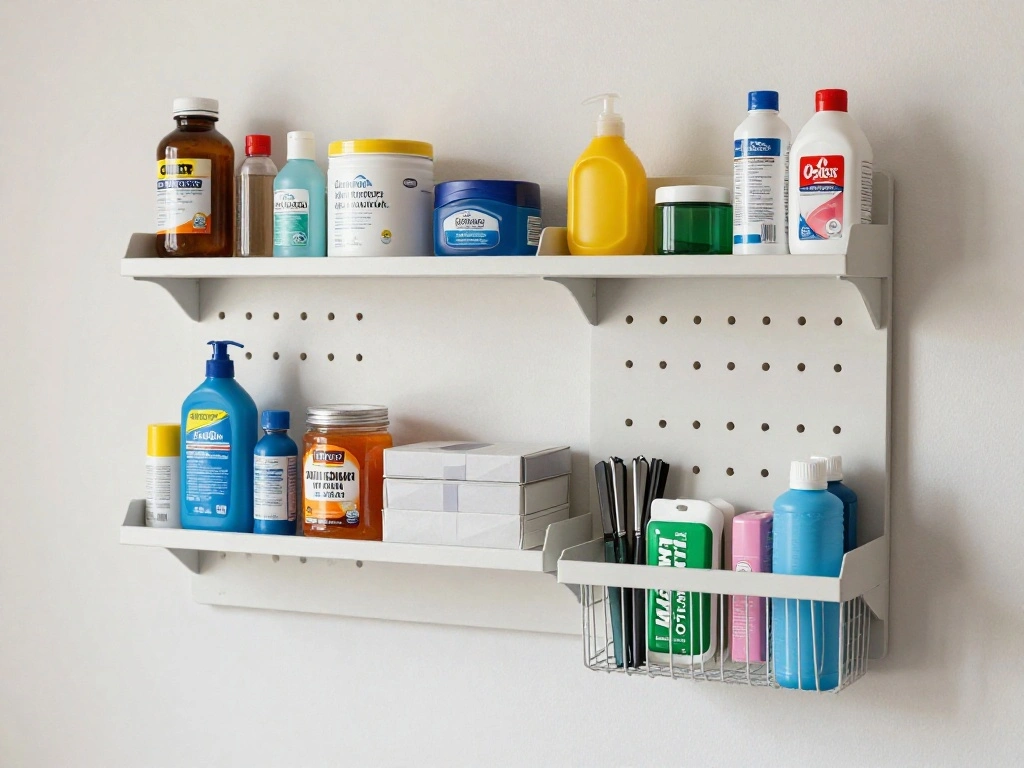
Maximizing vertical space is essential for small desks. Shelves and wall-mounted organizers can help keep your workspace tidy and clear. Follow these sub-steps:
- Install wall-mounted shelves above your desk for books or decorative items.
- Use pegboards to hang frequently used items like scissors and sticky notes.
- Ensure everything is securely mounted and easily accessible.
Warning: Be cautious with weight limits on shelves to avoid accidents.
Why this matters: Utilizing vertical space frees up your desk surface, allowing for more functional work areas.
Time Estimate for this step: 30-40 minutes
Step 4: Incorporate Vertical Space
Editor’s Choice
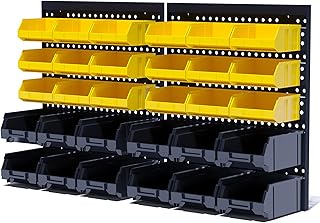
KJE 30PCS Wall Mounted Storage Bins, Plastic Tool Organizer for Garage S…

BAYKA Floating Shelves for Wall, Wall Mounted Rustic Wood Shelves for Ba…

Spampur Peg Board, 4 Pack Metal Pegboard Panels with 50 Hooks, Black Peg…
Step 5: Set Up a Maintenance System

To keep your desk organized, establish a maintenance system. This helps you prevent clutter from returning. Follow these sub-steps:
- Designate a time each week to tidy up your desk.
- Implement a “one in, one out” policy for new items.
- Keep a small trash bin or recycling bin near your desk for immediate disposal of waste.
Pro Tip: Schedule reminders on your calendar for your weekly tidying sessions.
Why this matters: Regular maintenance ensures your organized space stays functional over time.
Time Estimate for this step: 10-15 minutes
Step 5: Set Up a Maintenance System
Editor’s Choice
Digital Calendar, 10.1inch Smart WiFi Electronic Calendar&Chore Chart, I…

UUJOLY Plastic Small Trash Can Wastebasket, Garbage Container Basket for…
WALI Desk File Organizer, 4 Tier Desktop Paper Letter Tray Organizer wit…
Step 6: Personalize Your Workspace

Now that your desk is organized, it’s time to add personal touches that make it inviting. Personalizing your space can boost your motivation and creativity. Follow these sub-steps:
- Add a few personal items, like a photo or a plant, to bring warmth.
- Choose a desk mat or organizer that reflects your style.
- Keep personalization minimal to avoid clutter.
Warning: Avoid overcrowding your desk with personal items; keep it functional.
Why this matters: Personalization creates a comfortable and inspiring workspace that encourages productivity.
Time Estimate for this step: 15-20 minutes
Step 6: Personalize Your Workspace
Editor’s Choice

Der Rose 2 Pack Small Fake Plants Mini Artificial Potted Plants Graduati…
WALI Desk File Organizer, 4 Tier Desktop Paper Letter Tray Organizer wit…

Beige Striped Desk Mat Cute Pastel XXL Large Gaming Mouse Pad Desk Pad K…
Step 7: Review and Adjust

Finally, take the time to review your organized desk and make any necessary adjustments. This step ensures that your setup works effectively for you. Follow these sub-steps:
- Spend a few days using your new organization system.
- Take note of any items that feel out of place or cumbersome to reach.
- Make small adjustments as needed to enhance functionality.
Pro Tip: Don’t hesitate to change your setup if it doesn’t work perfectly after initial adjustments.
Why this matters: Regularly reviewing and adjusting your organization will keep your workspace efficient and enjoyable.
Time Estimate for this step: 10-15 minutes
Step 7: Review and Adjust
Editor’s Choice
2 Pack Large Cable Management Box – Wooden Style Cord Organizer and Co…
WALI Desk File Organizer, 4 Tier Desktop Paper Letter Tray Organizer wit…

Single LCD Computer Monitor Free-Standing Desk Stand Mount Riser for 13 …
Pro Tips
- Tip 1: Use Cable Management: Keep cords and cables organized using cable clips or sleeves to avoid tangling.
- Tip 2: Go Digital: Reduce paper clutter by opting for digital tools for notes, calendars, and to-do lists.
- Tip 3: Mobile Workstation: Consider a rolling cart for supplies that you can move out of the way when not in use.
- Tip 4: Multi-Functional Furniture: Use a desk with built-in storage or a foldable desk that can be tucked away to save space.
- Tip 5: Color Code Supplies: Organize items by color to make finding what you need quicker and add visual interest.
Pro Tips
Editor’s Choice

Flezoo Cord Holder Cable Holder, 12PCS Black Adhesive Cable Clips Cord O…

Rolling Cart with Drawers, 4-Drawer Storage Cart on Wheels with Wooden T…

Amazon Kindle Scribe (16GB) – Your notes, documents and books, all in on…
Common Mistakes to Avoid
Warning: Don’t overwhelm your desk with too many organizers; this can lead to confusion and clutter. Instead, choose a few high-quality pieces. Warning: Avoid neglecting regular maintenance; this can lead to a return of clutter. Set reminders to tidy up weekly. Warning: Don’t ignore vertical space; utilizing shelves and pegboards can significantly increase available workspace. Warning: Avoid using decorative items that serve no functional purpose; they can contribute to clutter. Limit personal touches to essentials that inspire you.
Common Mistakes to Avoid
Editor’s Choice
WALI Desk File Organizer, 4 Tier Desktop Paper Letter Tray Organizer wit…

Pegboard Paper Towel Holder with Shelf, Peg Board Accessory Kit with Hea…

BAYKA Floating Shelves Set of 2, 22.5 inches Farmhouse Rustic Wood Wall …
Troubleshooting Section
Problem: My desk feels cluttered again after a week.
Solution: Reassess your items and remove anything unnecessary; establish a weekly cleaning routine.
Problem: I can’t find my supplies easily.
Solution: Reorganize your supplies based on usage frequency; keep frequently used items within arm’s reach.
Problem: My vertical space feels cluttered.
Solution: Limit items on shelves to essential tools and remove anything that isn’t frequently used.
Problem: I have no space for new items.
Solution: Implement a “one in, one out” policy; donate or discard items you no longer need.
Problem: My desk feels uninspiring.
Solution: Add one or two personal elements that truly inspire you; avoid overcrowding.
Troubleshooting Section
Editor’s Choice

Plano 4-Shelf Plastic Storage Shelves, 48” x 23” x 14”, 200lb Capa…

Marbrasse Mesh Pen Holder for Desk, Multi-Functional Pencil Organizer wi…
Variations/Alternative Methods
If the standard organization methods don’t suit your needs, consider these alternatives:
- Minimalist Approach: Focus solely on the essentials and remove everything else. This works well for those who thrive in a very clean space.
- Mobile Workspace: Use a cart or foldable desk that can be easily moved to create more space when needed.
- Digital Organization: Opt for digital tools for everything—notes, reminders, and files—minimizing the need for physical items altogether.
Each method has its pros and cons, so choose the one that fits your lifestyle best.
Variations/Alternative Methods
Editor’s Choice
Amazon Kindle Scribe (16GB) – Your notes, documents and books, all in on…
M&G Mesh Pen Holder Desk Organizers Pencil Holder for Desk Black, 3 Comp…
dbest products Quik Cart Collapsible Rolling Crate on Wheels for Teacher…
FAQs
What if I don’t have drawer space?
Consider using vertical organizers or wall-mounted shelves to keep items off your desk surface.
How long should I spend organizing my desk?
Aim for about 1-2 hours, depending on how cluttered it is. Take your time to ensure you make effective decisions.
Is it safe to mount shelves?
Yes, as long as you follow weight guidelines and use appropriate anchors for your wall type.
What if I have too many personal items?
Limit personal items to 1-2 that inspire you, and store the rest in a keepsake box or elsewhere.
How can I keep my desk organized long-term?
Implement a weekly maintenance routine and regularly reassess your items to prevent clutter from accumulating.
FAQs
Editor’s Choice
BAYKA Floating Shelves Set of 2, 22.5 inches Farmhouse Rustic Wood Wall …

Gawerk 5-Section Vertical Desktop Organizer, 5-Section Mesh File Folder …
Conclusion

Congratulations on organizing your small desk for maximum space! You’ve taken the first step towards a more productive and pleasant workspace. With a clean and organized desk, you can now focus better and feel more inspired.
As your next step, maintain your organization by setting weekly tidying sessions and adjusting your setup as needed. Consider exploring organization resources or tips to further enhance your workspace. Enjoy the benefits of your hard work and happy organizing!