
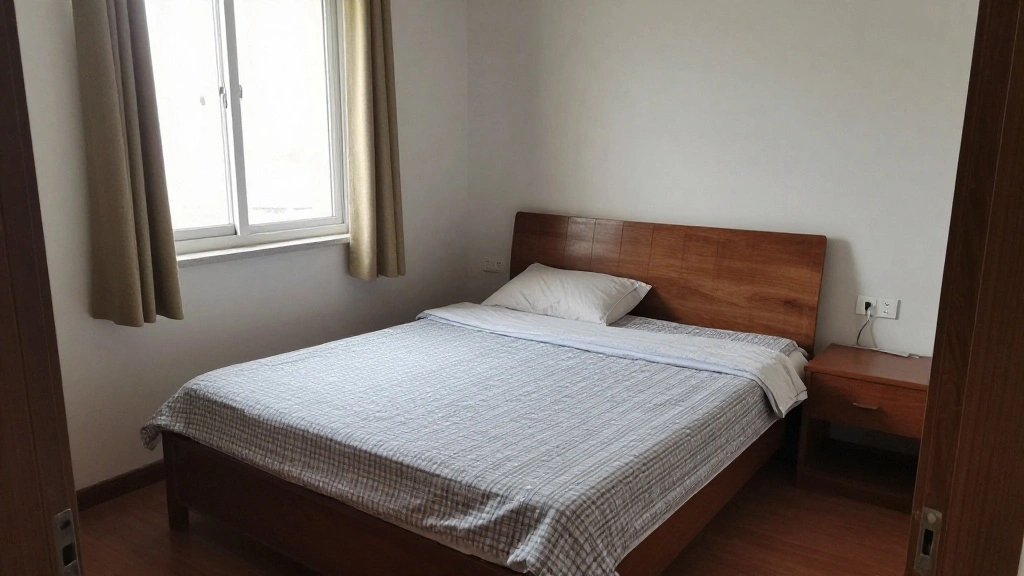
Do you feel like your small room is suffocating you? Many people struggle with the challenge of maximizing their limited space. The good news is that you can create an illusion of a larger area with just a few simple paint techniques. By choosing the right colors and applying them thoughtfully, you can transform your cramped quarters into a more open and inviting environment.
In this guide, you’ll learn how to effectively use paint to visually enlarge your space. You’ll discover techniques such as selecting light colors, using accent walls wisely, and incorporating creative designs that trick the eye. By the end of this article, you’ll have a clear plan to enhance your small room’s appearance.
This project is suitable for beginners and can be completed in about 2-3 hours. Get ready to make a big impact in your small space with the right coat of paint!
TL;DR Summary
- Choose light colors to make your room feel more spacious.
- Use an accent wall strategically for depth.
- Apply vertical stripes to create height illusion.
- Consider using a monochromatic palette for a cohesive look.
TL;DR Summary
Editor’s Choice

Cra-Z-Art Classic Washable Paint 4oz 8ct POP! Neon, Bright and Bold Colo…

Rust-Oleum 1990730 Painter’s Touch Latex Paint, Half Pint, Flat White, 8…

Prerequisites/Materials Needed
- Paint: 1-2 gallons of light, neutral color paint
- Paintbrushes: 1-2 quality brushes for detail work
- Rollers: 1 roller and tray for larger areas
- Painter’s tape: 1 roll for clean edges
- Dropsheets: 1-2 to protect your flooring
- Paint primer: if necessary, 1 gallon
Prerequisites/Materials Needed
Editor’s Choice

Paint Brushes Set of 24 Pieces Wooden Handles Brushes with Canvas Brush …
Skill Level & Time Estimate
Skill Level: beginner
Total time estimate: 2-3 hours
Here’s the breakdown:
1. Preparing the room: 30 minutes
2. Painting walls: 1-2 hours
3. Clean up: 30 minutes
Skill Level & Time Estimate
Editor’s Choice

Mister Rui Mini Paint Roller Kit-13 Piece, 4-Inch Microfiber Paint Rolle…

Bates- Paint Roller Kit, 19 pcs, Roller Set with Microfiber Sleeves & Fr…

4 Rolls Premium Painters Tape, Blue Tape, Masking Tape, Paint Tape for M…
Step 1: Prepare the Room

Start by getting the room ready for painting. Preparation is crucial for a smooth painting process. Follow these steps:
- Remove furniture or move it to the center of the room.
- Cover the floor with dropsheets to protect it from paint spills.
- Use painter’s tape to mask any areas you don’t want to paint, such as trim and windows.
Pro Tip: Use a putty knife to press the tape down for a sharper edge.
Why this matters: Proper preparation helps avoid messes and ensures clean lines.
Time estimate: 30 minutes.
Step 1: Prepare the Room
Editor’s Choice

Rerdeim 5Pcs Putty Knife, Set, 1″ 2″ 3″ 4″ 5″ Scraper, Spackle Knife, Pa…
4 Rolls Premium Painters Tape, Blue Tape, Masking Tape, Paint Tape for M…

Canvas Painters Drop Cloth (Size 6 x 9 Feet – Pack of 2) – Pure Cotton P…
Step 2: Choose the Right Color

Selecting the right paint color is vital for making a small room feel larger. Here’s what to do:
- Opt for light colors like whites, soft grays, or pastels that reflect light well.
- Avoid dark colors as they can make a room feel enclosed.
- Consider testing a few swatches on the wall to see how they look at different times of day.
Warning: Dark colors can absorb light, making your room feel smaller.
Why this matters: Light colors create an airy feel and enhance the perception of space.
Time estimate: 20 minutes.
Step 2: Choose the Right Color
Editor’s Choice

Master Elite – LED Color Matching Light, 500 Lumen – Exact Paint Color M…
Step 3: Apply Primer (if needed)
If your walls are stained or if you’re making a drastic color change, applying primer is essential. Here’s how:
- Use a roller to apply primer evenly on the walls, starting from the top.
- Use a brush to cut in around edges and corners.
- Allow the primer to dry according to the manufacturer’s instructions.
Pro Tip: Primer helps the paint adhere better and enhances color vibrancy.
Why this matters: It ensures that your final color appears true and lasts longer.
Time estimate: 30 minutes.
Step 3: Apply Primer (if needed)
Editor’s Choice

Pro Grade Paint Roller Kit, Brush & Roller,10 Piece Set, Wall Painting N…

EVOLVE Interior Paint & Primer, Satin (Graphite Gray), 5 Gallon – Avai…
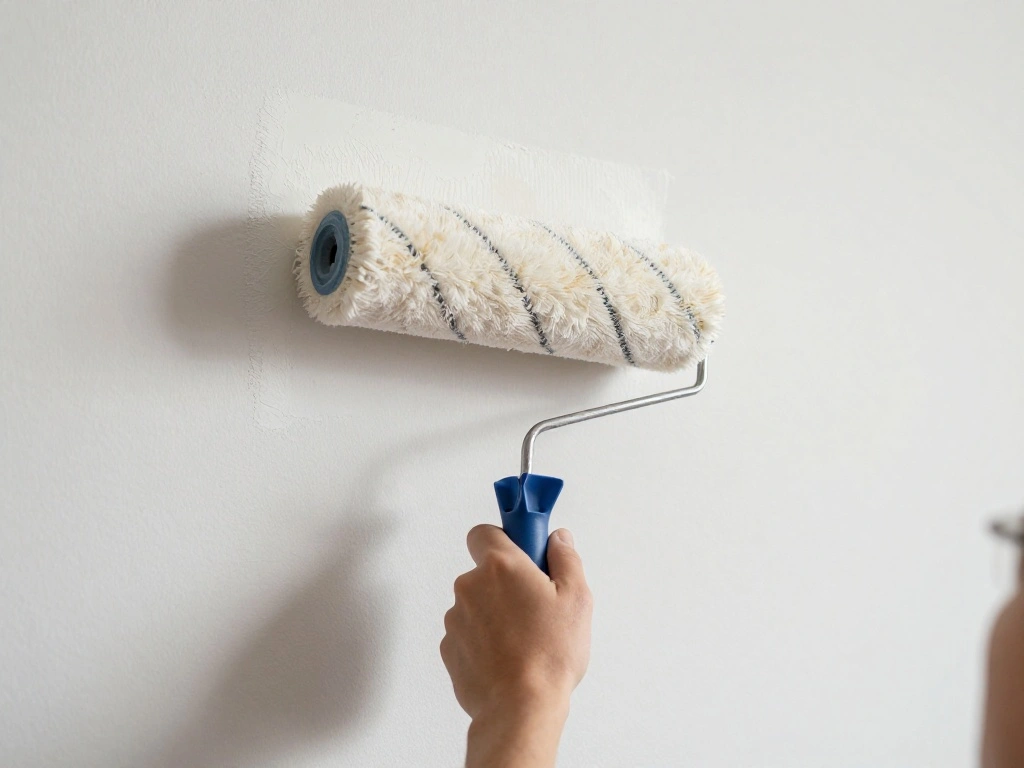
Step 4: Paint the Walls

Now it’s time to paint! Follow these steps for a flawless finish:
- Start by cutting in with a brush around edges and corners.
- Use a roller to paint the larger sections of the wall.
- Apply a second coat if necessary, letting the first coat dry completely before adding the second.
Warning: Don’t overload your brush or roller with paint to avoid drips.
Why this matters: A well-painted wall enhances the overall look of your room.
Time estimate: 1-2 hours.
Step 4: Paint the Walls
Editor’s Choice

Painter’s Trim Guard 12 Inch Paint Shield, Edge Painting Tool for Walls,…
Bates- Paint Roller Kit, 19 pcs, Roller Set with Microfiber Sleeves & Fr…
Step 5: Add an Accent Wall (Optional)

Consider creating an accent wall to add depth. Here’s how to do it:
- Choose one wall to paint a darker or bolder color.
- Use painter’s tape to create clean lines between the accent wall and the lighter walls.
- Follow the same painting steps as before for the accent wall.
Pro Tip: A well-chosen accent wall can create a focal point and draw the eye, enhancing the feeling of space.
Why this matters: It breaks the monotony and adds character to the room.
Time estimate: 30 minutes.
Step 5: Add an Accent Wall (Optional)
Editor’s Choice

Pro Grade – Paint Roller Covers – 1/2 X 9 Inch Microfiber 5 Pack
4 Rolls Premium Painters Tape, Blue Tape, Masking Tape, Paint Tape for M…
Step 6: Clean Up and Enjoy Your New Space

Once the paint is dry, it’s time to clean up and admire your work:
- Remove painter’s tape carefully to avoid peeling paint.
- Move your furniture back into place, ensuring to allow for open pathways.
- Dispose of or store leftover paint and clean brushes and rollers.
Warning: Wait until the paint is completely dry before moving furniture back to avoid smudging.
Why this matters: Cleaning up properly helps maintain your tools and ensures a tidy space.
Time estimate: 30 minutes.
Step 6: Clean Up and Enjoy Your New Space
Editor’s Choice
Pro Grade Paint Roller Kit, Brush & Roller,10 Piece Set, Wall Painting N…

GENERAL’S The Masters Brush Cleaner and Preserver – Non-Toxic – Clea…
4 Rolls Premium Painters Tape, Blue Tape, Masking Tape, Paint Tape for M…
Pro Tips
- Color Contrast: Use contrasting colors for furniture and decor to enhance the illusion of space.
- Use Glossy Finishes: Glossy paint reflects light, making rooms feel bigger.
- Vertical Stripes: Consider painting vertical stripes to create an illusion of height.
- Light Fixtures: Incorporate lighting that reflects off the walls for added depth.
- Minimal Decor: Keep decorations minimal to avoid a cluttered look.
Common Mistakes to Avoid
Warning: Avoid using too many dark colors, as they can overwhelm small spaces. Stick to light hues to encourage openness.
Warning: Don’t skip the primer if you’re changing color drastically; it ensures a true color payoff.
Warning: Avoid painting the ceiling a dark color, as this can lower the perceived height of the room.
Warning: Don’t rush the drying process; reapplying paint too early can ruin the finish.
Warning: Avoid cluttering walls with too many decorations, which can make the space feel cramped.
Common Mistakes to Avoid
Editor’s Choice

Apple Barrel Acrylic Paint, Light Lavender 2 fl oz Classic, Easy To Appl…
Troubleshooting Section
Problem: Paint is peeling off.
Solution: Ensure that surfaces are clean and properly primed before painting.
Problem: Paint color looks different than expected.
Solution: Test swatches under different lighting before committing.
Problem: Streaks visible after painting.
Solution: Use even pressure while rolling and apply additional coats if necessary.
Problem: Tape pulls off dried paint.
Solution: Remove tape while the paint is still slightly wet for cleaner lines.
Problem: The room feels too busy.
Solution: Simplify decor and opt for fewer contrasting colors.
Variations/Alternative Methods
1. Ombre Walls: Gradually transition from a dark shade at the bottom to a lighter shade at the top. Use this in rooms with high ceilings.
2. Geometric Patterns: Use painter’s tape to create stripes or shapes on the wall for a modern look. This can add interest without making the room feel smaller.
3. Wall Mural: Consider a large mural or scenic wallpaper that draws the eye outward, creating depth.
Variations/Alternative Methods
Editor’s Choice
Pro Grade – Paint Roller Covers – 1/2 X 9 Inch Microfiber 5 Pack

Fake Window Wall Mural Sticker Mountain Lake Forest Tree Faux Window Wal…
4 Rolls Premium Painters Tape, Blue Tape, Masking Tape, Paint Tape for M…
FAQs
What if I don’t have primer? You can skip it if your walls are in good condition and you’re using a similar color. However, primer is recommended for the best results.
How long should I wait before moving furniture back? Wait at least 24 hours for the paint to cure before moving heavy furniture back into the room.
Is it safe to paint in a small room? Yes, just ensure proper ventilation by opening windows or using a fan during the process.
Can I use leftover paint for touch-ups? Absolutely! Just make sure it matches the color and finish of your walls.
What if I change my mind about the color? You can always repaint, but ensure proper prep to avoid issues with the previous color showing through.
Conclusion

Congratulations! You’ve successfully transformed your small room with the power of paint. By applying the techniques outlined in this guide, you’ve created a more spacious and inviting environment. Take a step back and enjoy your hard work!
For your next project, consider adding new decor or furniture that complements your newly painted walls. Keep exploring ways to maximize your space, and don’t hesitate to revisit this guide whenever you need a refresher.
Remember, a fresh coat of paint can change the entire vibe of a room. Go ahead and let your creativity shine!