

A feature wall can transform your bedroom into a serene and stylish sanctuary, but many believe that creating one requires a hefty budget. Do you feel your bedroom looks bland and lacks character? You don’t have to spend a fortune to enhance your space. With some creativity and DIY skills, you can create a stunning headboard feature wall that elevates your room’s aesthetics without breaking the bank.
In this guide, you will learn how to choose materials, design your wall, and put everything together step by step. By the end of this project, you will have a beautiful feature wall that serves as a headboard, adding both style and comfort to your sleeping area. Difficulty level: beginner and Time to complete: 2-3 hours.
Let’s dive into this transformative journey. Grab your tools, and let’s get started on creating a beautiful headboard feature wall that is sure to impress!
TL;DR Summary
- Create a stunning headboard feature wall on a budget.
- Gather materials like paint, wood, or fabric for a stylish look.
- Follow simple steps to design and implement your feature wall.
- Enjoy a transformed bedroom space without spending a fortune.
Recommended Products

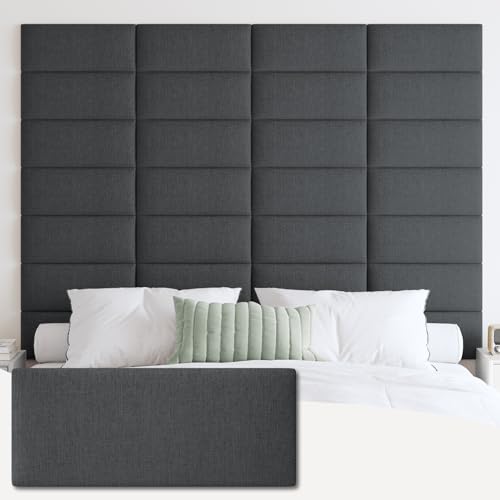
Comprehensive and Convenient Solution: our product comes in a set of 8 peel and stick headboards, ensuring flexibility and design continuity across various rooms and spaces; This convenience provides a uniform protection and design appeal without the hassle of multiple orders making it practical for bedroom, playroom application

Comprehensive and Convenient Solution: our product comes in a set of 8 peel and stick headboards, ensuring flexibility and design continuity across various rooms and spaces; This convenience provides a uniform protection and design appeal without the hassle of multiple orders making it practical for bedroom, playroom application
TL;DR Summary
Editor’s Choice

African Tribal Woman Print Fabric Tapestry Decorative Wall Art Tableclot…

DONFENTHY 3 Pieces Inspirational Pink Floral Wall Decor Wooden Hanging W…

Canvas Wall Art for Bathroom Bedroom Decor Abstract Sexy Nude Woman Blac…
Prerequisites/Materials Needed
- Materials:
- Paint or wallpaper
- Wood planks or plywood
- Fabric (if using for a soft headboard)
- Adhesive or nails
- Sandpaper
- Paintbrushes or rollers
- Tools:
- Measuring tape
- Level
- Hammer or nail gun
- Scissors (for fabric)
- Paint tray
Recommended Products

[Queen Size Headboard System] 9-panel upholstered headboard designed exclusively for queen beds, providing full-width coverage with premium padded support. It pairs with floating headboard designs and works with respaldar de cama queen setups.

Effortless Installation: Easily mountable to the wall with included strong, double-sided tape, requiring no tools or hardware.
Prerequisites/Materials Needed
Editor’s Choice

40 Pcs Foam Brush,1” Foam Paint Brushes, Wood Handle Sponge Paint Brus…

Weldbond Extra Strength Wood Glue for Woodworking, Furniture Repair & DI…

12 Pack Basswood Sheets for Crafts 12 x 4 x 1/8 Inch-3 mm Thick Unfinish…
Skill Level & Time Estimate
Skill Level: beginner
Total time estimate: 2-3 hours. Here’s a breakdown:
- Gather materials: 30 minutes
- Prepare the wall: 30 minutes
- Install feature wall: 1-2 hours
Skill Level & Time Estimate
Editor’s Choice
White Paint for Wall, 17.6 Floz Wall Touch Up Paint With Roller

WORKPRO Pneumatic Brad Nailer, 18 GA, 2 in 1 Nail Gun and Crown Stapler,…

IFNOW Upholstered Wall Mounted Headboard, 3D Soundproof Wall Panels Peel…
Step 1: Choose Your Design

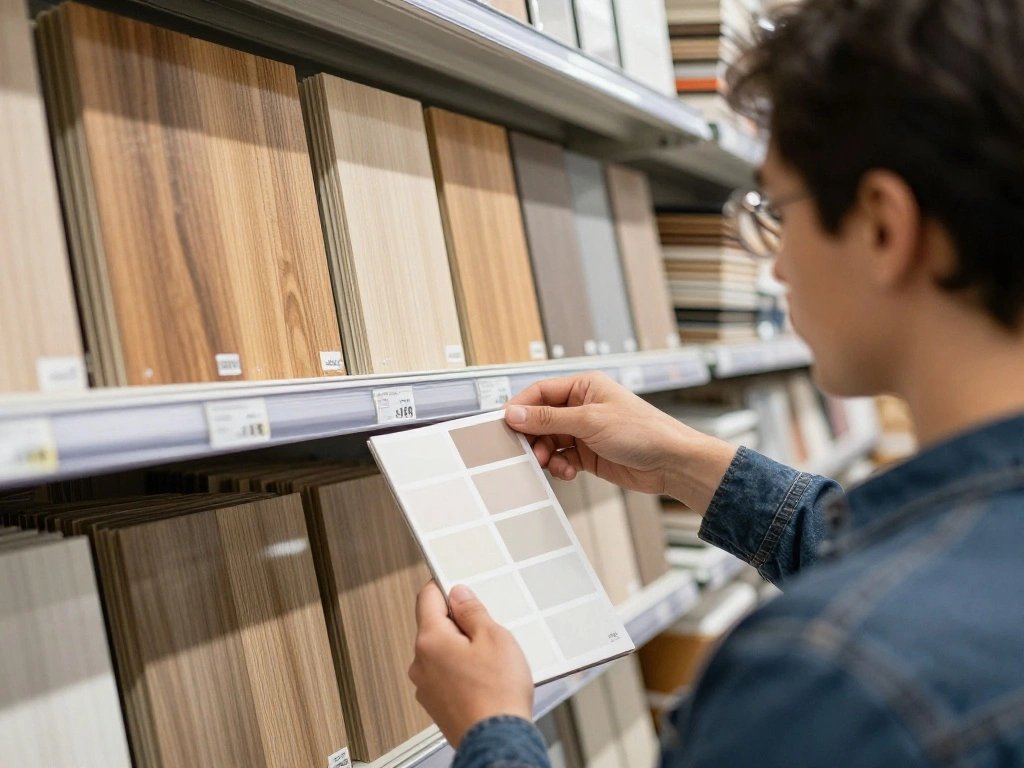
Begin by deciding on the design of your feature wall. Consider the colors and materials that will complement your existing bedroom decor.
- Look for inspiration online or in magazines.
- Decide whether you want a painted, wooden, or fabric wall.
- Sketch your design or create a mood board for reference.
Pro Tip: Choose colors that create a calming atmosphere, such as soft blues or greens. Warning: Avoid overly dark colors if your room has limited natural light.
Time estimate for this step: 30 minutes.
Recommended Products

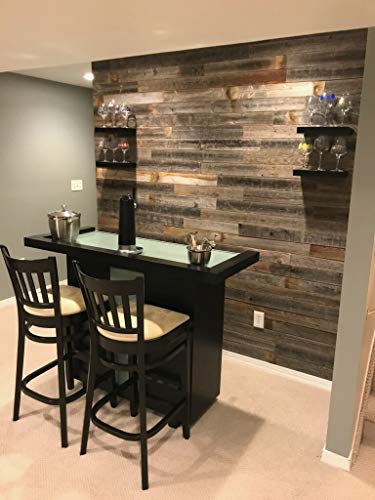
RECLAIMED WOOD ACCENT: Real reclaimed and recycled wood, naturally-weathered wood paneling adds a beautiful, rustic accent to your walls

【REAL WOOD】– Made of 100% dried fir wood imitating vintage reclaimed barnwood appearance for interior finish. The colors will vary from browns to grays depending on the batch.

EASY TO INSTALL: 3/8'' Thickness & Various Lengths Ensures Sturdy Boards For A Lifetime Of Enjoyment
Step 1: Choose Your Design
Editor’s Choice

The Color Palette – 500 by 3Ina for Women – 0.28 oz Palette

Riyidecor Fashion Brown Leopard Shower Curtain 60Wx72H Inch Cheetah Prin…

2026 Vision Board Clip Art Book: 600+ Powerful Pictures, Quotes, Words &…
Step 2: Gather Your Materials
Once you have your design, it’s time to gather all the necessary materials. This ensures you have everything on hand for a smooth project execution.
- Make a checklist of all the materials from the previous section.
- Purchase or collect items from your home.
- Ensure you have the right tools for installation.
Pro Tip: Check local thrift stores or online marketplaces for budget-friendly materials. Warning: Don’t rush the shopping process; missing materials can delay your project.
Time estimate for this step: 30 minutes.
Step 2: Gather Your Materials
Editor’s Choice
4″ 60W MINI ELECTRIC TABLE SAW BENCH TOP GREAT ELECTRIC HOBBY CRAFT TABL…

TONOR Wood Slatwall Panels, 4 Pack 47.2″ x 23.6″/ 120 x60cm(31ft²) Acou…

Varathane Premium Fast Dry Wood Stain | 1 Hour Dry Time | 1 Coat Color |…
Step 3: Prepare the Wall
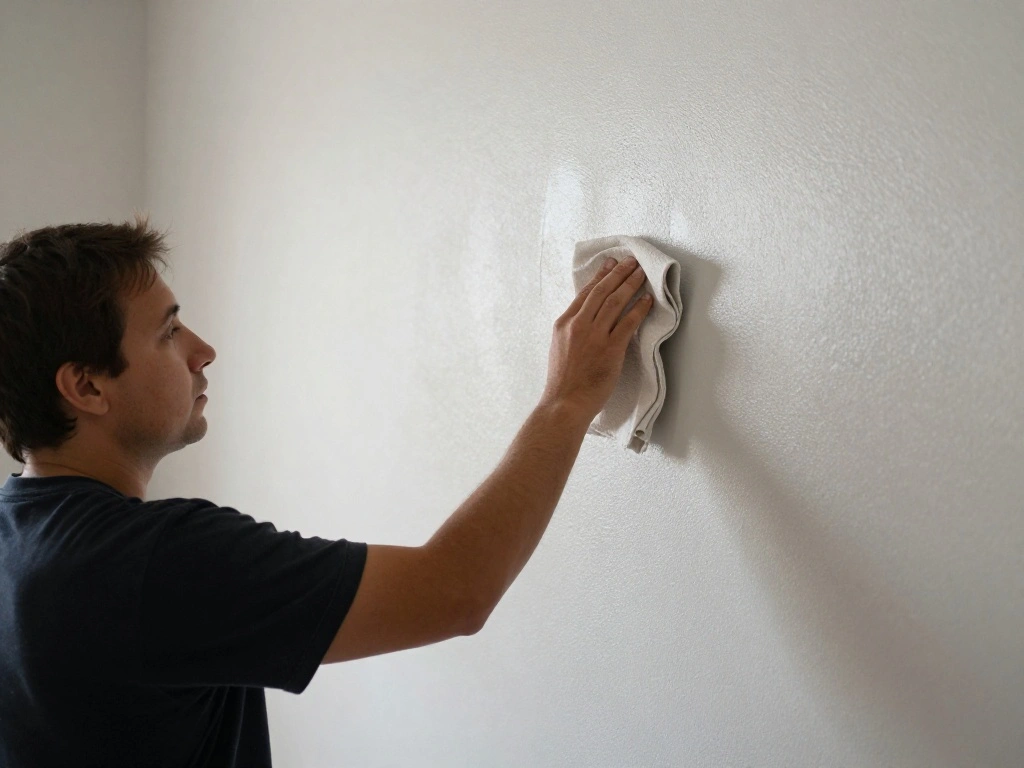
Preparing the wall is crucial for a successful installation. This step involves cleaning and priming the surface to ensure the paint or adhesive adheres properly.
- Remove any furniture or items from the wall area.
- Clean the wall with a damp cloth to remove dust and debris.
- If painting, apply a primer to enhance color vibrancy.
Pro Tip: Use painter’s tape to protect edges and create clean lines. Warning: Skipping wall prep can lead to peeling paint or uneven surfaces.
Time estimate for this step: 30 minutes.
Recommended Products

Premium Crystal Material The crystal upholstery nails are made of high quality clear glass material, with silver plated strong metal base and good handfeel and durable.

Effortless Installation: Easily mountable to the wall with included strong, double-sided tape, requiring no tools or hardware.

Comprehensive and Convenient Solution: our product comes in a set of 8 peel and stick headboards, ensuring flexibility and design continuity across various rooms and spaces; This convenience provides a uniform protection and design appeal without the hassle of multiple orders making it practical for bedroom, playroom application
Step 3: Prepare the Wall
Editor’s Choice

Zinsser 02244 Bulls Eye Water-Base Primer and Sealer, Quart, White

4 Rolls Premium Painters Tape, Blue Tape, Masking Tape, Paint Tape for M…

Scrub Daddy Damp Duster Towel – Durable Sponge-Like Dust Cleaner for Mul…
Step 4: Measure and Mark Your Wall
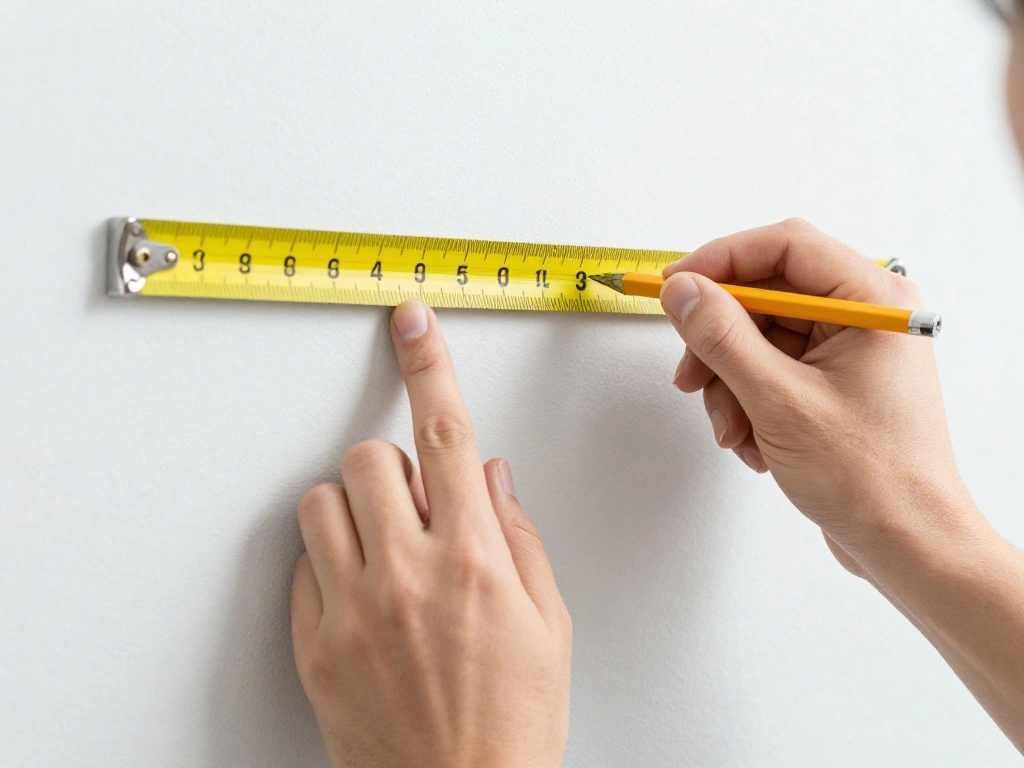
Accurate measurements ensure your feature wall is aligned and centered. This step helps avoid mistakes that could require redoing your work.
- Use a measuring tape to find the center of the wall.
- Mark the height and width of your design with a pencil.
- Double-check your measurements for accuracy.
Pro Tip: Use a level to ensure straight lines. Warning: Incorrect measurements can lead to a crooked appearance.
Time estimate for this step: 20 minutes.
Recommended Products

COMFORTABLE MATERIAL: Terry cloth as an external material can provide a towel-like touch. The inner material is high elasticity foam and wooden boards to ensure impact protection.
FRIENDLY REMINDER: For the best installation of our wall mounted headboard, wipe the wall clean and dry before installation to allow the glue to adhere more closely. If you want to stick it on a textured painted wall or diatom mud raised wall, it is recommended to use the included nail-free glue for reinforcement

COMFORTABLE MATERIAL: Terry cloth as an external material can provide a towel-like touch. The inner material is high elasticity foam and wooden boards to ensure impact protection.
Step 4: Measure and Mark Your Wall
Editor’s Choice

Torpedo Level Magnetic, Firecore 9 Inch Shockproof Small Leveler Tool wi…

Digital Caliper, Sangabery 0-6 inches Caliper with Large LCD Screen, Aut…

BIC Xtra Smooth Mechanical Pencil with 0.7 mm Medium Point ,Refillable a…
Step 5: Install the Feature Wall
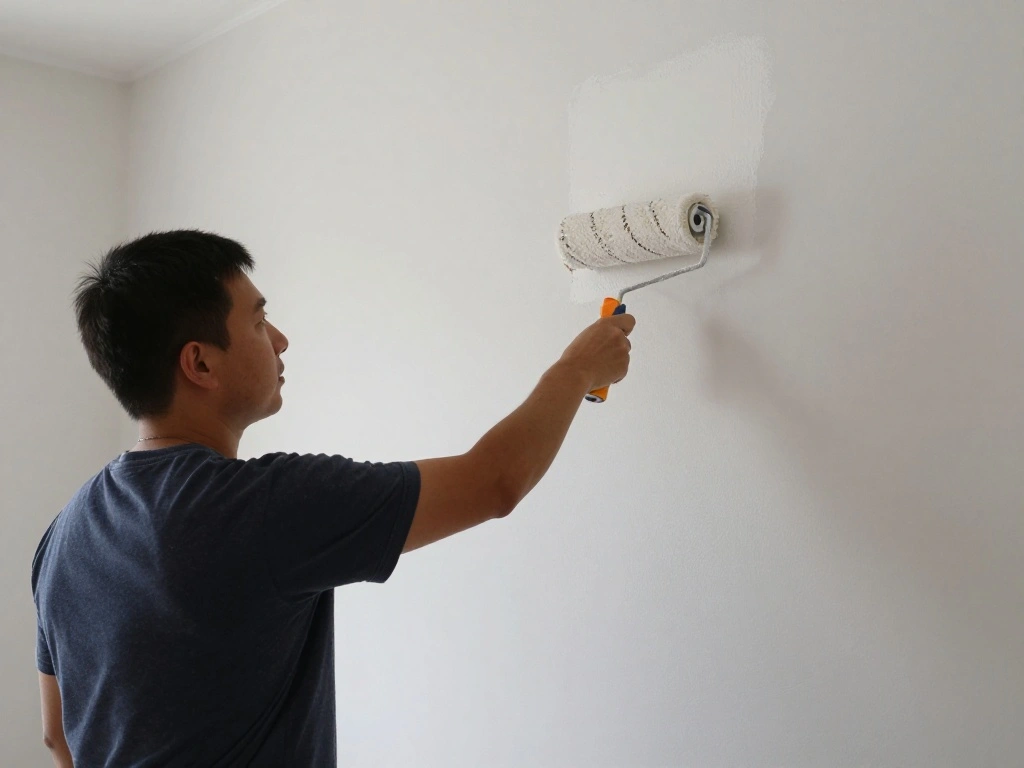
Now it’s time to bring your design to life! This step involves applying paint, attaching wood, or hanging fabric.
- If painting, use a roller or brush to apply the first coat.
- For wood, start by securing the bottom piece using adhesive or nails.
- If using fabric, stretch it across the wall and secure with adhesive.
Pro Tip: Work in sections for a neat finish. Warning: Ensure your adhesive is suitable for your wall type to prevent damage.
Time estimate for this step: 1-2 hours.
Step 5: Install the Feature Wall
Editor’s Choice

Pro Grade Paint Roller Kit, Brush & Roller,10 Piece Set, Wall Painting N…

3M Super 77 Multi-Surface Spray Adhesive, 7.35 oz., Low VOC, Quick Bond,…
Step 6: Add Finishing Touches
Finishing touches personalize your feature wall. This could involve adding decorative elements or protective coatings.
- Apply a second coat of paint if necessary.
- Add wall art, sconces, or decorative pillows for a complete look.
- Consider using a sealant for painted or wooden walls for durability.
Pro Tip: Incorporate personal items like photos or artwork to make the space your own. Warning: Avoid overcrowding the wall with too many elements, as it may look cluttered.
Time estimate for this step: 30 minutes.
Recommended Products
RECLAIMED WOOD ACCENT: Real reclaimed and recycled wood, naturally-weathered wood paneling adds a beautiful, rustic accent to your walls

RECLAIMED WOOD ACCENT: Real reclaimed and recycled wood, naturally-weathered wood paneling adds a beautiful, rustic accent to your walls

Real Wood Wall Planks: 100% Real Barn Wood Wall Planks With Natural Knots and Dents, the Surface Of Wood Shiplap Planks Is Processed With High Temperature Carbonization, the Real Wood Wall Shiplap Planks Is Non-Toxic, Sterilized and More Safe For Children, Voc Free Process Ensures These Stick on Shiplap Planks For Walls Are Safe To Use In Home
Step 7: Clean Up
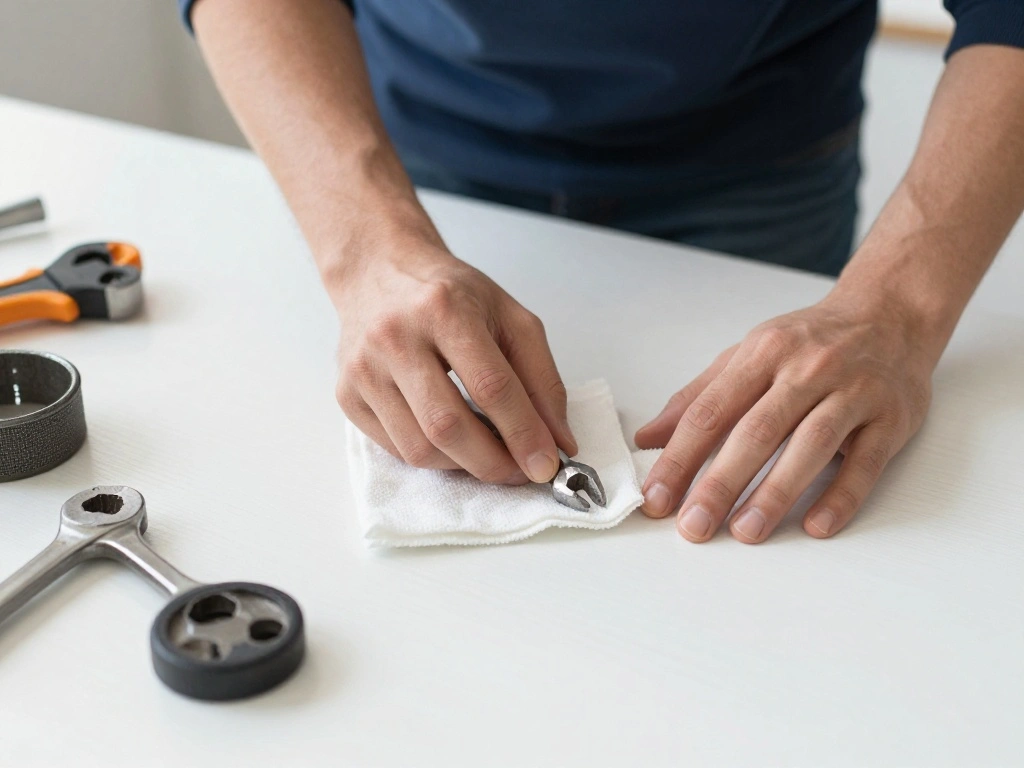
After completing the installation, it’s important to clean up your workspace to avoid accidents and maintain a tidy environment.
- Remove any painter’s tape carefully.
- Dispose of any trash or leftover materials properly.
- Store tools and leftover supplies in their designated places.
Pro Tip: Take a moment to admire your work before cleaning up! Warning: Leaving tools out can lead to accidents, especially in a bedroom space.
Time estimate for this step: 20 minutes.
Step 7: Clean Up
Editor’s Choice

CRAFTSMAN Storage Organizer, Small Parts Organizer, 3-Packs with 10-Comp…
4 Rolls Premium Painters Tape, Blue Tape, Masking Tape, Paint Tape for M…

Hefty Strong 30 Gallon Trash Bags, Large Trash Bags 30 Gallon Size, Dura…
Step 8: Enjoy Your New Space
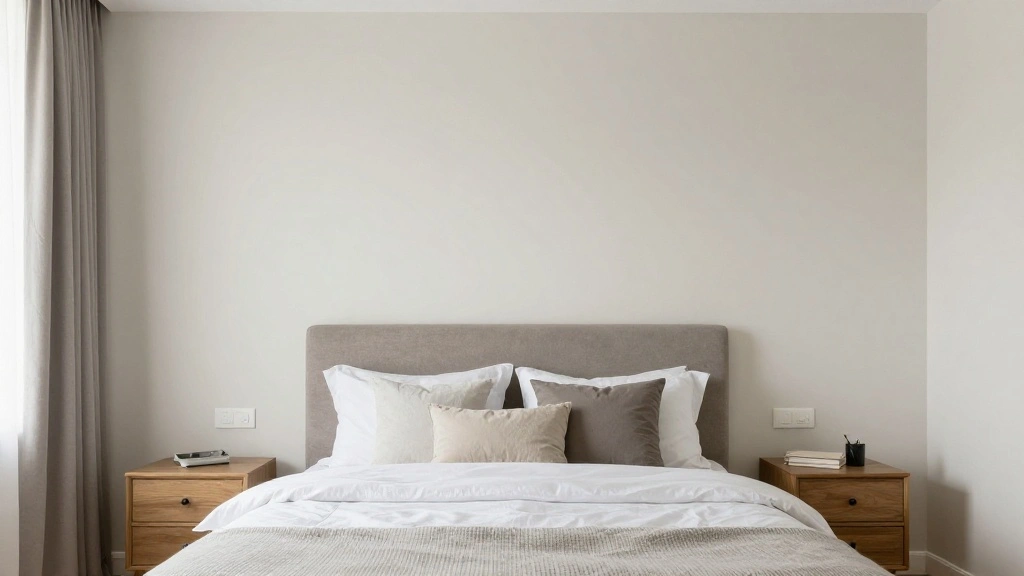
Finally, take the time to enjoy your newly created headboard feature wall. This is your reward for all the hard work you put in!
- Arrange your bedding and furniture to complement the new feature wall.
- Consider adding soft lighting to highlight the wall.
- Invite friends to show off your handiwork!
Pro Tip: Take photos of your space to document your creativity. Warning: Avoid heavy furniture directly against the wall to maintain its appearance.
Time estimate for this step: 10 minutes.
Step 8: Enjoy Your New Space
Editor’s Choice

Govee RGBIC LED Strip Lights, Smart LED Lights for Bedroom, Bluetooth LE…
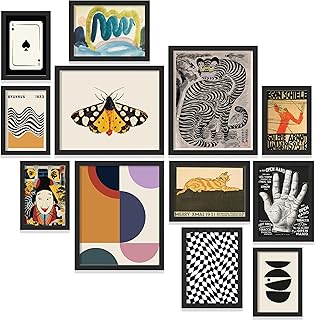
97 Decor Vintage Eclectic Wall Art Collage – Abstract Modern Art Prints …

BlissBlush Cream Decorative Lumbar Throw Pillow Cover 14×36 Boho Long Cu…
Pro Tips
- Color Coordination: Choose colors that harmonize with your bedroom’s existing palette.
- Texture Variation: Mix textures (like wood and fabric) for a more dynamic look.
- Lighting: Use soft lighting to enhance the ambiance of your feature wall.
- Personal Touch: Incorporate personal items or memories in your decor.
- Seasonal Changes: Change decor with the seasons for a fresh look throughout the year.
Pro Tips
Editor’s Choice

15.7″ X 118″ Black Silk Wallpaper Embossed Self Adhesive Peel and Stick …

ANERZA 16 PCS Framed Sage Green Wall Art Decor, Matisse Wall Prints for …

KSIPZE 100ft Led Strip Lights RGB Music Sync Color Changing Led Lights w…
Common Mistakes to Avoid
Warning: Skipping wall preparation can lead to peeling paint or uneven surfaces. Always clean and prime the wall before starting.
Warning: Incorrect measurements can lead to a crooked appearance. Double-check your measurements before installation.
Warning: Overcrowding the wall with decor can make the space feel cluttered. Stick to a few key pieces for visual impact.
Common Mistakes to Avoid
Editor’s Choice

1 Quart Bulls Eye 1-2-3 Primer Sealer Stain Killer

FZMHASLWW Humorous Motivational Bathroom Wall Decor 32″×12″ Life Is Lik…

CRAFTSMAN 25-Ft Tape Measure with Fraction Markings, Retractable, Self-L…
Troubleshooting Section
Problem: Paint is peeling or bubbling.
Solution: Ensure proper wall preparation next time. Remove peeling paint and reapply a primer before painting.
Problem: Wall art or decor is falling.
Solution: Ensure you use the right adhesive or nails suitable for your wall type. Check weight limits for hanging items.
Problem: Colors look different than expected.
Solution: Test paint colors in different lighting before full application.
Troubleshooting Section
Editor’s Choice
Zinsser 02244 Bulls Eye Water-Base Primer and Sealer, Quart, White

5 Large Size Heavy Duty Wall Hooks, Coat Hooks for Hanging Pans, Backpac…
Variations/Alternative Methods
- Fabric Wall: If paint isn’t your style, consider using fabric. It adds softness and warmth to the space.
- Wood Paneling: For a rustic look, install wooden panels instead of painting. This adds texture and character.
- Temporary Wallpaper: Use peel-and-stick wallpaper for a quick, reversible option.
Variations/Alternative Methods
Editor’s Choice

60 Pcs 4″ x 4″(10cm x 10cm) Assorted Craft Fabric Bundle Squares Patchwo…
Laatse Vintage Wallpaper Peel and Stick Black Floral Wallpaper 17.5” x …

Wood Panels for Wall, Soundproof & Acoustic Wood Slat Wall Panel for Int…
FAQs
What if I don’t have a lot of time? Consider a simpler design or use peel-and-stick wallpaper for a quick upgrade.
How long should I wait before using the wall? Allow paint or adhesive to cure for at least 24 hours before placing heavy items against it.
Is it safe to use fabric on the wall? Yes, as long as you use appropriate adhesive and ensure it’s not flammable.
FAQs
Editor’s Choice

Body Adhesive Glue for Clothes 20ml, Sweat Proof, Water Wash Off Skin Ad…

Laatse Boho Wallpaper Peel and Stick Dark Floral Wallpaper for Cabinet V…

4 PCS Woman Face Outline Wall Decal Beautiful Woman Profile Eyes Lips Wa…
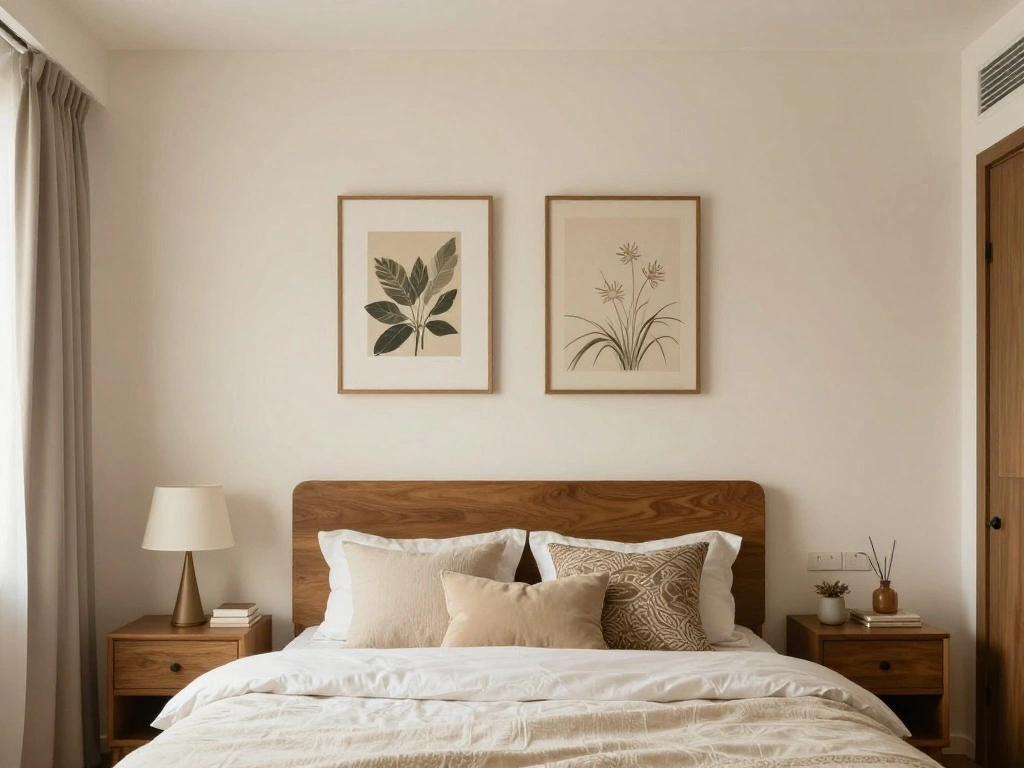
Conclusion

Congratulations! You’ve successfully created a beautiful headboard feature wall that enhances your bedroom’s character. Take a moment to appreciate your hard work. Now that you’ve transformed your space, consider adding personal touches like framed photos or plants to make it even more inviting.
For future projects, keep exploring DIY ideas to personalize your home. Remember, a little creativity can go a long way in making your space truly yours. Enjoy your refreshed sanctuary!