
Living in a tiny space can often feel limiting, especially when it comes to dining and entertaining. A drop-leaf table can be a game changer, providing flexibility and functionality without taking up too much room. If you struggle with limited space, setting up a drop-leaf table can help you maximize your area while still enjoying meals with family and friends.
In this guide, you’ll learn how to effectively set up a drop-leaf table, making the most of your small space. By the end, you’ll know how to choose the best table, position it for optimal flow, and create a cozy dining area that feels welcoming.
This guide is designed for beginner users and will take approximately 1-2 hours to complete. You’ll gain practical knowledge on selecting, arranging, and styling a drop-leaf table specifically for tiny spaces.
Ready to optimize your living space and make dining enjoyable? Let’s dive in!
TL;DR Summary
- Choose the right drop-leaf table based on size and style.
- Identify the best location for your table to maximize space.
- Set up the table and adjust the leaves according to your needs.
- Style the table to enhance the ambiance of your tiny space.
TL;DR Summary
Editor’s Choice

Jocoevol Space Saving Folding Dining Table for 4, Foldable Dining Table …

2 Pack Stackable & Foldable Conference Room Chairs with Lumbar Support, …
Prerequisites/Materials Needed
- Drop-leaf table: 1 unit (size depending on your space)
- Chairs: 2-4 units (consider stackable or folding options)
- Tablecloth (optional): 1 unit (to match your decor)
- Decor items: 2-3 (e.g., a vase, candles, or a small centerpiece)
- Measuring tape: 1 unit
- Level (optional): 1 unit (to ensure the table is stable)
Prerequisites/Materials Needed
Editor’s Choice

CRAFTSMAN 25-Ft Tape Measure with Fraction Markings, Retractable, Self-L…
Skill Level & Time Estimate
Skill Level: beginner
Total time estimate: 1-2 hours
Breakdown of time:
- Choosing the table: 15-30 minutes
- Setting up the table: 30-45 minutes
- Styling the table: 15-30 minutes
Skill Level & Time Estimate
Editor’s Choice

Mkono Small Artificial Flowers in Ceramic Vase 12.5″ Centerpieces Coffee…
Rectangle Waterproof Tablecloth Linen Textured Table Cloth,Stain and Wri…

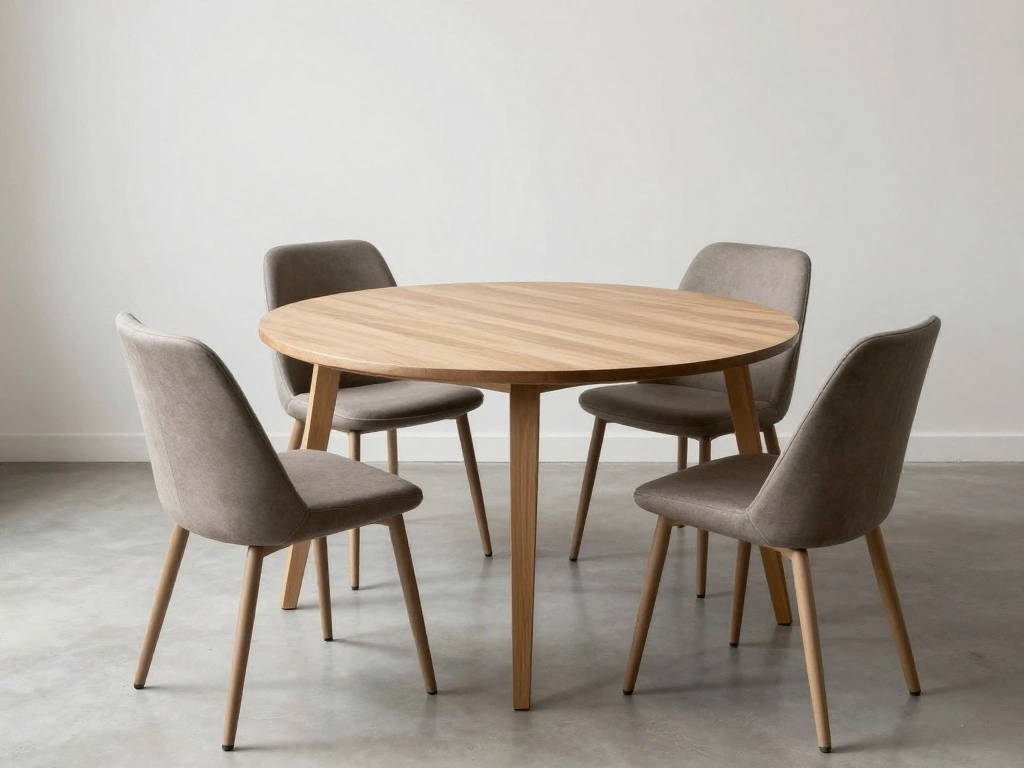
Signature Design by Ashley Hammis Round Dining Room Drop Leaf Table, Sea…
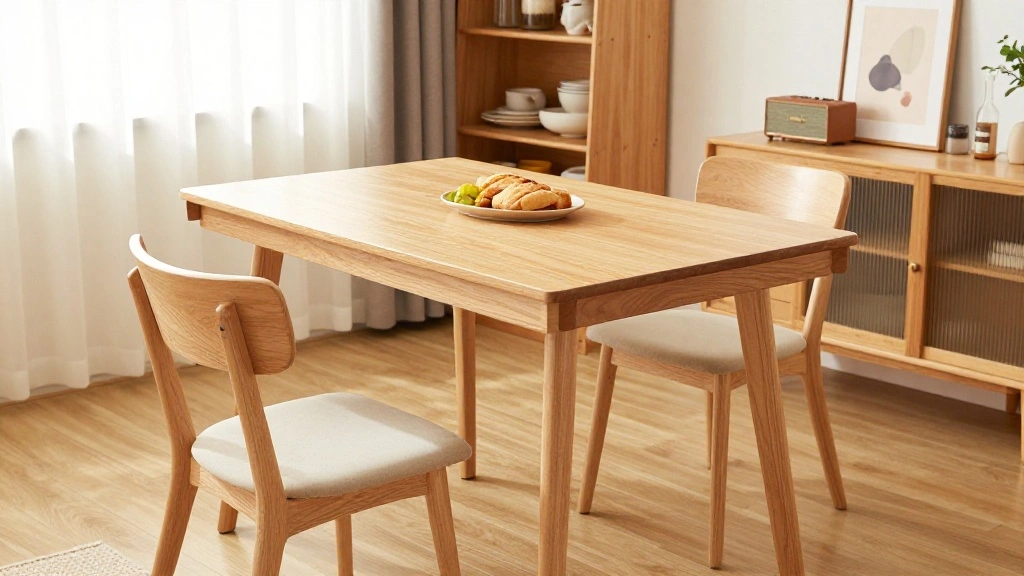
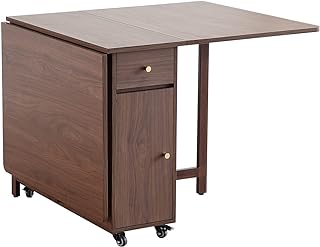
Step 1: Choose the Right Drop-Leaf Table

Start by selecting a drop-leaf table that fits your space and style. Consider the following:
- Size: Measure your available space with a measuring tape. Aim for a table that fits comfortably without crowding the room.
- Style: Choose a design that complements your existing decor.
- Material: Opt for durable materials like wood or metal.
Pro Tip: Look for tables with storage options if extra space is needed.
Why this matters: Picking the right table ensures that you have a functional and aesthetically pleasing piece that enhances your living area.
Time estimate: 15-30 minutes.
Step 1: Choose the Right Drop-Leaf Table
Editor’s Choice
CRAFTSMAN 25-Ft Tape Measure with Fraction Markings, Retractable, Self-L…
Step 2: Measure Your Space
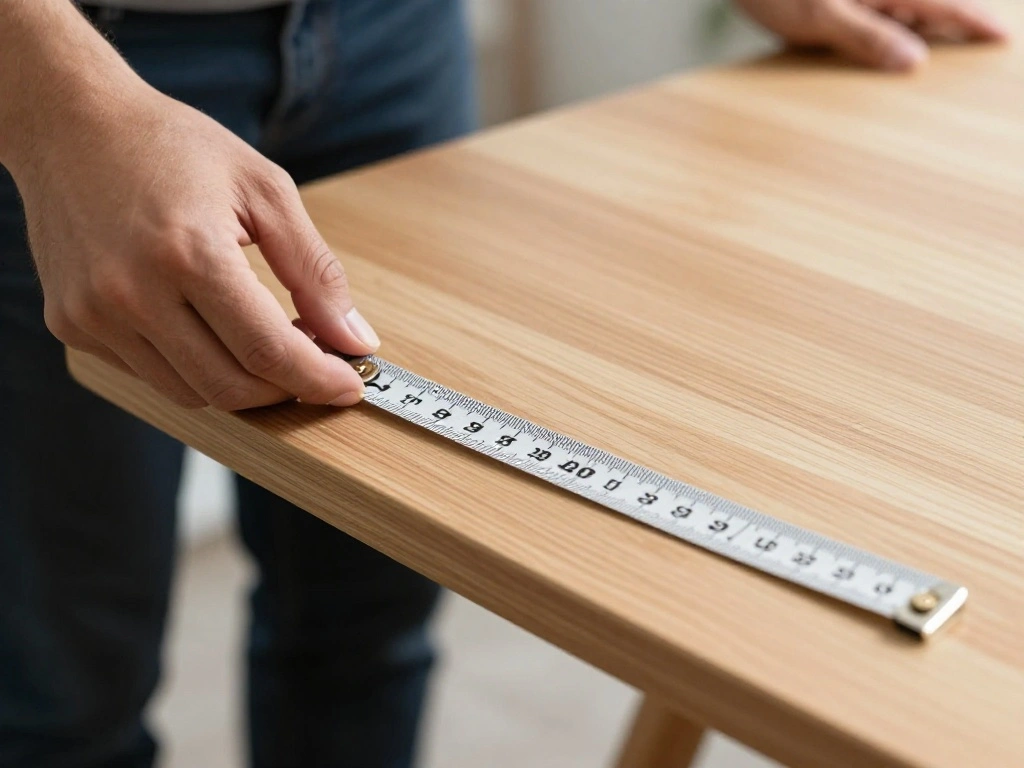
Before setting up your table, accurately measure the area where you plan to place it. Follow these steps:
- Clear the area: Remove any existing furniture or obstacles.
- Use a measuring tape: Measure the length and width of the available space. Make sure to account for room to pull out chairs.
- Mark the dimensions: Use masking tape to outline the table’s footprint on the floor, helping visualize the space it will occupy.
Warning: Don’t forget to consider traffic flow around the table to prevent crowding.
Why this matters: Proper measurements ensure that your drop-leaf table fits well in your tiny space without causing congestion.
Time estimate: 15-20 minutes.
Step 3: Position the Table
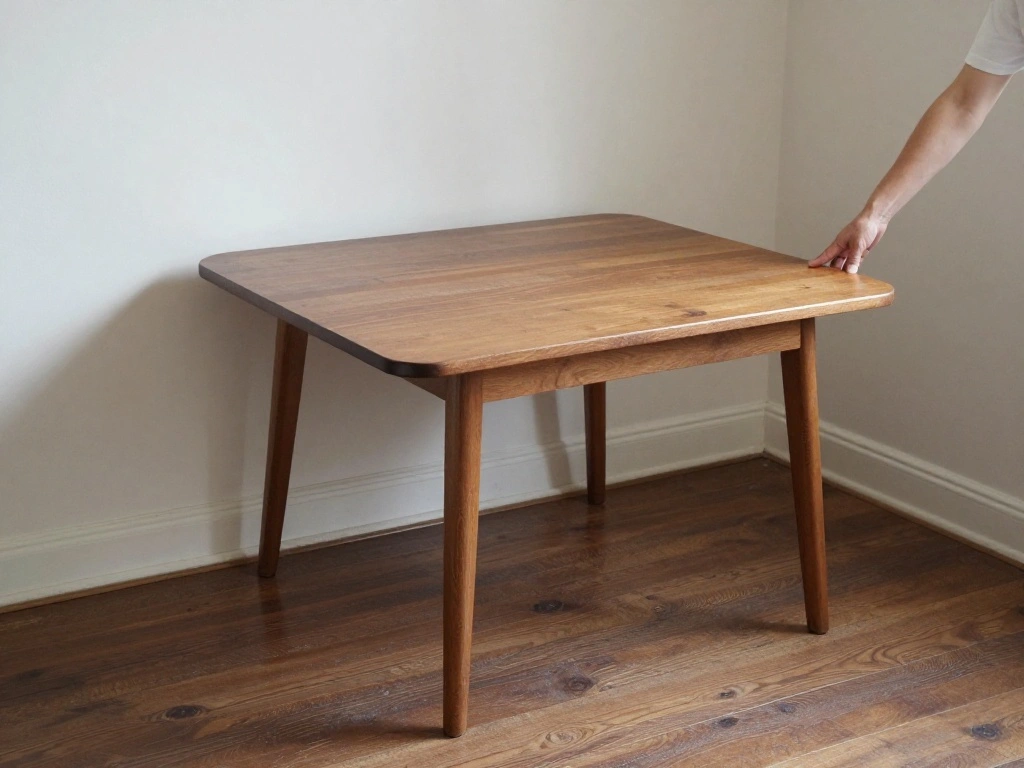
Once you have your table, it’s time to set it up in the designated area. Follow these steps:
- Place the table: Position the table based on your earlier measurements, ensuring it’s stable and secure.
- Adjust the leaves: Depending on your needs, adjust the drop-leaves to the desired position.
- Ensure stability: Use a level to check that the table is even. If it wobbles, adjust the legs or add felt pads underneath.
Pro Tip: Position the table near a wall or window for added support and to create a cozy atmosphere.
Why this matters: Proper positioning allows for comfortable dining while maximizing space efficiency.
Time estimate: 20-30 minutes.
Step 3: Position the Table
Editor’s Choice
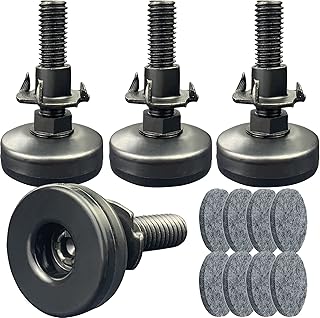
3/8″ Threaded Leveling Feet Adjustable Table/Furniture Feet Levelers Scr…
Signature Design by Ashley Hammis Round Dining Room Drop Leaf Table, Sea…

Scotch Felt Pads 162 PCS Beige, Felt Furniture Pads for Protecting Hardw…
Step 4: Add Chairs
Now that the table is in place, it’s time to add chairs. Follow these steps:
- Select chairs: Choose chairs that complement the table’s design and fit comfortably around it.
- Consider space-saving options: If space is limited, opt for stackable or folding chairs that can be stored away when not in use.
- Arrange the chairs: Place the chairs around the table, ensuring there’s enough room to move in and out comfortably.
Warning: Avoid overcrowding the area; ensure there’s enough space for people to sit and stand without obstruction.
Why this matters: Proper chair selection and arrangement enhance the functionality of your dining space.
Time estimate: 15-20 minutes.
Step 4: Add Chairs
Editor’s Choice

Nazhura 4 Pack Folding Chairs, Fabric Dining Chair Set with Padded Cushi…

Folding Office Chair, Conference Room Chairs, Include Mesh Back, Arms, W…

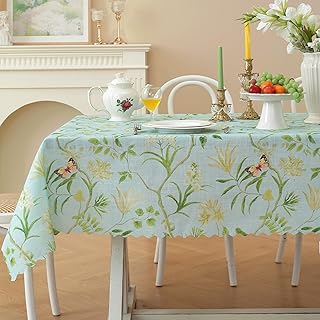
Step 5: Style the Table
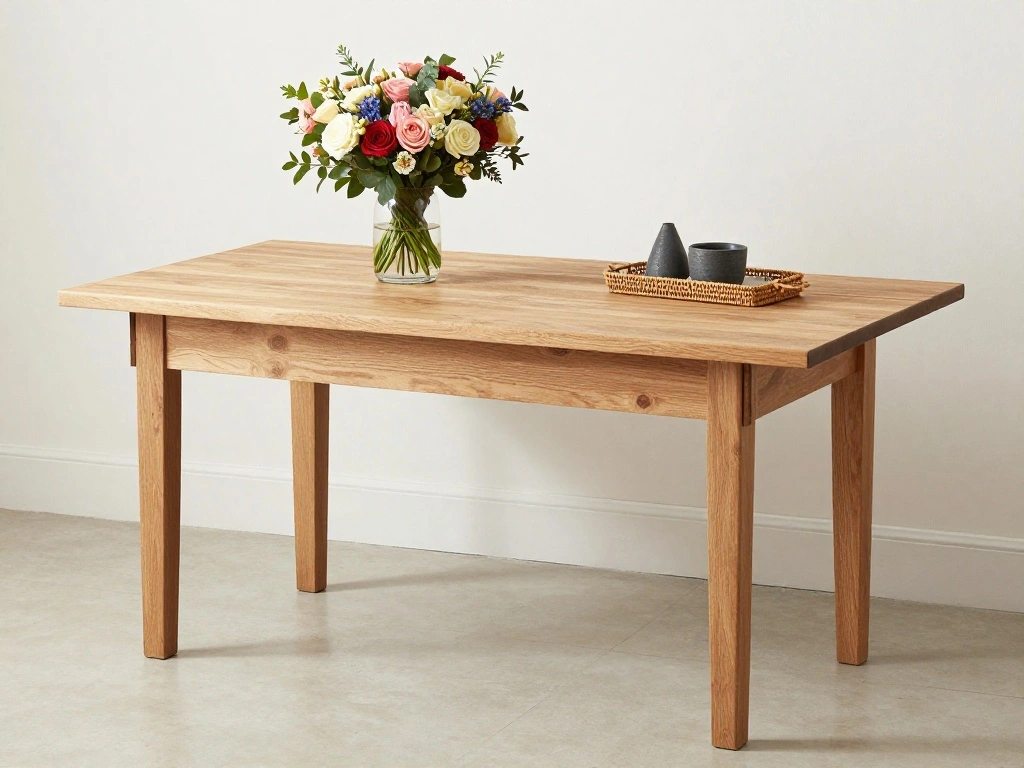
To make your dining area inviting, style the table with decor. Follow these steps:
- Choose a tablecloth: If desired, add a tablecloth that matches your decor. This can soften the look and protect the table.
- Set a centerpiece: Add a small vase of flowers or a decorative item to create visual interest.
- Incorporate lighting: If possible, place a small lamp on the table or nearby to create a warm ambiance.
Pro Tip: Use seasonal decorations to keep the table fresh and inviting throughout the year.
Why this matters: Styling the table adds personality and makes the space more enjoyable for dining.
Time estimate: 20-30 minutes.
Step 5: Style the Table
Editor’s Choice
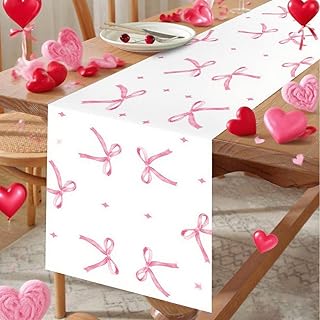
1 PC Pink Bow Table Runner 72 Inches ,Bow Theme Decoration Table Cover C…

Women Bedside Table Lamps for Bedroom, Cute Flower Desk Lamp With Adjust…

Ceramics Statue Flower Vase Face Pots Bust Head Shaped for Birthday Gift…
Step 6: Organize Table Settings
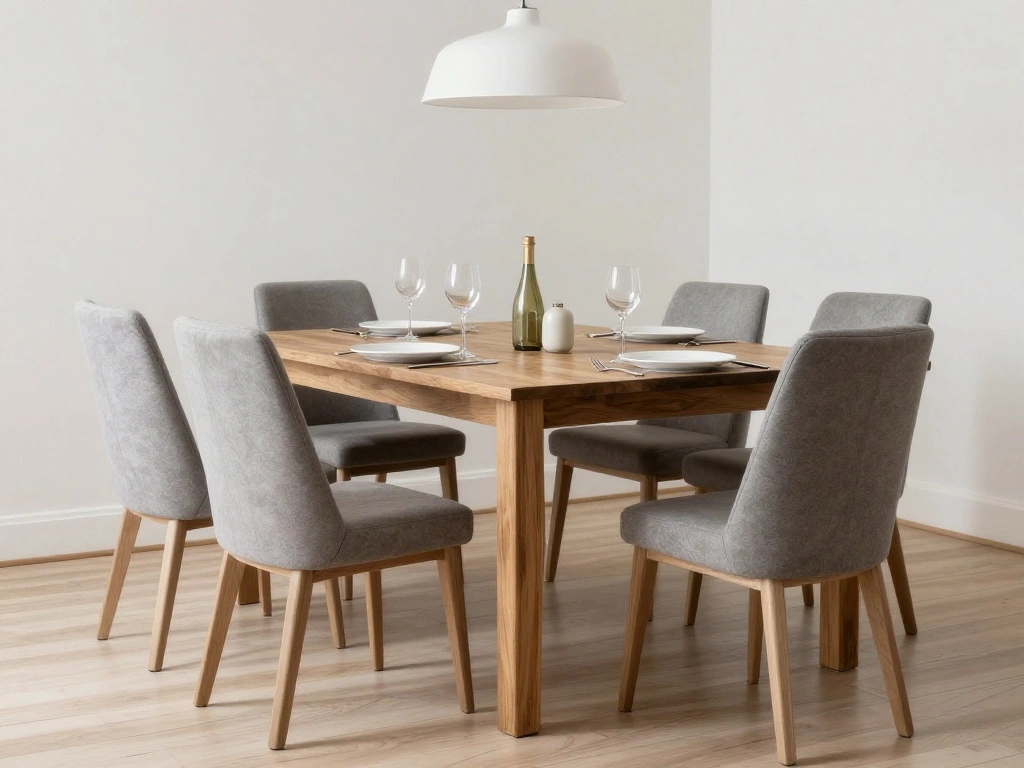
Now that your table is styled, it’s time to set it up for dining. Here’s how:
- Set the table: Lay out plates, silverware, and glasses for each setting.
- Consider functionality: Ensure that items are placed within easy reach for guests.
- Add personal touches: Consider adding name cards or personalized items for a special touch.
Warning: Avoid overcrowding the table with too many items; keep it simple and elegant.
Why this matters: A well-organized table enhances the dining experience and makes it easier for guests to enjoy their meal.
Time estimate: 15-20 minutes.
Step 6: Organize Table Settings
Editor’s Choice

Personalized Gold Silver Initial letters Credit Card Holder Wallet for M…

Quatish 24 Piece Plates and Bowls Sets for 6, Unbreakable Dinnerware Set…

2 Pack Navy Blue Small Short Table Runner 12 x 36 Inch Solid Color Runne…
Step 7: Create a Cozy Atmosphere

Finally, enhance the vibe of your dining space. Follow these steps:
- Adjust lighting: Use soft lighting to create a relaxed atmosphere. Dim lights or candles work well.
- Add textures: Incorporate soft fabrics or cushions around the area for comfort.
- Play music: Consider playing soft background music to enhance the dining experience.
Pro Tip: Use scented candles or essential oils to add a pleasant aroma to the space.
Why this matters: A cozy atmosphere makes dining more enjoyable and inviting for everyone.
Time estimate: 15-20 minutes.
Step 7: Create a Cozy Atmosphere
Editor’s Choice

EZVALO Wireless Makeup Light 2 Pack, Vanity Lights for Mirror,Bathroom M…

Butterfly Pillow Embroidered Throw Pillows Gifts for Woman Mother Adults…

AOOVOO Lavender Scented Candles for Women – Aromatherapy Candle with Cry…
Step 8: Maintain the Table
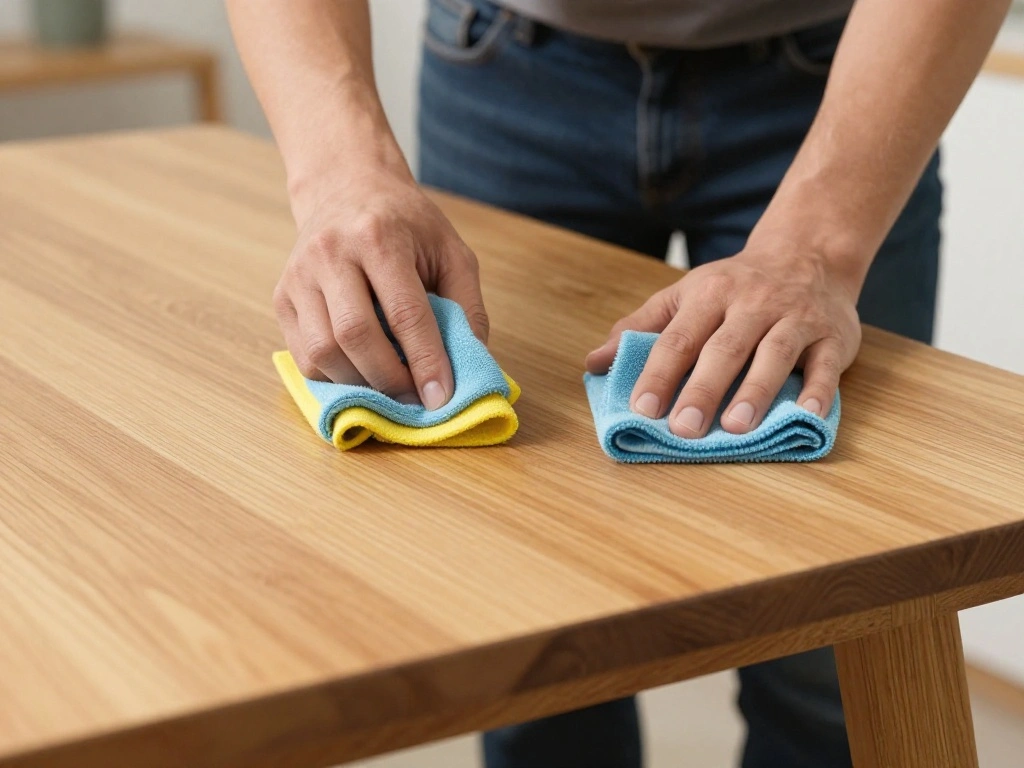
After setting up, it’s important to maintain your drop-leaf table for longevity. Here’s how:
- Regular cleaning: Wipe down the table after each use to prevent stains.
- Check for damage: Regularly inspect the table for any signs of wear or damage.
- Reinforce stability: Tighten any loose screws or joints periodically to ensure the table remains sturdy.
Warning: Neglect can lead to damage or instability, so make maintenance a priority.
Why this matters: Proper care extends the life of your table and keeps it looking good.
Time estimate: 10-15 minutes.
Step 8: Maintain the Table
Editor’s Choice

Titebond III Ultimate Wood Glue, 16-Ounces #1414

100 Piece Floor Cleaning Tablets Multi-Surface Cleaner, Floor Cleaning T…

JOREST 40Pcs Small Precision Screwdriver Set with Torx Triwing Phillips,…
Step 9: Enjoy Your Space

Now that your drop-leaf table is set up and styled, it’s time to enjoy the space! Here’s how:
- Invite friends and family: Host a small gathering to showcase your new dining setup.
- Try new recipes: Use the table as a place to experiment with cooking and hosting.
- Use it daily: Make it a habit to enjoy meals at your new table to truly savor the benefit of your setup.
Pro Tip: Take the time to appreciate your space and how it contributes to your daily life.
Why this matters: Making the most of your new setup will enhance your living experience in a tiny space.
Time estimate: Ongoing enjoyment!
Pro Tips
- Multi-functional furniture: Look for tables that can also serve as desks or workspaces.
- Color coordination: Choose colors that blend with your existing decor for a cohesive look.
- Invest in quality: A well-made drop-leaf table pays off in durability and appearance.
- Use wall space: Hang decor or shelves above the table to save space and add style.
- Seasonal updates: Change table decor with the seasons to keep things fresh and interesting.
Pro Tips
Editor’s Choice

KSDUT Flower Candle Wall Art Decor – Botanical Neutral Mid Century Moder…
Qsun Kitchen Island with Drop Leaf and Storage, on Wheels Two Drawers, L…

BAYKA Wall Mounted Floating Bathroom Shelves, Wood Wall Shelf for Bathro…
Common Mistakes to Avoid
Warning: One common mistake is choosing a table that is too large for the space. This can lead to crowding and discomfort. Always measure before buying.
Warning: Another mistake is neglecting to consider the height of chairs relative to the table. Ensure chairs are comfortable and the right height.
Warning: Avoid overdecorating the table. Too many items can make it feel cluttered. Stick to a few key pieces for a clean look.
Common Mistakes to Avoid
Editor’s Choice

COLAMY Wooden Dining Chairs Set of 2, Modern Fabric Upholstered Kitchen …

Folding Dining Room Table for 4/6 with 35.4″ Extra Wide Space Saving Dro…
Troubleshooting Section
Problem: The table wobbles.
Solution: Check the legs for stability and adjust or add felt pads if necessary.
Problem: Chairs don’t fit under the table.
Solution: Consider using smaller or stackable chairs that can tuck in easily.
Problem: The table feels crowded.
Solution: Reassess the layout and move furniture around for better flow.
Problem: Table leaves are difficult to adjust.
Solution: Check for obstructions and ensure the hinges are functioning properly.
Problem: Decor feels overwhelming.
Solution: Simplify by removing unnecessary items and focusing on a few focal pieces.
Troubleshooting Section
Editor’s Choice

Chair Leg Floor Protectors 1 inch, Silicone Chair Leg Caps Felt Furnitur…

Modern Stackable Dining Chair Set, No Assembly, Plastic Chair, Patio Cha…

Mr. Pen- House Plan, 3 pcs, Interior Design and Furniture Templates, Cle…
Variations/Alternative Methods
Consider these variations for different needs:
- Drop-leaf tables with storage: Great for extra space in tight areas.
- Folding tables: Perfect for a flexible solution that can be easily stored away.
- Extendable tables: These can be adjusted for larger gatherings while still being compact.
Each option has its pros and cons, so choose based on your specific needs and space constraints.
Variations/Alternative Methods
Editor’s Choice

41 in-78 in Extendable Dining Room Table for 4-8, Round Expandable Kitch…
Sweetcrispy 4 FT Folding Picnic Table Easy to Fold and Store, Foldable T…
COMUHOME Extendable Drop Leaf Foldable Dining Table with 2 Drawers and 4…
FAQs
What if I don’t have enough room for a standard table?
Consider using a drop-leaf table that can be extended when needed and folded down when not in use.
How long should my drop-leaf table be?
A good rule of thumb is to allow 24 inches of width per person for dining comfortably.
Is it safe to use a drop-leaf table for heavy items?
Always check the manufacturer’s weight capacity. Avoid placing excessive weight on the leaves when they are down.
Can I paint my drop-leaf table?
Yes, painting can give your table a fresh look, but ensure you use appropriate paint for the material.
How do I clean my drop-leaf table?
Use a damp cloth with mild soap; avoid harsh chemicals that can damage the finish.
FAQs
Editor’s Choice

Prime-Line EP 24051 Steel Friction and Limit Device (Single Pack)
Signature Design by Ashley Hammis Round Dining Room Drop Leaf Table, Sea…
Conclusion

Congratulations! You’ve set up your drop-leaf table in a tiny space and created a functional and inviting dining area. Enjoy all the benefits that come with it, from cozy meals to hosting gatherings.
As you continue to enjoy your space, consider exploring other ways to maximize your tiny home, such as multifunctional furniture or creative storage solutions. Your tiny space can be both beautiful and practical!
Keep experimenting and make the space truly yours. Happy dining!