
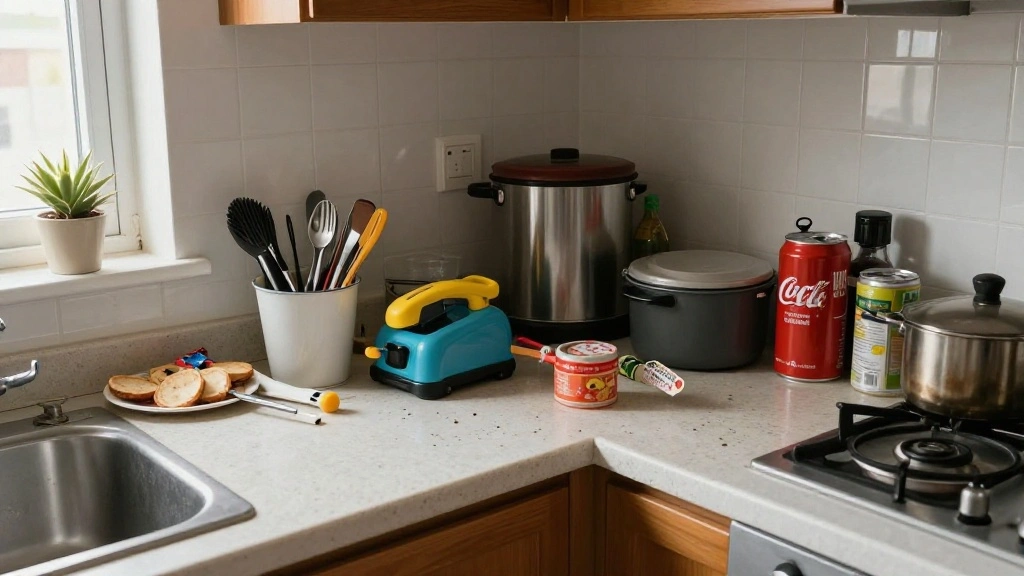
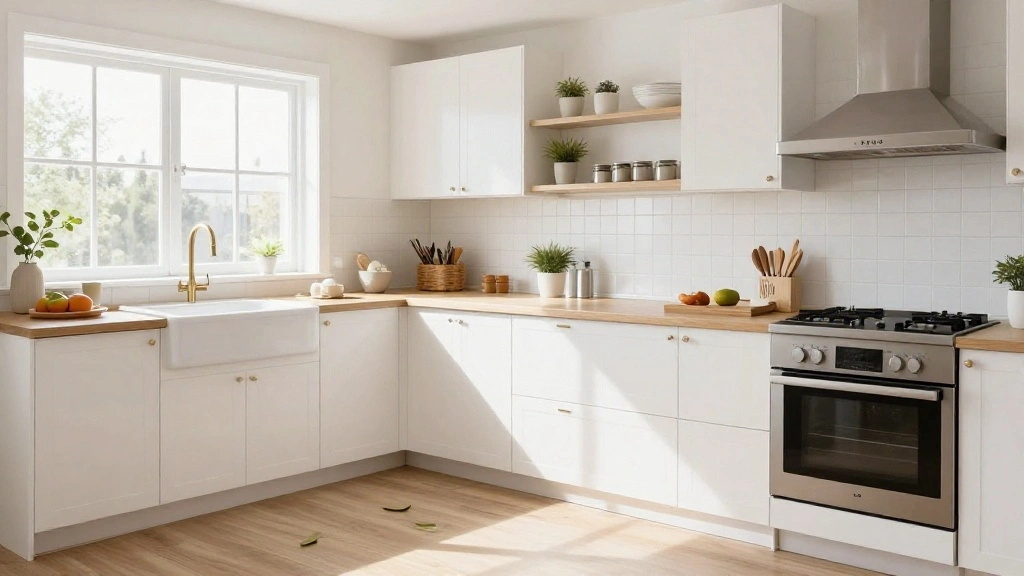
Living in a tiny kitchen can be a challenge, especially when it comes to counter space. Cooking in cramped conditions often leads to frustration, as you struggle to find room for your ingredients, utensils, and appliances. Without sufficient counter space, meal prep becomes a tedious chore rather than an enjoyable experience. Don’t let a lack of counter space hold you back!
This guide will provide you with practical solutions to maximize your kitchen’s counter space, transforming it into a functional and efficient cooking area. You will learn how to declutter, utilize vertical space, and incorporate creative storage solutions that work for your specific needs. By the end of this guide, you’ll feel empowered to make the most of your tiny kitchen!
With a skill level of beginner and an estimated time of 2-3 hours, you can achieve a more organized and spacious kitchen. Let’s get started on making your cooking space more enjoyable!
TL;DR Summary
- Identify clutter and remove unnecessary items.
- Utilize vertical space with shelves and hooks.
- Incorporate multi-functional furniture and appliances.
- Consider mobile kitchen islands or carts for extra workspace.
TL;DR Summary
Editor’s Choice
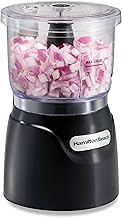
Hamilton Beach Electric Vegetable Chopper & Mini Food Processor, 3-Cup, …
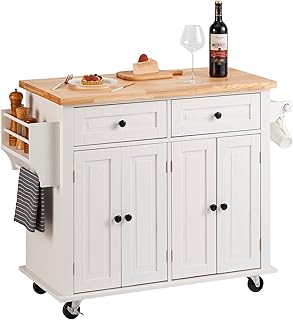
VEVOR Kitchen Island Cart with Solid Wood Top, 35.4″ Width Mobile Carts …

36 Inch Floating Shelves for Wall Set of 2 Wall Mounted Floating Shelf f…
Prerequisites/Materials Needed
- Storage baskets or bins (2-4)
- Wall-mounted shelves (1-2)
- Magnetic spice rack or containers
- Hooks or pegboards for utensils
- Mobile kitchen island or cart
- Drawer organizers (1-2)
Prerequisites/Materials Needed
Editor’s Choice
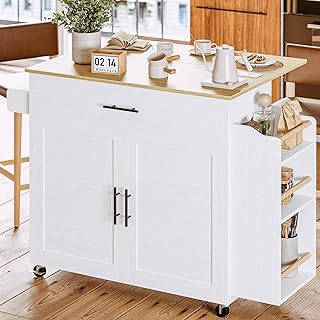
IRONCK Kitchen Island with Storage, Rolling Kitchen Island on Wheels wit…
Skill Level & Time Estimate
Skill Level: beginner
Time Estimate: 2-3 hours
Skill Level & Time Estimate
Editor’s Choice

Sevenblue 4 Pack Strong Magnetic Spice Rack for Refrigerator, Multipurpo…
Step 1: Declutter Your Countertops
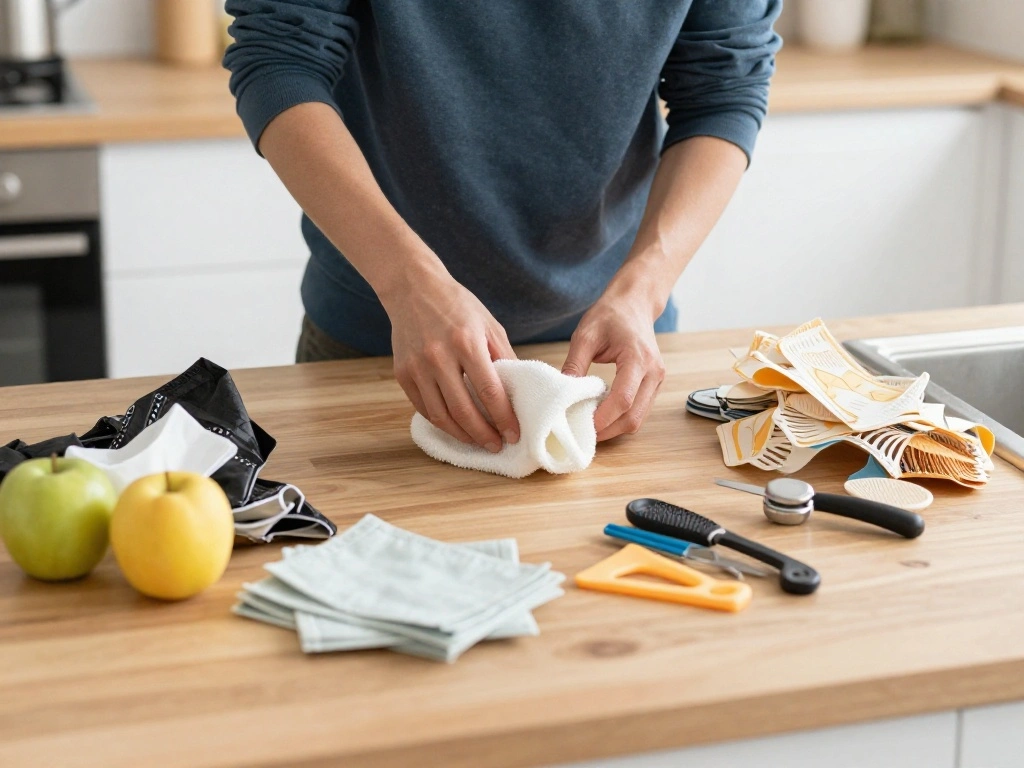
Begin by removing everything from your countertops. This will help you see the available space and allow you to assess what you actually need. Follow these sub-steps:
- Take everything off your counters, including appliances, utensils, and decor.
- Sort items into three piles: keep, donate/sell, and trash.
- Wipe down the countertops to remove any crumbs or stains.
Pro Tip: Only keep items that you use regularly on your counters. This will help maintain a clean and organized space.
Why this matters: Decluttering is the first step toward creating a more manageable kitchen. It helps you identify what is essential and creates a clean slate for organizing.
Time Estimate: 30 minutes
Step 1: Declutter Your Countertops
Editor’s Choice

SafeRacks – NSF Certified Storage Shelves, Zinc, Heavy Duty Steel Wire U…

2 Pack 18″ x 30″ Stainless Steel Wall Shelves – 220 lb, Industrial Kitch…

OVENTE Electric Sandwich Maker with Non-Stick Plates, Indicator Lights, …
Step 2: Utilize Vertical Space
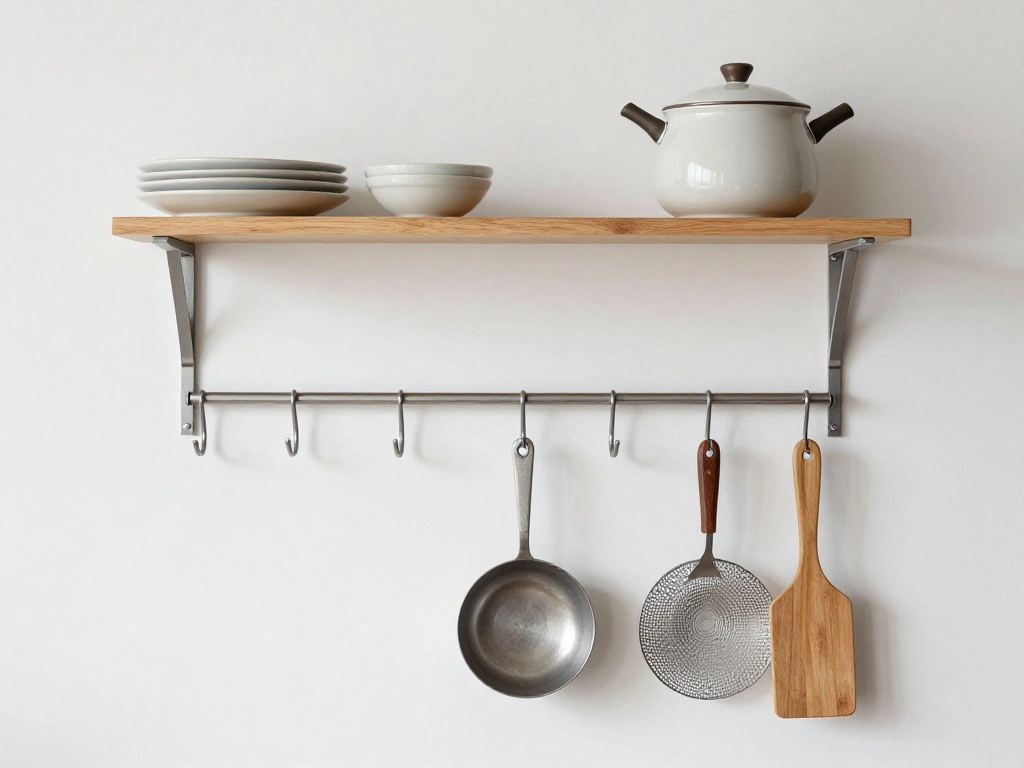
Maximizing vertical space is essential in a tiny kitchen. Use the walls to your advantage by adding shelves or hooks. Follow these steps:
- Measure your wall space and determine where you can install shelves.
- Purchase wall-mounted shelves that match your kitchen decor.
- Install shelves at varying heights to hold spices, cookbooks, or decorative items.
- Use hooks or pegboards for hanging utensils, pots, or pans.
Pro Tip: Consider using magnetic strips to hold knives and other metal kitchen tools.
Why this matters: Using vertical space frees up valuable counter space and keeps frequently used items within easy reach.
Time Estimate: 1 hour
Step 2: Utilize Vertical Space
Editor’s Choice

iDesign Forma Brushed Stainless Steel Over-The-Cabinet Storage Hook – 1″…

Rev-A-Shelf Trimmable Pegboard Drawer Divider Organizer, Trim to Custom …

QsQueen Scalloped Wood Wall Shelf – 17 Inch Floating Shelf with Wood B…
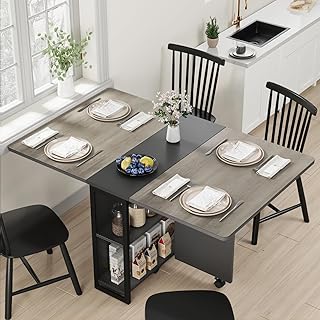
Step 3: Incorporate Multi-Functional Furniture
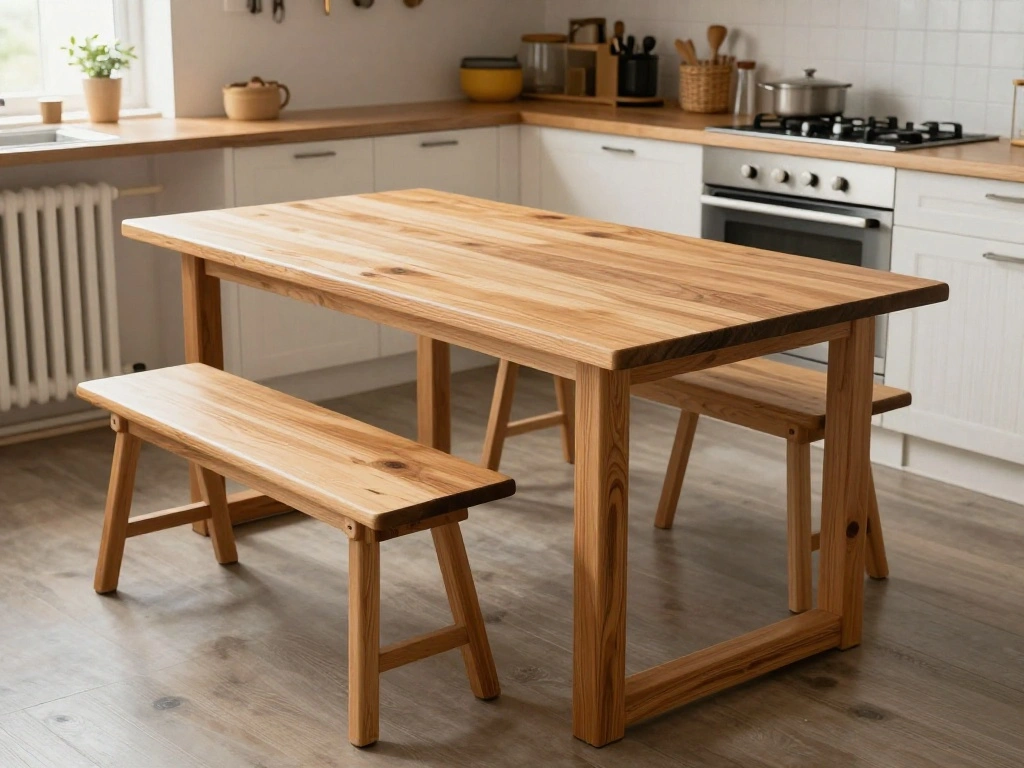
Choose kitchen furniture that serves multiple purposes to save space. Multi-functional items can be a game-changer in tiny kitchens. Follow these steps:
- Select a kitchen table that doubles as a prep area.
- Look for stools that can be tucked under the table to save space.
- Choose a kitchen island that includes storage underneath.
Pro Tip: A foldable table can provide extra workspace when needed and be tucked away when not in use.
Why this matters: Multi-functional furniture reduces clutter and maximizes the utility of your available space.
Time Estimate: 1 hour
Step 3: Incorporate Multi-Functional Furniture
Editor’s Choice

Foot Rest for Under Desk at Work – Non-Slip Foot Stool with 3 Adjustable…
IDEALHOUSE FoldingTable, Drop Leaf Dining Table with 6 Wheels and 2-Laye…
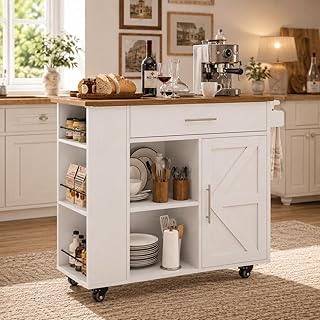
Step 4: Add Mobile Kitchen Islands
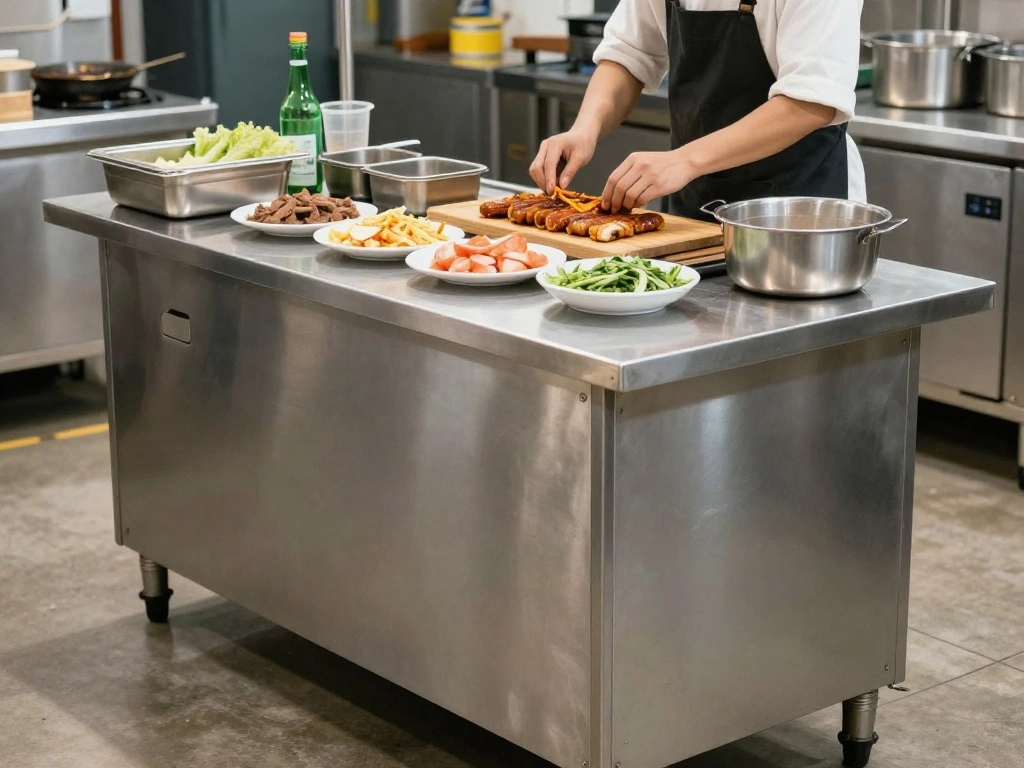
If you have the room, a mobile kitchen island can add extra counter space and storage. Here’s how to incorporate one:
- Measure your kitchen to determine the best size for an island.
- Choose a mobile island with shelves or drawers for storage.
- Position the island in a way that allows for easy movement around the kitchen.
Pro Tip: Look for an island with wheels for easy repositioning.
Why this matters: A mobile kitchen island provides additional workspace and can be moved as needed, making it versatile for small areas.
Time Estimate: 1 hour
Step 4: Add Mobile Kitchen Islands
Editor’s Choice
4 EVER WINNER 39″ Rolling Kitchen Island with Storage and Drawer, Farmho…

69″ Kitchen Island with 360° Rotating Table, Bluetooth Speakers, LED Li…
Step 5: Organize Your Drawers
Drawer organization is crucial for maximizing space in a tiny kitchen. Here’s what to do:
- Empty each drawer and clean them thoroughly.
- Group similar items together (utensils, gadgets, etc.).
- Use drawer organizers to keep everything tidy.
Pro Tip: Use clear bins to categorize items and make it easier to find what you need.
Why this matters: Organized drawers reduce clutter on your countertops and make it easier to find everything you need while cooking.
Time Estimate: 30 minutes
Step 5: Organize Your Drawers
Editor’s Choice

Marbrasse Expandable Desk Drawer Organizer, Mesh Drawer Organizer Tray w…

Vtopmart 25 PCS Clear Plastic Drawer Organizers Set, 4-Size Versatile Ba…
Step 6: Hang Pots and Pans
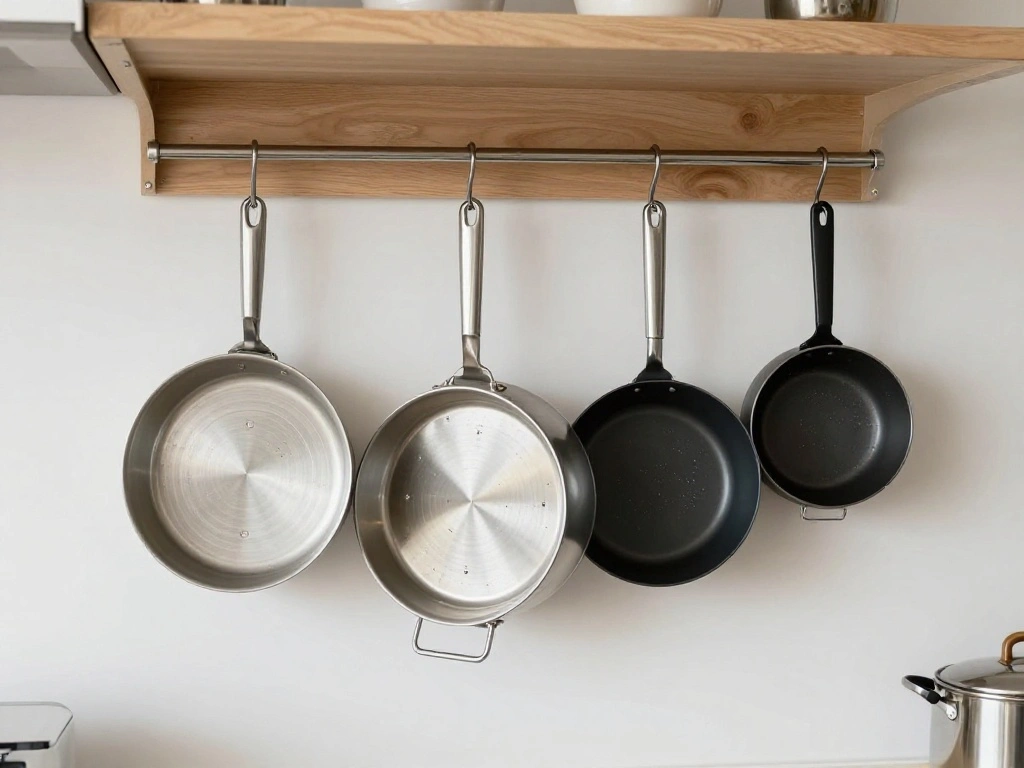
Hanging pots and pans can save significant counter space. Here’s how to do it:
- Choose a wall or area above your stove for installation.
- Install a pot rack or use sturdy hooks to hang pots and pans.
- Arrange pots by size and frequently used items at eye level.
Pro Tip: Use a decorative rack to add style to your kitchen while being functional.
Why this matters: This method keeps your cookware accessible and frees up cabinet space for other items.
Time Estimate: 30 minutes
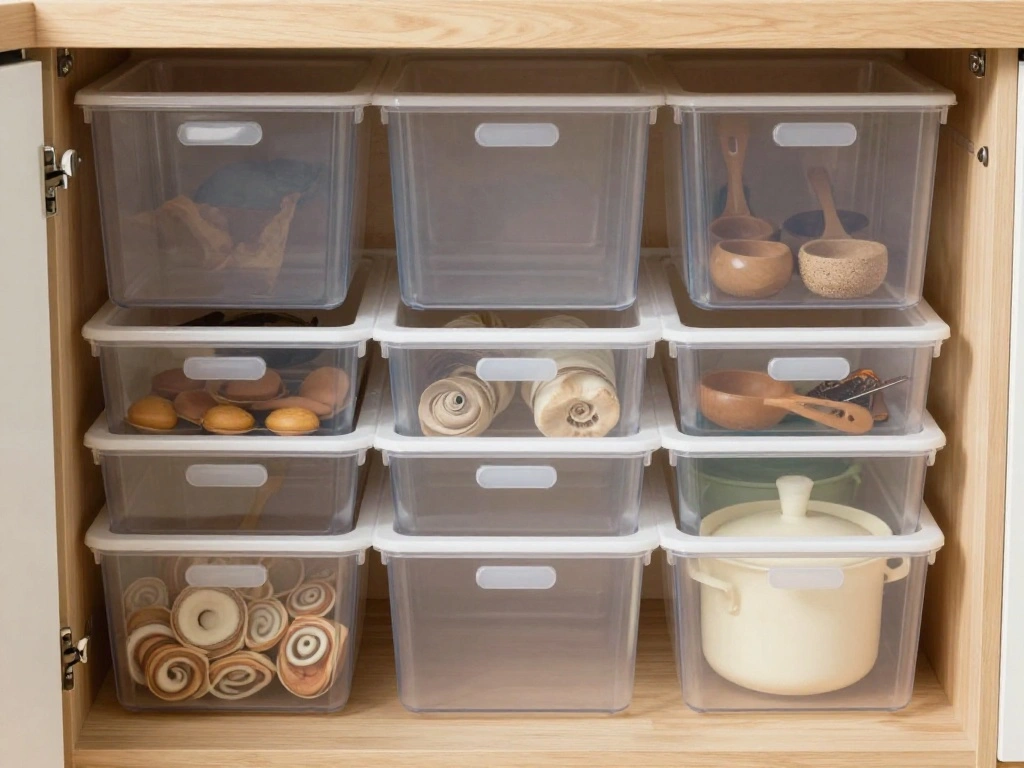
Step 7: Use Clear Containers for Dry Goods
Using clear containers for dry goods not only looks neat but also saves space. Here’s how:
- Choose uniform-sized containers for storage.
- Label each container for easy identification.
- Stack containers to maximize vertical space in your pantry or cabinets.
Pro Tip: Use a lazy Susan for easier access to small jars or containers.
Why this matters: Clear containers keep your items organized, making it easier to find what you need without rummaging through your cabinets.
Time Estimate: 30 minutes
Step 7: Use Clear Containers for Dry Goods
Editor’s Choice

Vtopmart 6 Pack Clear Stackable Storage Bins with Lids, Large Plastic Co…

Nelko Label Maker Machine with Tape, P21 Bluetooth Label Printer, Wirele…
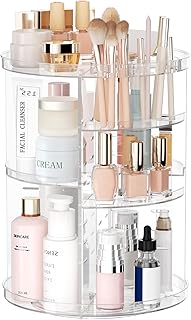
Rotating Makeup Organizer, DIY 8 Adjustable Layers Spinning Skincare Sto…
Step 8: Regularly Reassess Your Space

Finally, it’s important to regularly reassess your kitchen space to maintain organization. Follow these steps:
- Set a reminder to evaluate your kitchen every few months.
- Check for items that may have accumulated and need to be decluttered.
- Adjust your organization strategy if necessary based on your cooking habits.
Pro Tip: Involve your family in the reassessment process to share ideas and responsibilities.
Why this matters: Regular maintenance ensures that your kitchen remains functional and clutter-free over time.
Time Estimate: 15 minutes
Step 8: Regularly Reassess Your Space
Editor’s Choice

ROYAL CRAFT WOOD Luxury Bamboo Kitchen Drawer Organizer – Silverware Org…

AOZITA Spice Rack Organizer for Cabinet, Spice Organizer with 28 Empty S…

Set of 2 Expandable Kitchen Cabinet Shelves Organizers, Stackable Adjust…
Pro Tips
- Smart Storage Solutions: Invest in stackable storage bins to maximize space in cabinets.
- Clear Surfaces: Keep countertops clear by storing appliances in cabinets when not in use.
- Use the Inside of Cabinet Doors: Install racks or hooks on the inside of cabinet doors to store lids or small items.
- Rotate Seasonal Items: Store seasonal items in less accessible areas to keep everyday essentials handy.
- Label Everything: Label storage containers and shelves to easily identify contents and maintain organization.
Pro Tips
Editor’s Choice

Expandable Metal Storage Shelves, 110LBS Heavy Duty Shelving Units and S…

OlarHike 76QT Lockable Storage Bins with Lids – Folding Storage Box with…
Common Mistakes to Avoid
Warning: Avoid overloading shelves, which can cause them to sag or break. Always check weight limits.
Warning: Don’t keep items you rarely use on your countertops; this leads to clutter.
Warning: Avoid using mismatched containers for storage; it looks messy and can waste space.
Common Mistakes to Avoid
Editor’s Choice
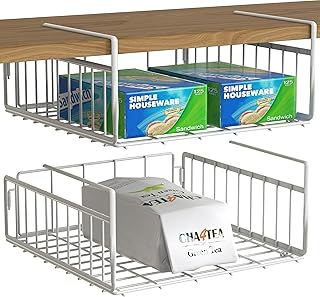
Simple Houseware Under Shelf Basket, White – 2-Pack Space-Saving Stora…

Bekith 20 Pack Magnetic Spice Jars, Magnetic Spice Containers for Refrig…

SKTEET Set of 8 Clear Plastic Storage Bins, 4 Large and 4 Small Stackabl…
Troubleshooting Section
Problem: My kitchen feels cramped even after decluttering.
Solution: Reassess the layout and consider mobile furniture to enhance flexibility.
Problem: I can’t find items in my cabinets.
Solution: Use clear containers and label everything for easy access.
Problem: My pots and pans are too heavy to hang.
Solution: Consider a pot rack with a sturdy design that can handle the weight.
Troubleshooting Section
Editor’s Choice

KES 30-Inch Kitchen Pan Pot Rack Wall Mounted Hanging Storage Organizer …

Homleke 3-Tier Rolling Kitchen Microwave Cart, Kitchen Utility Cart on L…

Airtight Food Storage Containers with Lids, Vtopmart 24 pcs Plastic Kitc…
Variations/Alternative Methods
1. Use a rolling cart: For extra counter space, a rolling cart can be moved out when needed and stored away when not in use.
2. Wall-mounted cutting boards: Install a foldable wall-mounted cutting board that can be tucked away when not in use.
3. Under-cabinet shelves: If you lack counter space, adding under-cabinet shelves can help store items while keeping counters clear.
Variations/Alternative Methods
Editor’s Choice
VEVOR Kitchen Island Cart with Solid Wood Top, 35.4″ Width Mobile Carts …

REALINN Under Sink Organizer, Pull Out Cabinet Organizer 2 Tier Slide Ou…

Stainless Steel Wall Mounted Cutting Board Holder Punch-Free Adhesive Mu…
FAQs
What if I don’t have wall space for shelves? Consider a mobile storage cart or utilize the insides of cabinet doors for additional storage.
How long should I spend decluttering? Aim for 30 minutes to an hour, depending on how cluttered your kitchen is.
Is it safe to hang heavy pots? Yes, just ensure to use a robust pot rack and check the weight limit before hanging.
FAQs
Editor’s Choice

YASONIC 3 Tier Rolling Cart – Metal Utility Storage Carts with Wheels,…

Eastherry Over The Door Pantry Organizer,9-Tier Over The Door Organize…

KES 264 Lbs Capacity Freestanding Pot Rack, 6-Tier Cast Iron Cookware St…
Conclusion
Congratulations on taking the steps to create more counter space in your tiny kitchen! You should feel accomplished for decluttering and optimizing your space. Remember, maintaining an organized kitchen is an ongoing process. Set reminders to reassess your space regularly and make necessary adjustments.
For further inspiration, consider exploring kitchen organization blogs or looking into storage solutions that may fit your evolving needs. Enjoy cooking in your newly organized kitchen!