
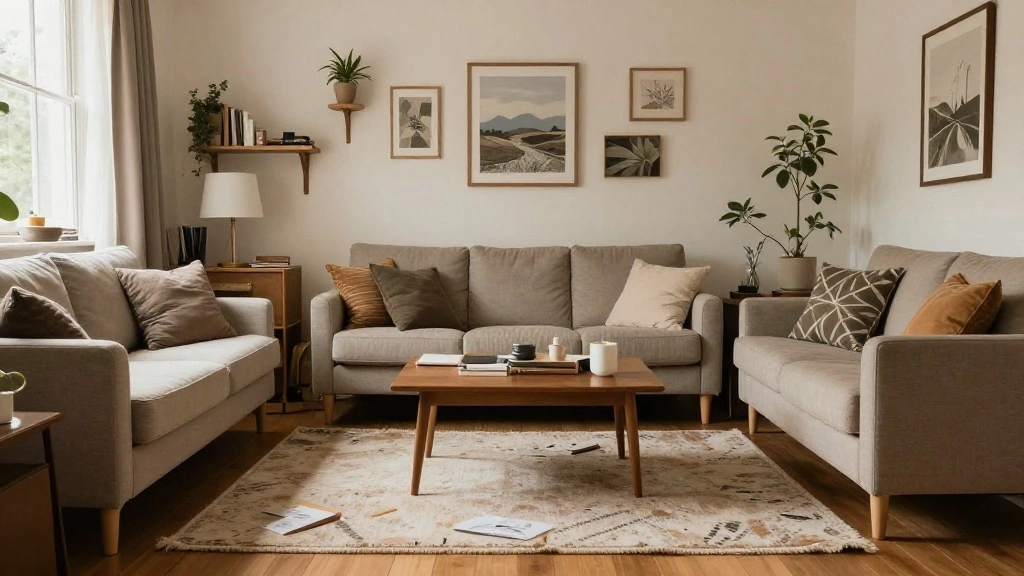
Living in a small home can often feel constraining, especially when it comes to storage and organization. As your belongings pile up, the limited floor space can make your home feel cluttered and chaotic. This urgency to find solutions prompts the need to look up – at the vertical space often overlooked. By maximizing your vertical space, you can create a more organized, functional, and visually pleasing environment.
In this guide, you will learn practical methods to utilize every inch of vertical space in your home. From installing shelves to incorporating multi-functional furniture, you will discover various strategies that make the most of your small living area. You will also explore tips on how to maintain an organized space while maximizing functionality.
This guide is designed for beginners and should take approximately 2-3 hours to complete. By the end of this article, you will have a clear plan to transform your small home into a space that feels larger and more organized. Ready to elevate your living space? Let’s get started!
TL;DR Summary
- Identify and utilize vertical space to improve organization in small homes.
- Implement practical tips like wall shelves, hooks, and multi-functional furniture.
- Follow step-by-step instructions to maximize storage effectively.
- Maintain a tidy environment while enhancing the functionality of your space.
TL;DR Summary
Editor’s Choice

Consumest Over The Door Hooks Organizer – 3 Tier Door Hanger with 9 Coat…

Rolanstar Coffee Table Lift Top, Multi-Function Convertible Coffee Table…
Prerequisites/Materials Needed
- Furniture: Multi-functional furniture (1-2 pieces)
- Storage Solutions: Wall shelves (2-4 units), Hooks (10-15), Baskets (3-5)
- Tools: Drill, Level, Measuring tape
- Decor: Decorative items for shelves (5-10)
Skill Level & Time Estimate
Skill Level: beginner
Total estimated time: 2-3 hours
This includes about 30 minutes for planning and gathering materials, and approximately 1.5-2 hours for executing the steps outlined in this guide.
Step 1: Assess Your Space
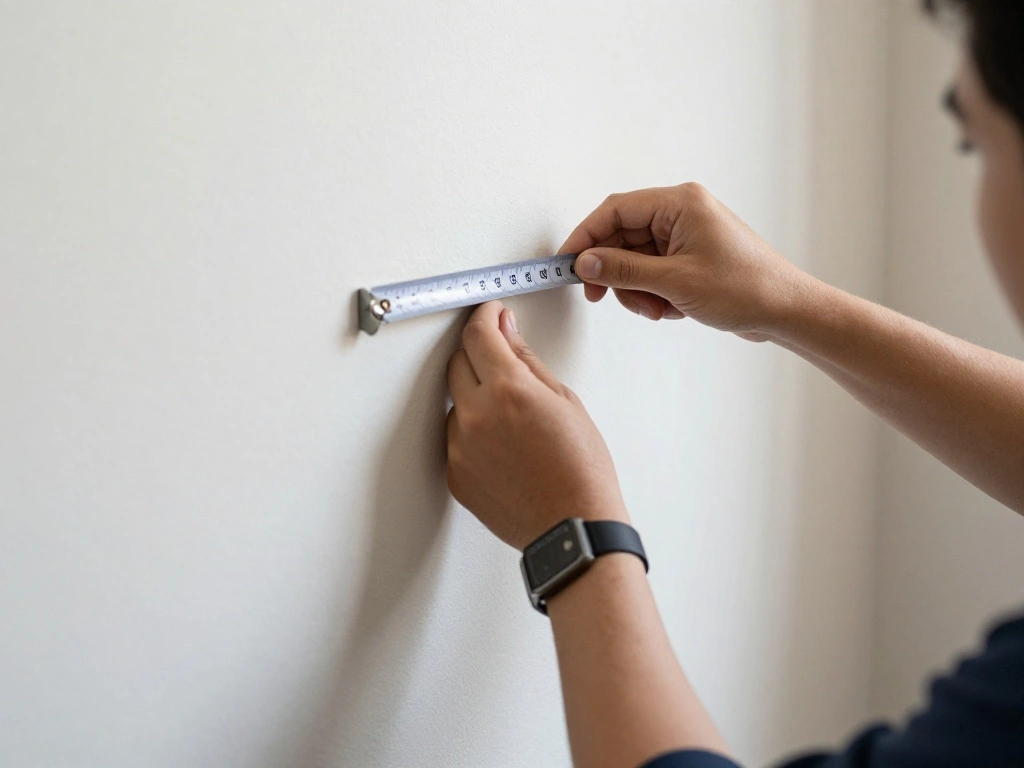
Begin by evaluating your home to identify areas where vertical space can be maximized. Follow these steps:
- Walk through each room and take note of empty wall spaces.
- Measure the height and width of available wall sections.
- Consider the items you need to store or display.
Pro Tip: Take photos of your space to visualize potential changes later.
Why this matters: Understanding your space allows you to create a tailored plan that meets your specific needs. This step should take approximately 30 minutes.
Step 1: Assess Your Space
Editor’s Choice

Furinno PASIR Book Shelf, 5-Tier Modern Bookshelf, Open Shelves Bookcase…

JARLINK Over The Door Organizer Storage, 5 Shelf Hanging Door Organizer …
Step 2: Plan Your Vertical Layout
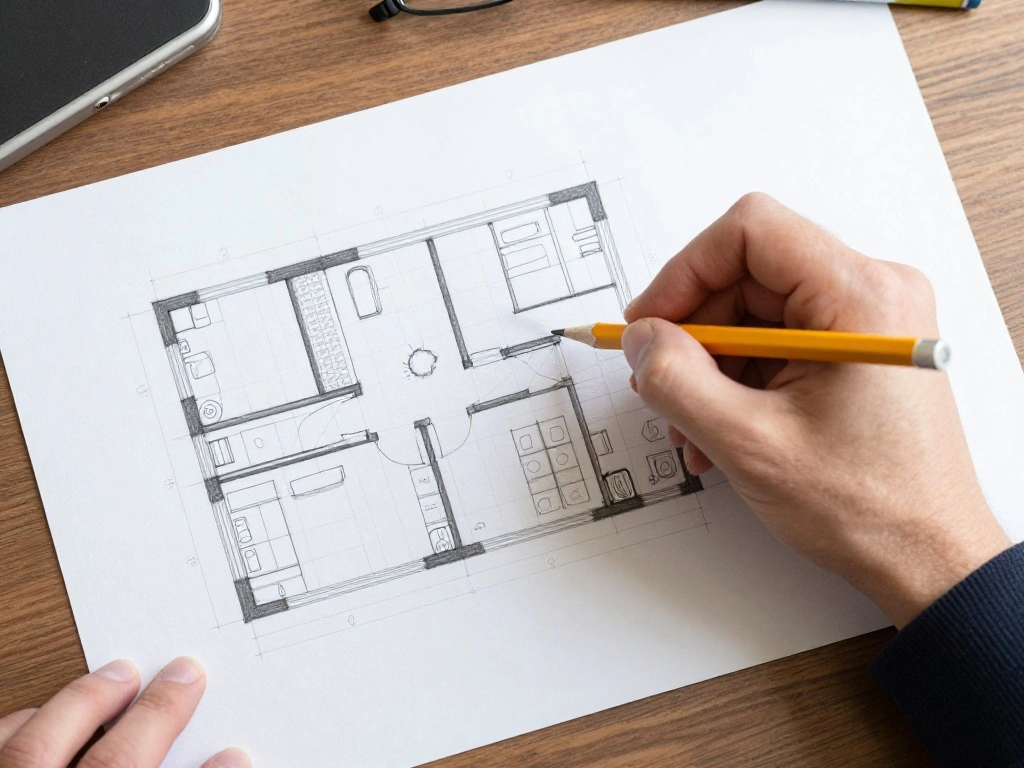
Once you have assessed your space, create a plan for utilizing vertical areas. Here are the steps:
- Decide which walls will have shelves or hooks.
- Sketch a layout that includes the placement of furniture, shelves, and storage solutions.
- Prioritize areas that need the most organization.
Pro Tip: Use graph paper to scale your room layout for precision.
Why this matters: A clear plan helps you visualize how the changes will fit together and prevents over-crowding. This step may take about 30 minutes.
Step 2: Plan Your Vertical Layout
Editor’s Choice

Command Small Wire Toggle Hooks, 16 Hooks and 24 Strips, Damage-Free Han…
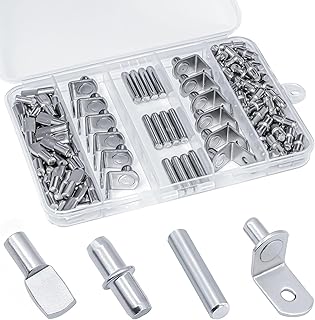
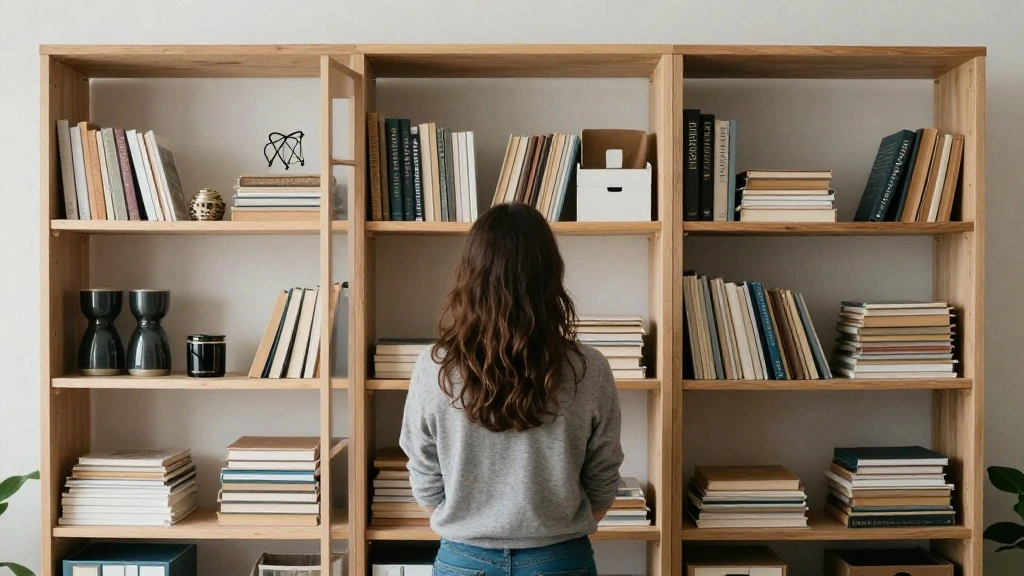
Step 3: Install Shelves

Installing shelves is one of the most effective ways to utilize vertical space. Follow these steps:
- Choose the appropriate shelves for your space (floating or traditional).
- Mark the wall where you will install the shelves using a level to ensure alignment.
- Drill holes and use anchors for added support if needed.
- Attach the shelves securely.
Warning: Ensure you use the right weight capacity for your shelves to avoid accidents.
Why this matters: Shelves provide a place for storage and display without taking up floor space. Expect to spend about 1 hour on this step.
Step 3: Install Shelves
Editor’s Choice
120Pcs Shelf Pins Kit,4 Styles Nickel Plated Shelf Support Pegs,Plated S…

QsQueen Scalloped Wood Wall Shelf – 17 Inch Floating Shelf with Wood B…
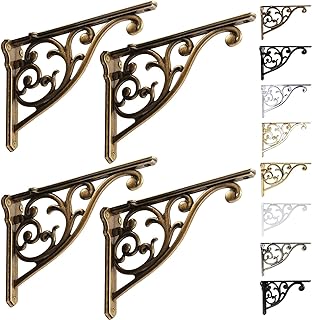
Shelf Brackets 8 Inch 4 Pack Heavy Duty Antique Brass Wall Bracket Victo…
Step 4: Use Hooks and Racks
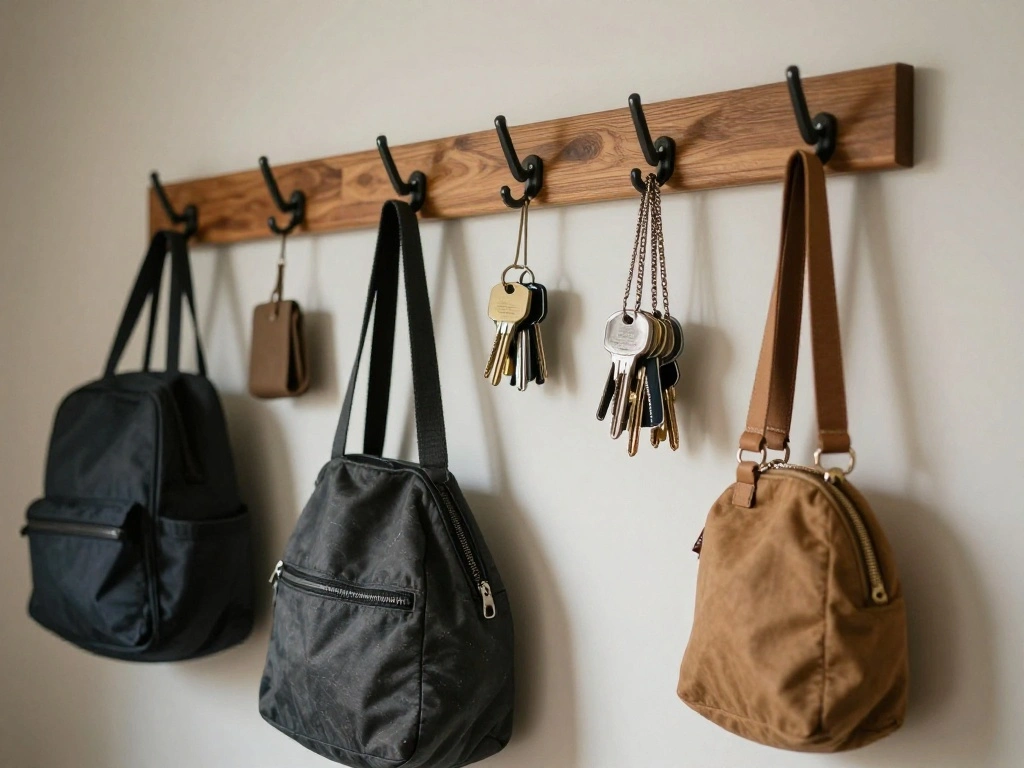
Hooks and racks are fantastic for organizing items and keeping them off the floor. Follow these steps:
- Select the areas where hooks will be most beneficial (entryways, kitchens, etc.).
- Mark positions for the hooks, ensuring they are spaced evenly.
- Drill holes and install hooks securely.
Pro Tip: Consider decorative hooks to add style while being functional.
Why this matters: Hooks and racks utilize often wasted wall space, making it easier to keep items organized and accessible. This step should take roughly 30 minutes.
Step 4: Use Hooks and Racks
Editor’s Choice

Optish Coat Rack Wall Mount, 16.5 Inches Wood Coat Hooks, Wall Hooks for…
Step 5: Incorporate Multi-Functional Furniture

Multi-functional furniture is essential for maximizing space in a small home. Here’s how to choose and integrate it:
- Identify furniture pieces that can serve dual purposes (e.g., ottomans with storage or beds with drawers).
- Purchase or build the selected furniture.
- Arrange the furniture to complement the vertical storage solutions you installed.
Pro Tip: Look for furniture that fits your style and offers the storage you need.
Why this matters: Multi-functional furniture reduces clutter while providing necessary storage options. Expect to spend about 1 hour on this step.
Step 5: Incorporate Multi-Functional Furniture
Editor’s Choice

30.5-INCH Storage Ottoman Bench, Footrest with Storage, End of Bed Bench…

Allewie Queen Size Lift Up Storage Bed, Modern Wingback Headboard, Hydra…

BAMEOS Floating Wall Shelves 24 x 6 Inch – Easy-Install Hanging Shelve…
Step 6: Decorate Your Vertical Space

Now that you have storage solutions in place, it’s time to decorate! Follow these steps:
- Choose decorative items that fit your style (plants, books, art).
- Arrange items on your shelves and hooks for visual appeal.
- Ensure heavier items are lower and lighter items are higher for balance.
Pro Tip: Use a theme or color palette to create a cohesive look.
Why this matters: Decorative touches make your space feel inviting and personalized while maintaining functionality. This step may take about 30 minutes.
Step 7: Organize Regularly

Maintaining your vertical space is crucial for keeping your home tidy. Here’s how to do it:
- Set a schedule to regularly declutter and reorganize your vertical spaces.
- Remove items that no longer serve a purpose or that you don’t use regularly.
- Keep the most frequently used items easily accessible.
Pro Tip: Consider seasonal organizing to refresh your space periodically.
Why this matters: Regular organization prevents clutter from building up and ensures your vertical space remains functional. This step should take about 30 minutes per session.
Step 7: Organize Regularly
Editor’s Choice
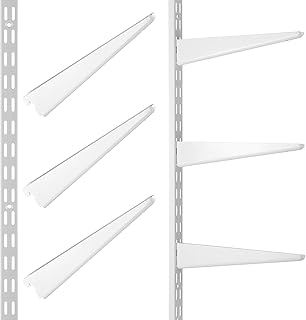
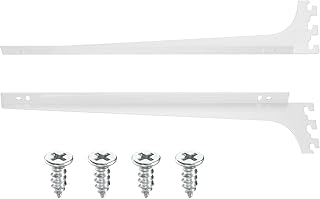
Colingmill 8 Pcs White Twin Rail Upright Wall Shelving System 25 Inch wi…
Step 8: Evaluate and Adjust
Finally, take time to evaluate how well your vertical space is working for you and make adjustments as needed. Follow these steps:
- Assess whether the vertical solutions are effectively meeting your needs.
- Try different arrangements if something feels off.
- Make note of any additional storage needs that arise.
Pro Tip: Flexibility is key; be open to changing things as your needs evolve.
Why this matters: Continuously assessing your space ensures it remains functional and personalized. This step should take about 30 minutes.
Pro Tips
- Use Vertical Bins: Stackable bins can help utilize vertical height more effectively.
- Incorporate Mirrors: Mirrors can create the illusion of more space while enhancing vertical dimensions.
- Label Storage: Clearly label bins and shelves to easily find what you need quickly.
- Rotate Decor: Regularly change your decorative items to keep your space feeling fresh.
- Think Outside the Box: Consider using ladder shelves or repurposed furniture for unique storage solutions.
Pro Tips
Editor’s Choice

5 Pack Stackable Closet Storage Basket – Stackable Storage Bins, Multifu…

Brother P-Touch PT-N20 Personal Desktop Label Maker, Portable, Handheld …

JISOSO Black Bathroom Mirror 55X30 Inch, Black Metal Framed Mirror for W…
Common Mistakes to Avoid
Warning: Avoid overcrowding your vertical spaces with too many items; this can lead to a cluttered look. Instead, curate your items for balance. Warning: Not securing shelves properly can lead to accidents. Always follow installation instructions carefully. Warning: Using overly heavy items on shelves can cause them to sag or break. Stick to weight limits indicated by the shelf manufacturer.
Common Mistakes to Avoid
Editor’s Choice

Starunder 6 Pack Floating Shelf Brackets, 6 Inch Heavy Duty Industrial S…

Life Story 6 Pack Heavy Duty Stackable Storage Bin, 55 Quart Home Organi…

FLEXIMOUNTS 3-Tier 1x4ft Garage Storage Wall Shelving, 12x48inch per She…
Troubleshooting Section
Problem: Shelves sag or are unstable.
Solution: Check installation; ensure you used the right anchors and screws.
Problem: Hooks are pulling away from the wall.
Solution: Remove the hook and use stronger anchors suitable for the wall type.
Problem: Space still feels cluttered after adding shelves.
Solution: Re-evaluate what items are on display and consider removing or relocating some for better balance.
Troubleshooting Section
Editor’s Choice
uxcell 2Pcs Adjustable Shelf Bracket, 15.7 Inch Upright Bracket Shelf Br…

Ougourim Furniture Anchors (10 Packs) Anti Tip Furniture Anchors for Bab…
Variations/Alternative Methods
You can achieve the same results through different methods:
- Wall-Mounted Storage Units: These can combine shelving with hooks and bins for a cohesive look.
- Over-the-Door Organizers: Great for maximizing space on doors without damaging walls.
- Pegboards: Versatile and adjustable, pegboards can hold various items while looking stylish.
Variations/Alternative Methods
Editor’s Choice
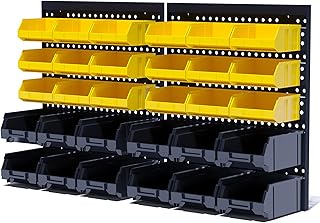
KJE 30PCS Wall Mounted Storage Bins, Plastic Tool Organizer for Garage S…
JARLINK Over The Door Organizer Storage, 5 Shelf Hanging Door Organizer …

Urban Deco Portable & Adjustable Peg Board Display Stand | 17×13 Inch wi…
FAQs
What if I don’t have wall studs? Use wall anchors to secure shelves and hooks safely.
How long should I wait before reevaluating my space? Check in every 3-6 months to see if your needs have changed.
Is it safe to stack bins vertically? Yes, as long as they are designed for stacking and the weight is evenly distributed.
FAQs
Editor’s Choice
Ougourim Furniture Anchors (10 Packs) Anti Tip Furniture Anchors for Bab…

BAYKA Floating Shelves for Wall, Wall Mounted Rustic Wood Shelves for Ba…
5 Pack Stackable Closet Storage Basket – Stackable Storage Bins, Multifu…
Conclusion

Congratulations! You have successfully learned how to maximize vertical space in your small home. By implementing these strategies, you’ve transformed your living area into a more organized, functional, and beautiful environment. Remember, maintaining this new layout requires regular attention, so keep the momentum going!
For further inspiration, consider exploring DIY projects for custom shelves or multi-functional furniture. Your journey towards a more spacious and organized home continues!