
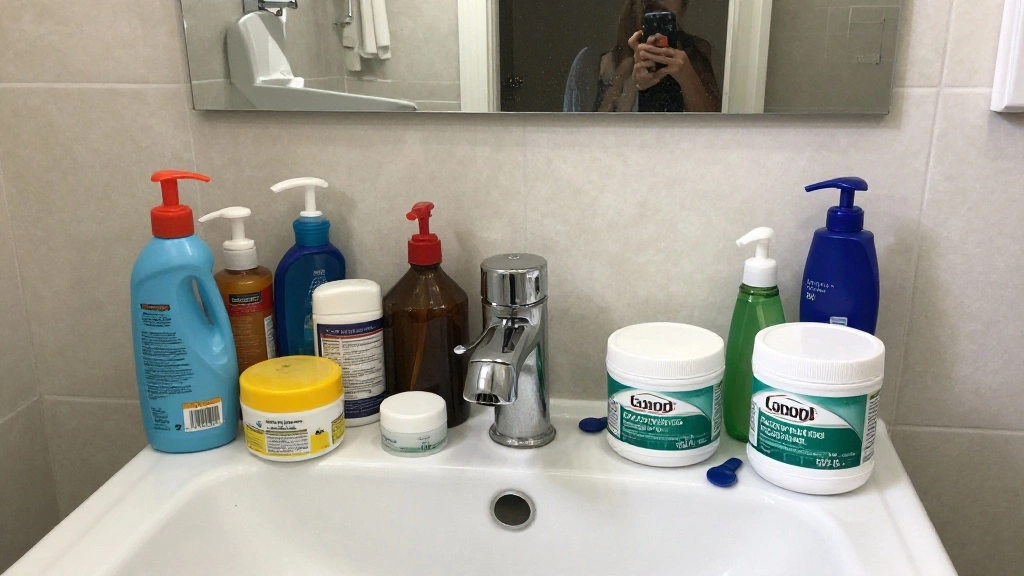
Are you struggling with cluttered under-sink spaces in your bathroom? With toiletries, cleaning supplies, and miscellaneous items taking over, it can feel overwhelming. The good news is that you can transform this chaotic area into a well-organized storage haven.
In this guide, you’ll learn how to efficiently utilize every inch of space under your sink. By the end, you’ll have a functional, organized area that not only looks good but also makes your daily routines easier. From choosing the right storage solutions to optimizing layout, every step counts.
This is a beginner-level project that will take approximately 2-3 hours to complete. Get ready to reclaim your bathroom space and enjoy a more organized home!
TL;DR Summary
- Assess your current storage and declutter.
- Choose appropriate organizers like bins and shelves.
- Implement vertical storage solutions to maximize space.
- Label everything for easy access.
TL;DR Summary
Editor’s Choice

Epson LABELWORKS LW-K740PX Industrial Handheld Label Maker for Office Ho…

IRIS USA 4-Pack Storage Bins with Lids, 13 Quart, Made in USA Stackable …
2-Pack Under Sink Storage Organizer, Large 2-Tier Elegant Mesh Pull Out …
Prerequisites/Materials Needed
- Storage bins (2-4, depending on size)
- Drawer organizers (1-2)
- Lazy Susan (1)
- Labels (stickers or label maker)
- Measuring tape
- Scissors (for labels)
- Trash bags (for decluttering)
Prerequisites/Materials Needed
Editor’s Choice
IRIS USA 4-Pack Storage Bins with Lids, 13 Quart, Made in USA Stackable …

LAMU 3 Pack Lazy Susan Organizer Turntable for Cabinet, Pantry Organizer…
Skill Level & Time Estimate
Skill Level: beginner
Total time estimate: 2-3 hours
Skill Level & Time Estimate
Editor’s Choice

SPACELEAD Slim Storage Cart 4 Tier,Bathroom Organizer Rolling Utility,Mo…
2-Pack Under Sink Storage Organizer, Large 2-Tier Elegant Mesh Pull Out …
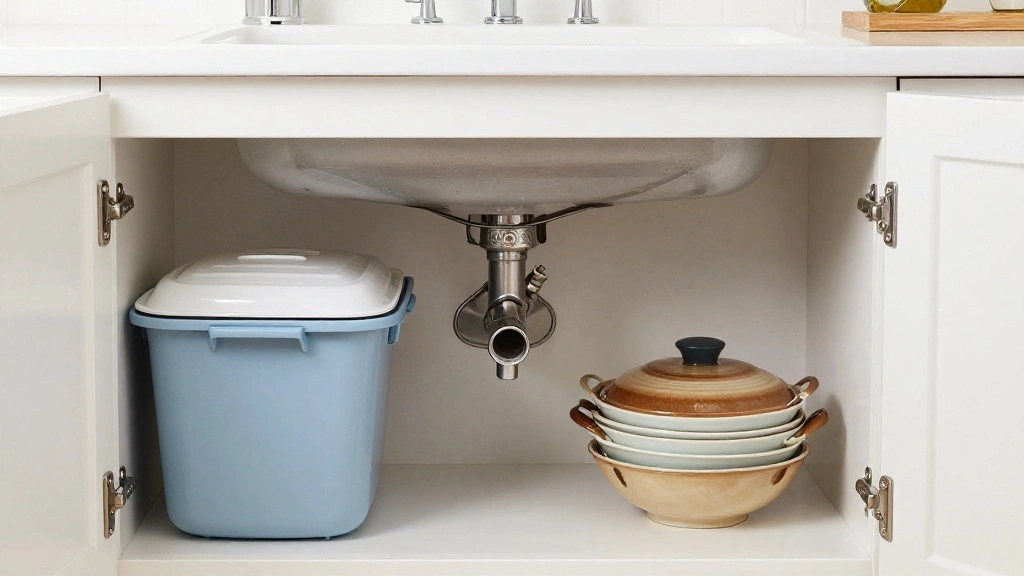
Step 1: Assess and Declutter
Start by emptying out the entire under-sink area. This allows you to see what you have. Follow these sub-steps:
- Remove everything from under the sink.
- Sort items into categories: keep, donate, and discard.
- Throw away expired products and anything broken.
Pro Tip: Use a trash bag for the discard pile to make this step quicker.
Why this matters: Decluttering helps you understand what you need to store and creates a blank canvas for organization. This step should take about 30-45 minutes.
Step 1: Assess and Declutter
Editor’s Choice

DRASTAR Tampon Holder for Bathroom, Feminine Product Organizer, Pad Orga…

Delamu 2-Tier Multi-Purpose Bathroom Under Sink Organizers and Storage, …

Sanitary Napkin Disposal Bags, 100 Pcs Disposable Sanitary Bag with Self…
Step 2: Measure Your Space
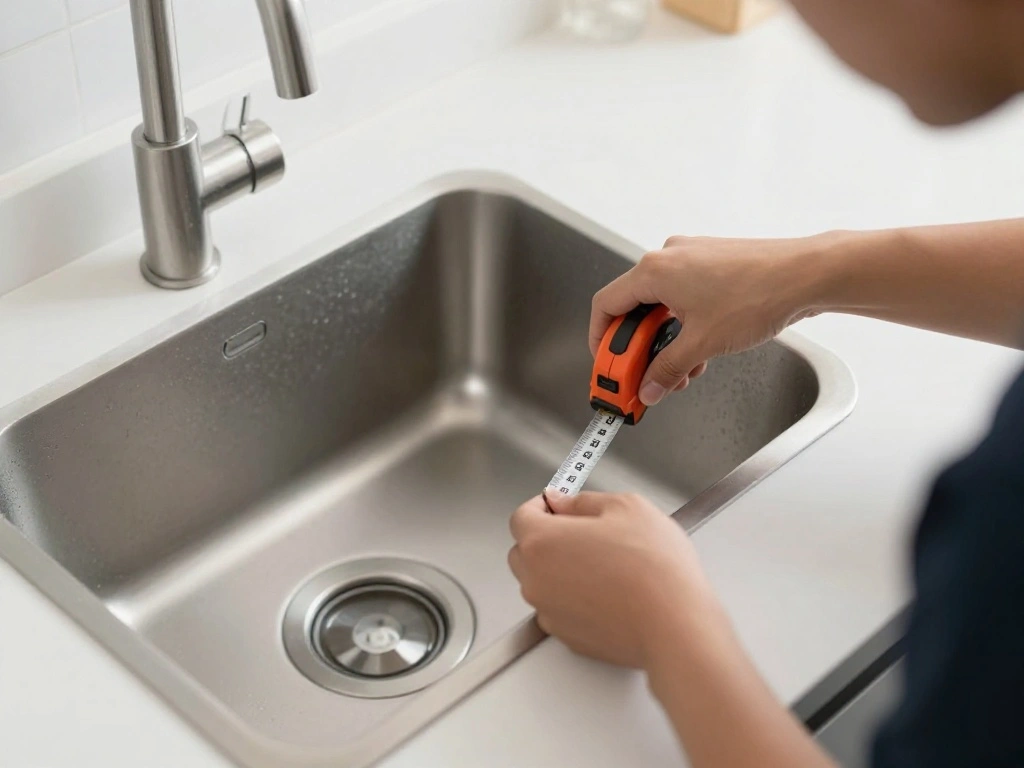
Before purchasing any organizers, measure the space under your sink. This ensures that everything you buy fits perfectly. Follow these steps:
- Use a measuring tape to find the width, depth, and height of the cabinet.
- Take note of any plumbing or obstacles that may affect placement.
- Write down these measurements for reference.
Pro Tip: Consider both the height and width of items you plan to store.
Why this matters: Accurate measurements help you choose the right organizers that will fit well in your space. This step typically takes about 15-20 minutes.
Step 2: Measure Your Space
Editor’s Choice
Vtopmart 4 Pack Small Clear Stackable Storage Drawers,Acrylic Bathroom M…

Ukeetap Multi-Purpose Pull-Out Storage Organizers, Under Sink/Cabinet Or…

Laser Measure 50M/165ft,RockSeed Digital Laser Distance Meter with 2 Bub…
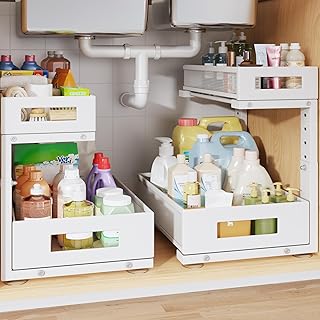
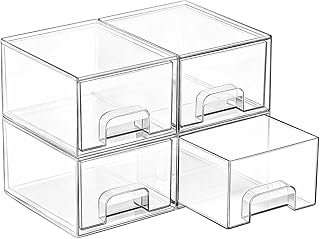
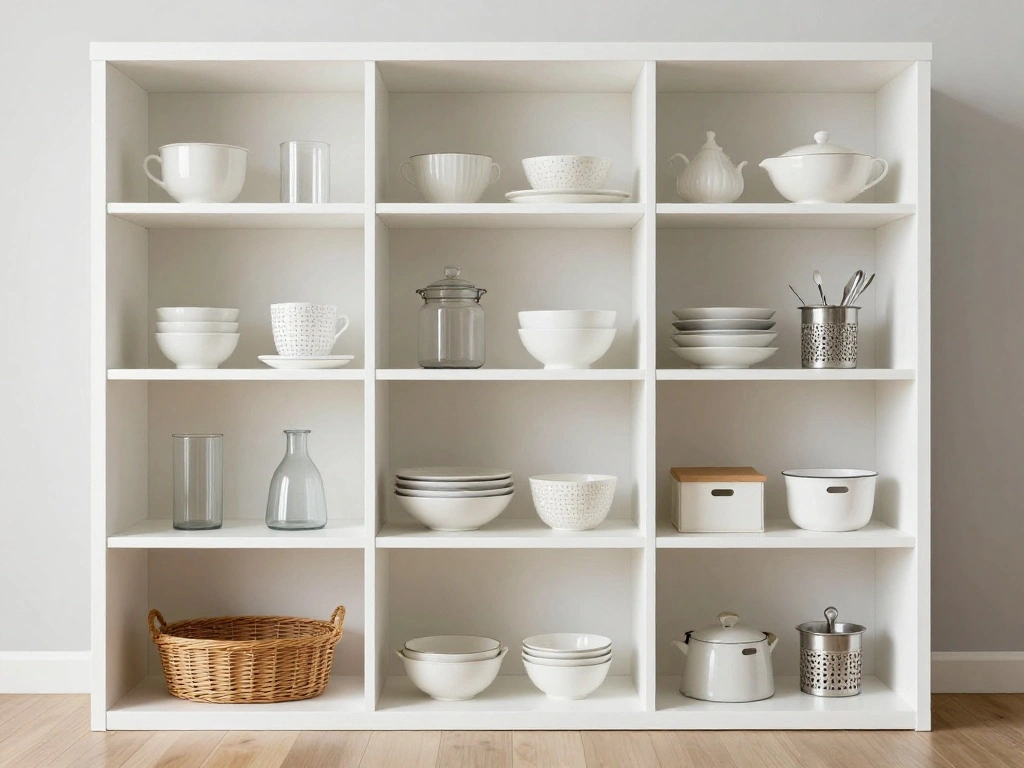
Step 3: Choose Storage Solutions
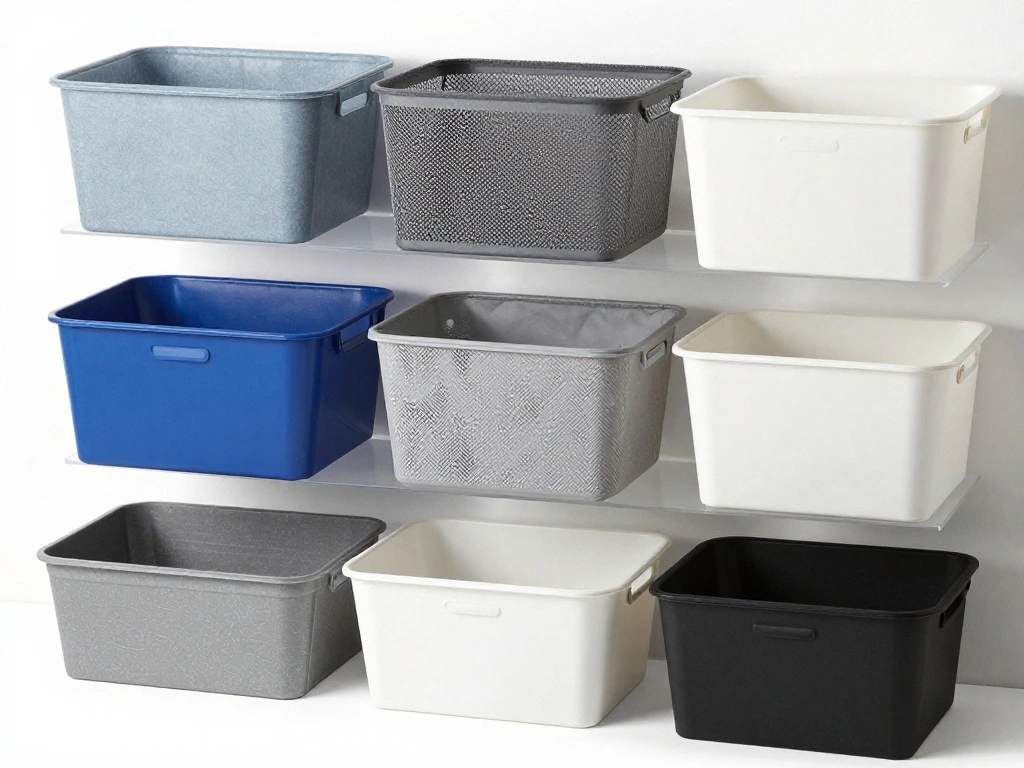
Now it’s time to select the right storage solutions. Consider options that fit your items well. Follow these steps:
- Choose storage bins for larger items.
- Invest in drawer organizers for smaller items like cosmetics.
- Select a Lazy Susan for easy access to round items, like cleaning supplies.
Pro Tip: Use clear bins to easily see contents at a glance.
Why this matters: Choosing the right organizers maximizes space and keeps everything accessible. Plan to spend around 30-45 minutes on this step.
Step 4: Optimize Vertical Space
Make the most of your vertical space with shelves and stackable organizers. Here’s how:
- Install a shelf above the sink if space allows.
- Use stackable bins to utilize height effectively.
- Consider a tension rod to hang spray bottles.
Pro Tip: Make sure items are easily reachable; avoid stacking too high.
Why this matters: Vertical storage maximizes limited space and keeps items organized. This step will take about 30-45 minutes.
Step 4: Optimize Vertical Space
Editor’s Choice

Home in Bold Over The Sink Shelf for Tall Faucet – Space-Saving Bathroom…

TEECK Shower Curtain Rod, 32-80 inch Adjustable Spring Tension Curtain R…

SNSLXH 5 Pack Stackable Closet Organizer Box, Multifunctional & Foldable…
Step 5: Organize and Sort Items
Now that you have your storage solutions, it’s time to organize. Follow these steps:
- Group similar items together (e.g., toiletries, cleaning supplies).
- Place frequently used items at the front.
- Use labels to identify the contents of each bin.
Pro Tip: Consider color-coding your labels for quick reference.
Why this matters: An organized layout improves efficiency when you need to grab items quickly. This organization step will take around 30-45 minutes.
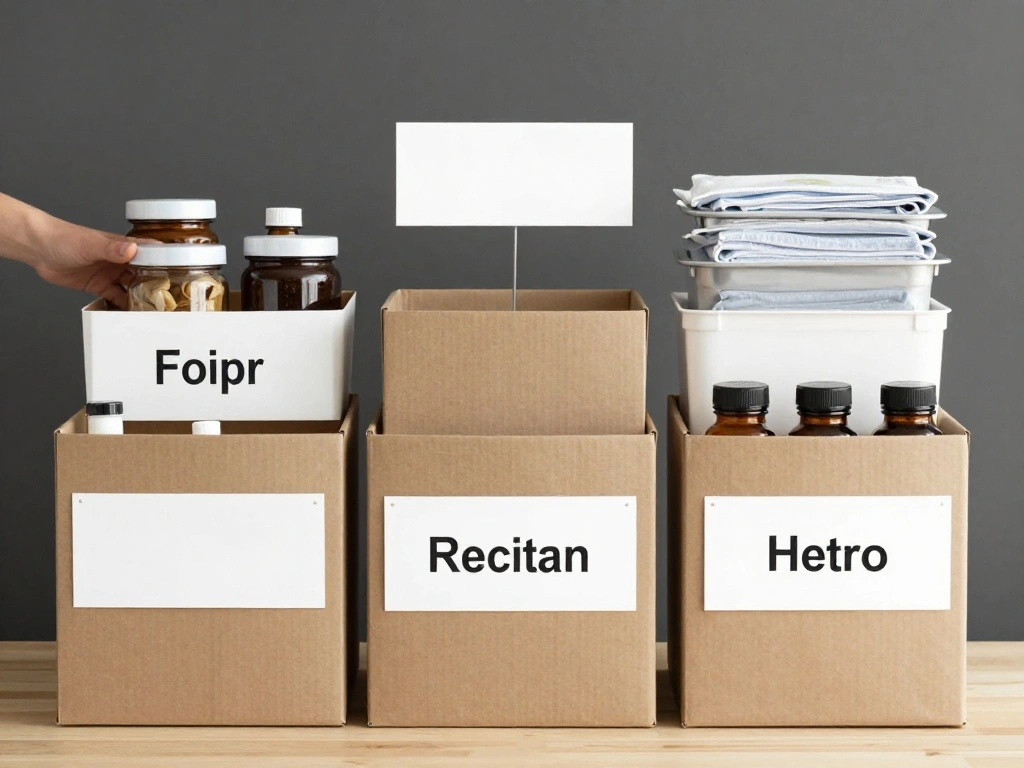
Step 6: Label Everything
Labeling is crucial for maintaining organization. Here’s how to do it effectively:
- Use a label maker or stickers to clearly label each bin.
- Make labels visible from the front.
- Include categories like ‘Cleaning Supplies’ and ‘First Aid’.
Pro Tip: Use waterproof labels for areas prone to moisture.
Why this matters: Labels help you and others quickly find what you need, keeping your space organized. Expect to spend about 15-30 minutes on this step.
Step 6: Label Everything
Editor’s Choice

Nelko Label Maker Machine with Tape, P21 Bluetooth Label Printer, Wirele…

Vtopmart 4 Pack Large Stackable Storage Drawers,Easily Assemble Acrylic …

Great Eastern 500 Pcs Lithium Ion Battery Caution Labels – 4″ x 4″ Wat…
Step 7: Maintain Your Organization

Once your under-sink area is organized, it’s important to maintain it. Follow these steps:
- Regularly check for expired items and discard them.
- Rearrange items as needed to keep the most important things accessible.
- Set a reminder to reassess your organization every few months.
Pro Tip: Use a calendar alert to remind you to maintain organization.
Why this matters: Regular maintenance ensures that your hard work stays effective. This final maintenance step will take about 15-30 minutes.
Step 7: Maintain Your Organization
Editor’s Choice

Clorox ToiletWand Disposable Toilet Cleaning System, Spring Cleaning Ess…
Delamu 2-Tier Multi-Purpose Bathroom Under Sink Organizers and Storage, …
Pro Tips
- Maximize Space: Use stackable containers to take advantage of vertical space.
- Choose Clear Bins: Clear storage allows you to see contents without opening bins.
- Rotate Items: Keep items you use frequently at the front for easy access.
- Utilize Doors: Attach hooks to the inside of cabinet doors for added storage.
- Regularly Declutter: Set seasonal reminders to keep your space tidy.
Pro Tips
Editor’s Choice

Hordion 4Pack Over Cabinet Door Hook, Carbon Steel Hanger Hook Over The …

Vtopmart 4 Pack Large Stackable Storage Drawers,Easily Assemble Acrylic …
Common Mistakes to Avoid
Warning: Overloading bins can lead to difficult access and clutter. Keep weight manageable.
Warning: Not labeling items leads to confusion. Always label for easy identification.
Warning: Skipping the declutter step results in keeping unnecessary items. Always declutter before organizing.
Warning: Using non-waterproof labels in a humid area can lead to damage. Choose waterproof options.
Warning: Ignoring maintenance leads to a return of clutter. Regularly check and reorganize as needed.
Common Mistakes to Avoid
Editor’s Choice

Bagnizer Small Plastic Storage Bins with Bamboo Lids 5.2qt Stackable Box…

SUPVAN E10 Bluetooth Label Maker Machine with Tape, Continuous Waterproo…

Under Sink Organizer and Storage 16.5″-30.7″ Expandable Length, Adjustab…
Troubleshooting Section
Problem: My bins are too full.
Solution: Remove items you don’t use often and consider larger bins.
Problem: I can’t reach items at the back.
Solution: Use a Lazy Susan or stackable organizers to make access easier.
Problem: My labels keep falling off.
Solution: Use a label maker or waterproof labels to ensure they stay put.
Problem: The under-sink area is still cluttered.
Solution: Reassess what you truly need and declutter more aggressively.
Problem: Items are getting wet.
Solution: Ensure that all items are moisture-resistant or stored in waterproof containers.
Troubleshooting Section
Editor’s Choice
JEISSLIA Lazy Susan Cabinet Organizer Bins for 26″/ 28″/ 32″ Diameter Co…

Sterilite 4-Pack Ultra Latching Box, Storage Bins with Lids, Clear Plast…
Nelko Label Maker Machine with Tape, P21 Bluetooth Label Printer, Wirele…
Variations/Alternative Methods
Consider these methods for different situations:
- Use Baskets: Woven baskets offer a decorative touch while providing storage.
- Drawer Units: If space allows, use mobile drawer units for easy access.
- Wall-Mounted Solutions: Install wall shelves for additional storage if under-sink space is limited.
Variations/Alternative Methods
Editor’s Choice

Sweetcrispy 5 Drawer Chest Mobile Storage Cabinets Small Wooden Dresser …

VIPOSCO Tall Laundry Basket, Large Dirty Clothes Hamper with Leather Han…

BAYKA Floating Shelves for Wall, Wall Mounted Rustic Wood Shelves for Ba…
FAQs
What if I don’t have enough space under my sink?
Consider using wall-mounted shelves or moving less frequently used items to another location.
How long should I wait before re-evaluating my storage?
Every 3-6 months is a good timeframe to keep your organization fresh.
Is it safe to store cleaning supplies under the sink?
Yes, but keep them out of reach of children and pets.
What if my bins don’t fit?
Return them and choose alternatives that match your measurements.
Can I use any type of labels?
Opt for waterproof labels to withstand bathroom humidity.
FAQs
Editor’s Choice

NETANY Plastic Storage Baskets – 8 Pack, Gray, Durable, Easy to Use, Fle…

Zulay Kitchen (9×3.5in Sponge Holder for Kitchen Sink – Flexible Heavy-d…

BAYKA Bathroom Floating Shelves for Wall Set of 3 – Rustic Brown Farmhou…
Conclusion
Congratulations on transforming your under-sink storage! You’ve taken steps to create a more organized, efficient bathroom space. Enjoy the ease of finding what you need without the clutter.
Now that you’ve completed this project, consider tackling other areas in your home that could benefit from organization. Remember, the key to maintaining a tidy space is regular upkeep. Keep up the great work!